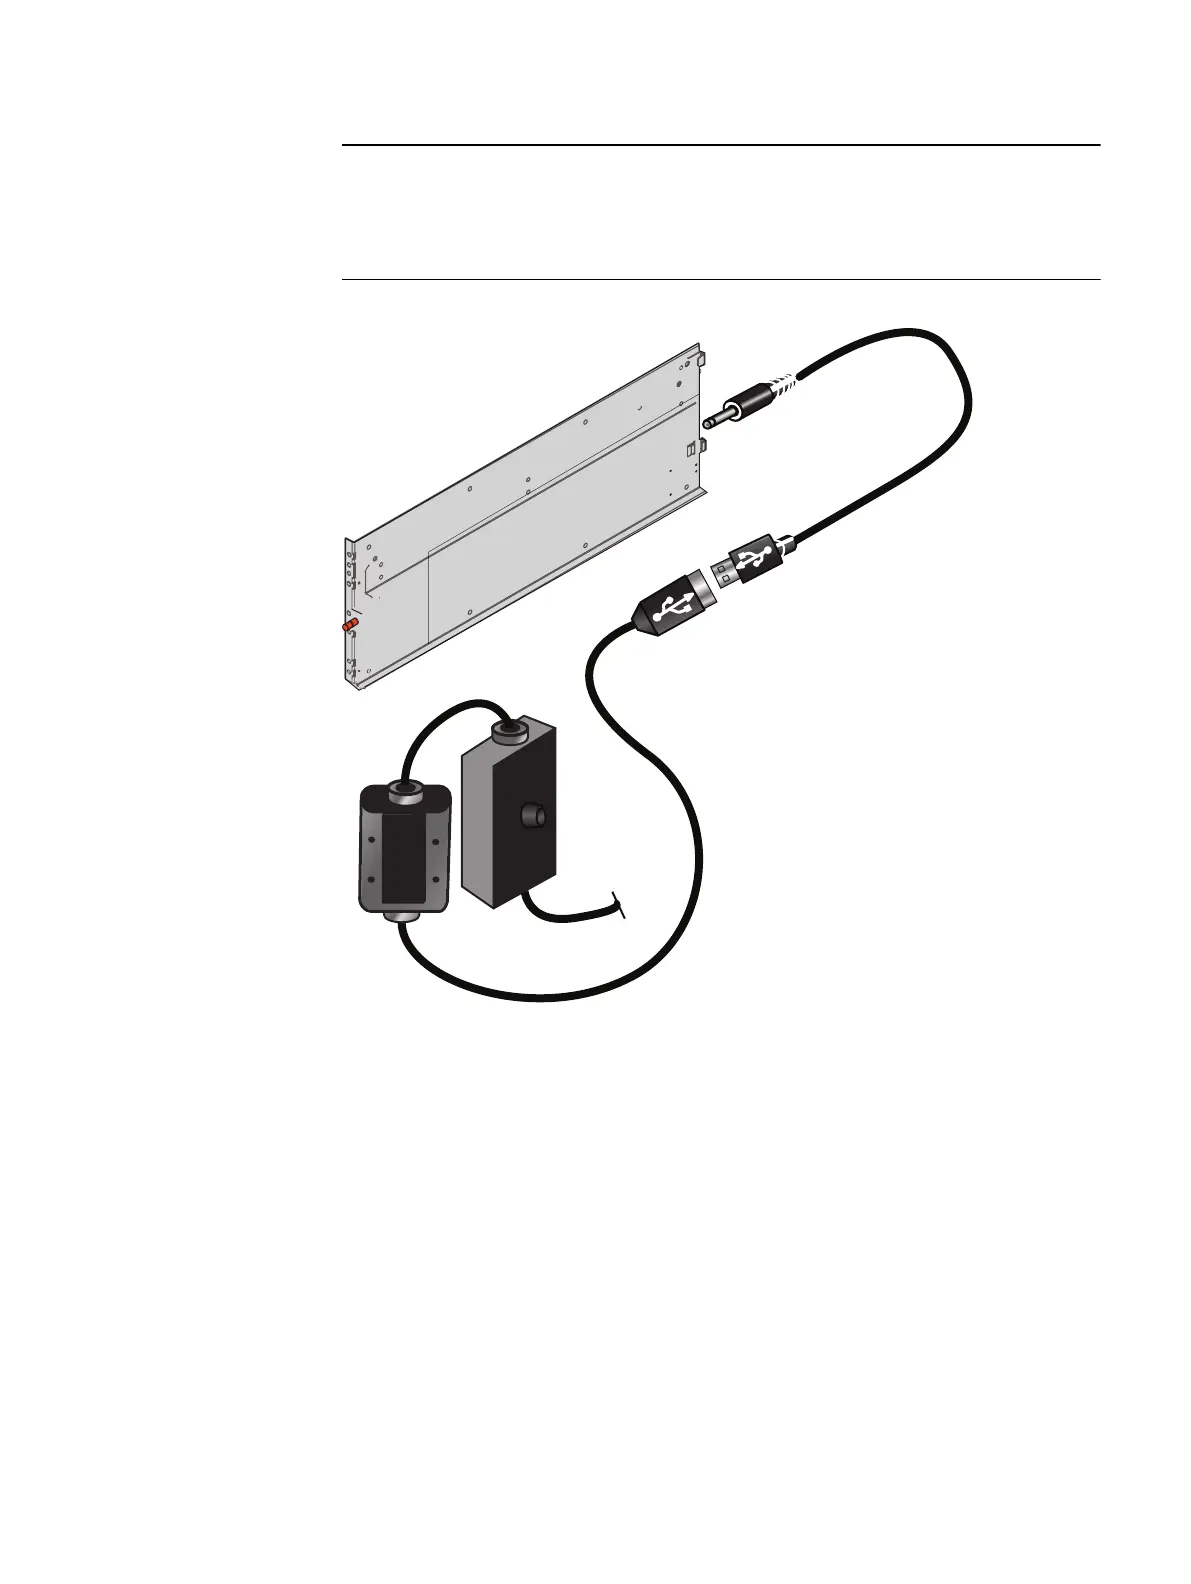
The left rail has a connector which protrudes through the cabinet channel holes. The
cable kit includes a cable to connect from the rear of the rail to the cabinet power. See
Figure 62 on page 85.
Figure 62 Connecting the power to the rail for the bezel
Procedure
1. Locate the bezel for each installed component.
2. On the front of the rack or cabinet, position and align each bezel to the front-mounting
brackets on the corresponding component.
3. Press the bezel into the bracket until it clicks into place as shown in the example in
Figure 63 on page 86. Bezels have a lock built in to them, so you can opt to lock the
bezels in place with the key provided. To lock the bezel, insert the key and turn it one
quarter turn clockwise.
4. Repeat steps 2 on page 85 and 3 on page 85 for the remaining bezels.
Setup
Attach bezels 85

 Loading...


