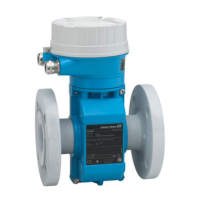
Wiring Proline Prowirl 73
28 Endress+Hauser
Connecting the transmitter, Ex-d/XP version (å 16)
#
Warning!
When connecting Ex-certified devices, please refer to the notes and diagrams in the Ex-specific
supplement to these Operating Instructions.
1. Open the clamp (a) securing the cover of the connection compartment.
2. Unscrew the cover (b) of the connection compartment from the transmitter housing.
3. Push the cable for the power supply/current output through the cable gland (c).
Optional: push the cable for the frequency output through the cable gland (d).
!
Note!
Devices with a TIIS approval are equipped in general with one cable gland only.
4. Tighten the cable glands (c/d) (ä 34).
5. Pull the terminal connector (e) out of the transmitter housing and connect the cable for the
power supply/current output (å 17).
Optional: pull the terminal connector (f) out of the transmitter housing and connect the cable
for the frequency output (å 17).
!
Note!
The terminal connectors (e/f) are pluggable, i.e. they can be plugged out of the transmitter
housing to connect the cables.
6. Plug the terminal connectors (e/f) into the transmitter housing.
!
Note!
The connectors are coded so you cannot mix them up.
7. Screw the cover (b) of the connection compartment onto the transmitter housing.
8. Tighten the clamp (a) securing the cover of the connection compartment.
9. Only remote version: secure the ground cable to the ground terminal (å 17, C).
A0001896
Fig. 16: Procedure for connecting the transmitter Ex-d/XP version
a Clamp securing cover of connection compartment
b Cover of connection compartment
c Cable gland for power supply/current output cable
d Cable gland for frequency output cable (optional)
e Terminal connector for power supply/current output
f Terminal connector for frequency output (optional)
 Loading...

