C
Click OK. When printing from an application,
the Layout Manager screen opens.
e print data is not printed, but one page is
placed on the paper of the Layout Manager
screen as one object.
D
Leaving the Layout Manager screen open,
repeat steps 1 to 3 until all the print data has
been added to the layout.
e objects are added to the Layout Manager
screen.
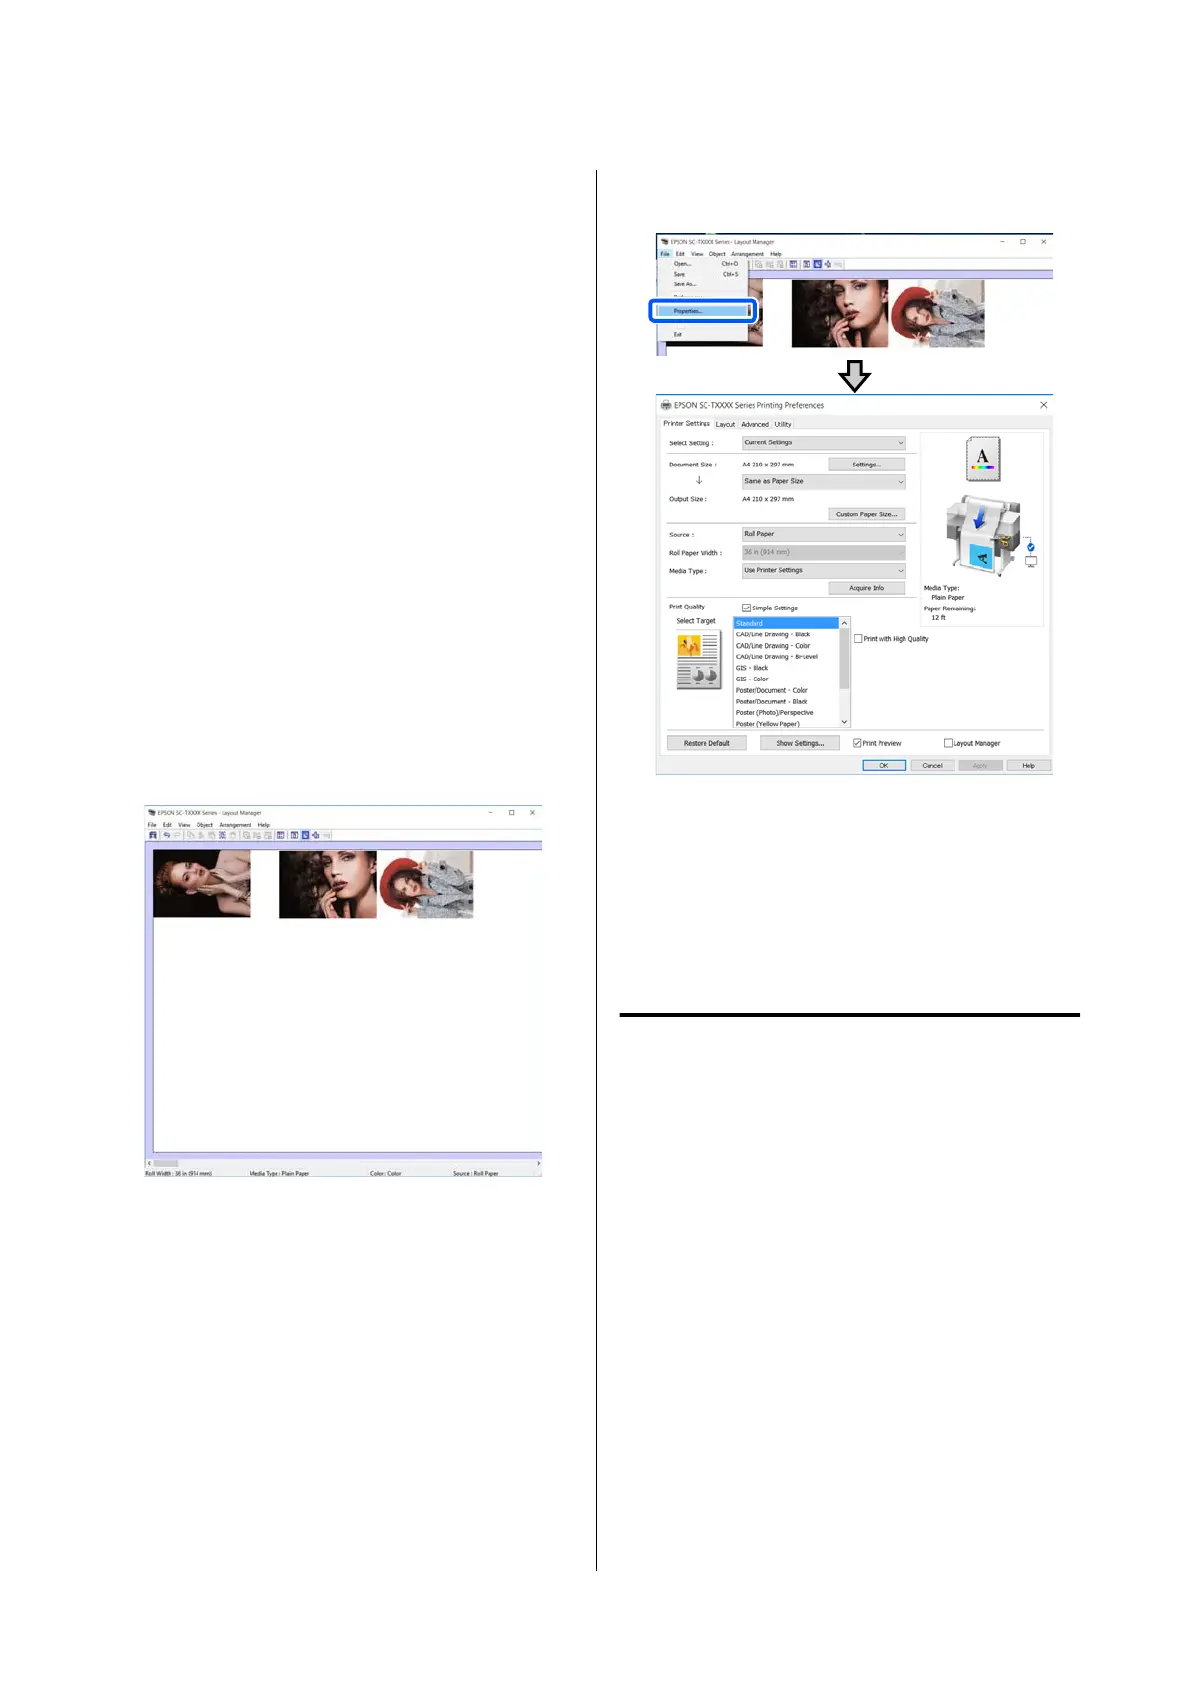
E
Arrange the objects on the Layout Manager
screen.
Objects can be moved or resized by dragging as
well as rearranged or rotated using the tool
buttons or the options in the Object menu.
e overall size and placement of the objects
can be changed using the Preferences and
Arrangement options in the File menu.
See the Layout Manager screen help for more
details on each function.
F
Click Properties in the File menu and set the
print settings in the printer driver dialog box.
Set Print Quality in the Media Settings dialog
box.
G
Click the File menu in the Layout Manager
screen, and then click Print.
Printing starts.
Saving and Recalling Settings
e
layout and setting information on the Layout
Manager screen can be saved as a
le.
If you need to
close your application in the middle of a job, you can
save it to a
le
and then open it later to continue your
work.
Saving
A
Click the File menu on the Layout Manager
screen, and then click Save As....
B
Enter the le name, select the location, and
then click Save.
C
Close the Layout Manager screen.
SC-T5100 Series/SC-T3100 Series/SC-T5100N Series/SC-T3100N Series User's Guide
Printing with the Printer Driver from Your Computer
89
 Loading...