EPSON Stylus Color 980 Revision A
Disassembly and Assembly Disassembly Procedures 112
9. Remove two screws securing the head fixing lever which is fixing
the printhead by the bottom of the carriage unit, then pull out the
suspension plate to the right.
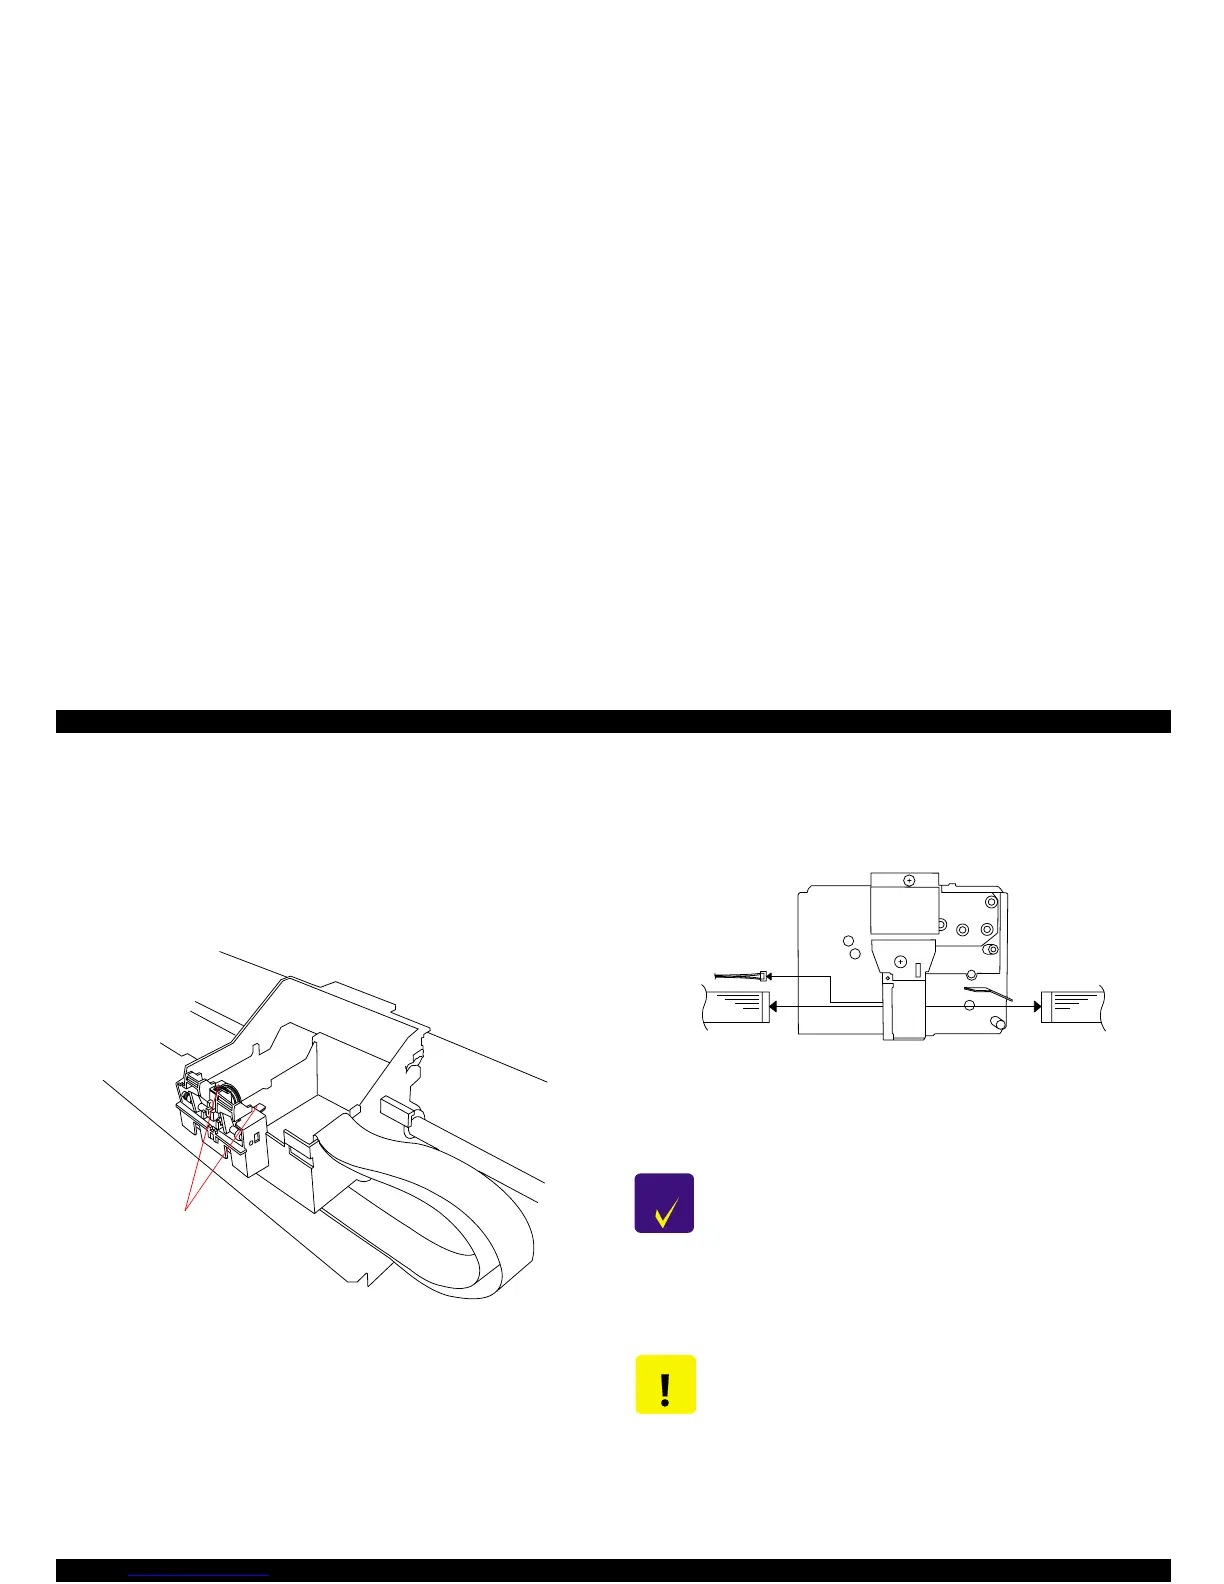
10. Remove two actuators for the ink cartridge sensors. (Note the black
one is for the black cartridge and the white one is for the color
cartridge.)
Figure 4-17. Removal of the I/C Detection Actuator
11. Disconnect the green connector for the ink cartridge sensor from the
carriage unit.
12. Lifting up the printhead unit, disconnect 2 FFCs and the connector
(white, 4-pin) for the ink cartridge sensor.
Figure 4-18. Printhead Removal (2)
Actuators
CHECK
POINT
When installing the printhead FFCs, make sure the
reinforcing plates on the FFC are installed correctly as
described below:
- White one: on the left side of the printhead.
- Blue one: on the right side of the printhead.
CAUTION
After removing/replacing the printhead, perform any
necessary adjustments. (See Table 4-1)
White
White
Blue
 Loading...


