EPSON Stylus Color 980 Revision A
Adjustment Overview 131
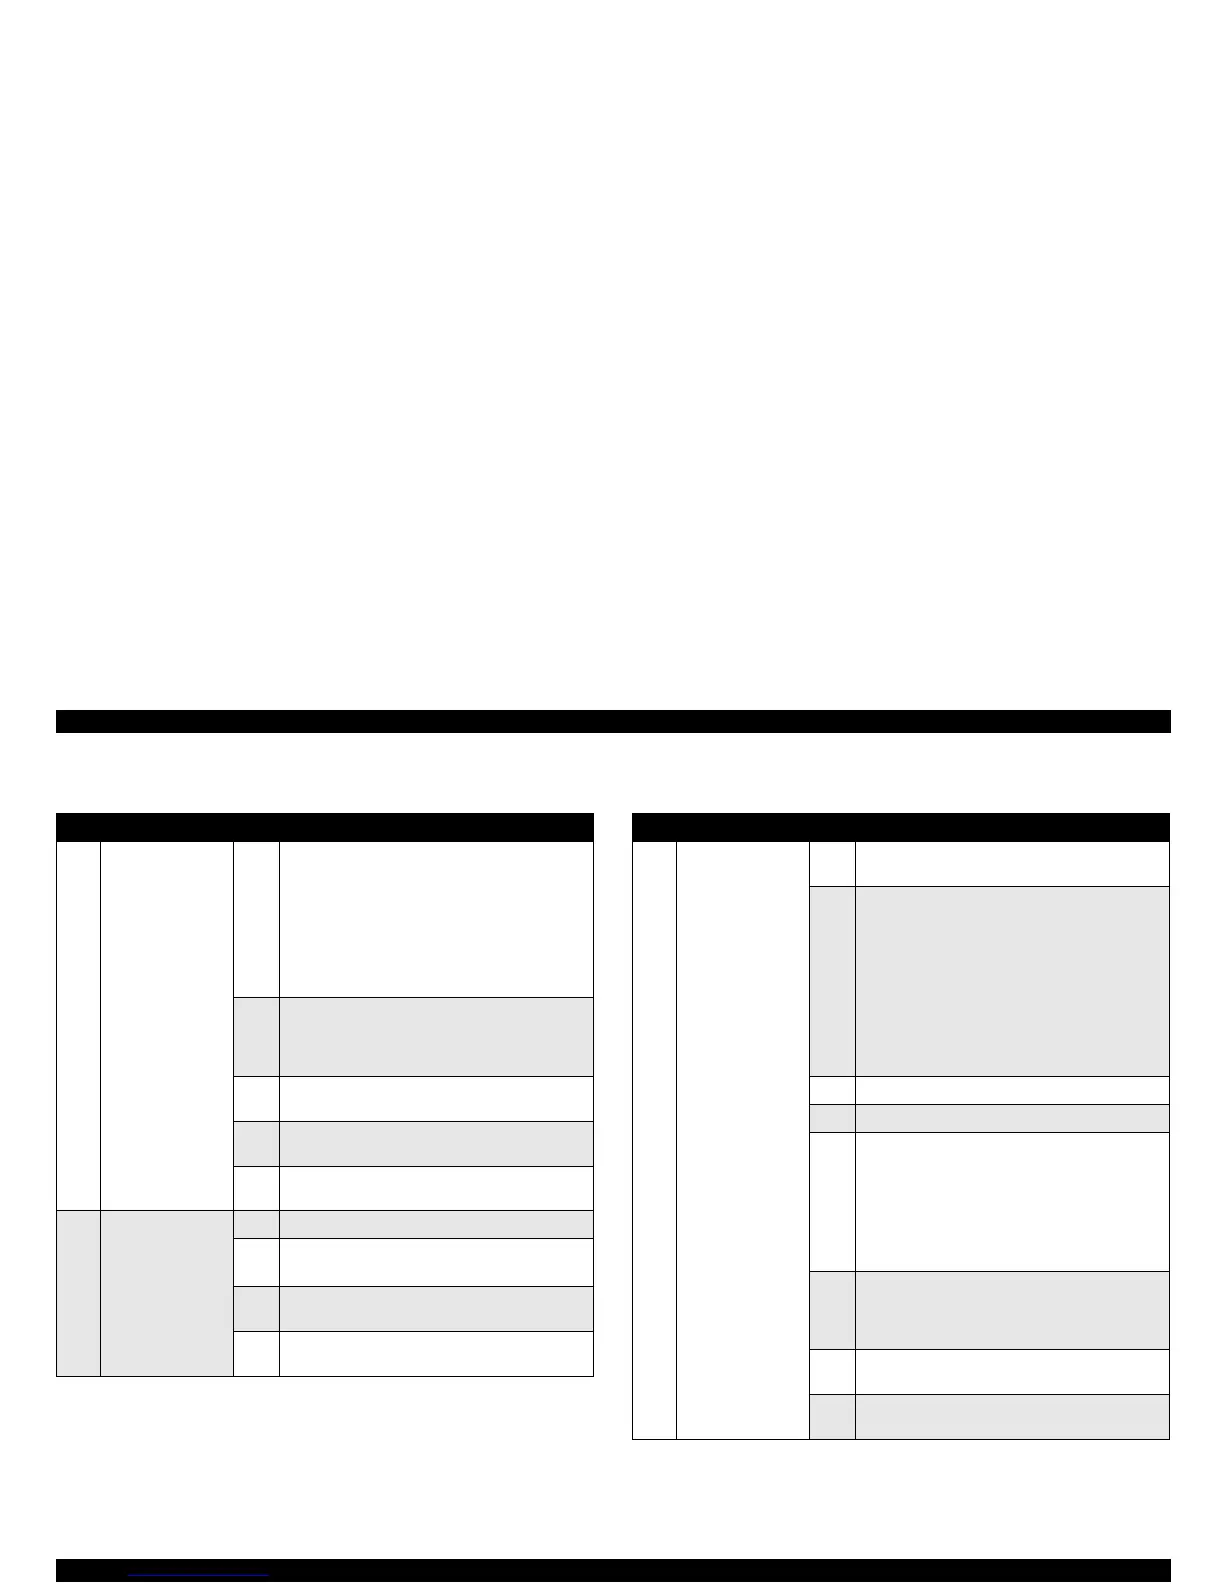
Table 5-1.
Actions Taken and Corresponding Adjustments in Order
Table 5-2. (continued)
Actions Taken and Corresponding Adjustments in Order
No. Actions taken Step Corresponding adjustment required
1 Printhead
replacement
1 Install a new I/C in the I/C replacement sequence
(user performable) and make suer it is
completed.
<Purposes>
1. To avoid counter mis-matching
2. To preliminarily avoid head hot error which
would occur in Step 3. (For details, refer to
Chapter 2 / Sensor descriptions.)
2 Perform “Ink Charge Flag Reset” using the
service program and then turn the printer off. In
10 seconds, turn the printer back on, and the
“Initial Ink Charge” begins automatically.
3 Input a 22-digit ID in “Head Actuator Voltage ID
Input “ using the service program.
4 Perform “Head Angular Adjustment” using the
service program.
5 Perform “Bi-Directional Adjustment” using the
service program.
2 C380 Main board
replacement
1 Input the model name in the service program.
2 Select the destination in the service program.
<Purpose> To set the CG and default value.
3 Input a 22-digit ID in “Head Actuator Voltage ID
Input” using the service program.
4 Perform “Bi-Directional Adjustment” using the
service program.
No. Actions taken Step Corresponding adjustment required
3 CR shaft
replacement or
cleaning
1 Referring to Chapter 6 “Maintenance”, remove
the oil pad from the carriage.
2 Referring to Chapter 6 “Maintenance”, perform
the followings:
1. Clean the carriage shaft surface.
2. Perform the preliminary lubrication.
3. Oil the newly installed pad.
4. Install the carriage shaft to the carriage unit.
NOTE:
Make sure the printhead has been
removed before supplying oil to the new
oil pad.
3 Reinstall the printhead to the carriage.
4 Perform Parallelism adjustment.
5 Enter the I/C replacement sequence to install a
new I/C and make sure it is completed.
<Purposes>
1. To avoid counter mismatching.
2. To preliminarily avoid head hot error which
would occur in Step 7. (For details, refer to
Chapter 2 / Cooling Fan Driver Circuit.)
6 Perform “Ink Charge Flag Reset” using the
service program and then turn the printer off. In
10 seconds, turn the printer back on, and the
“Initial Ink Charge” begins automatically.
7 Perform “Head Angular Adjustment” using the
service program.
8 Perform “Bi-Directional Adjustment” using the
service program.
 Loading...


