4. Remove one screw (CBP 3x6) securing the upper frame on the right side.
5. Turn the printer so you face the rear and remove two screws (CBP 3x6) as shown
below.
6. Pull the front edge of the upper frame out and up to make sure it clears the carriage and
then pull the upper frame straight up to remove it.
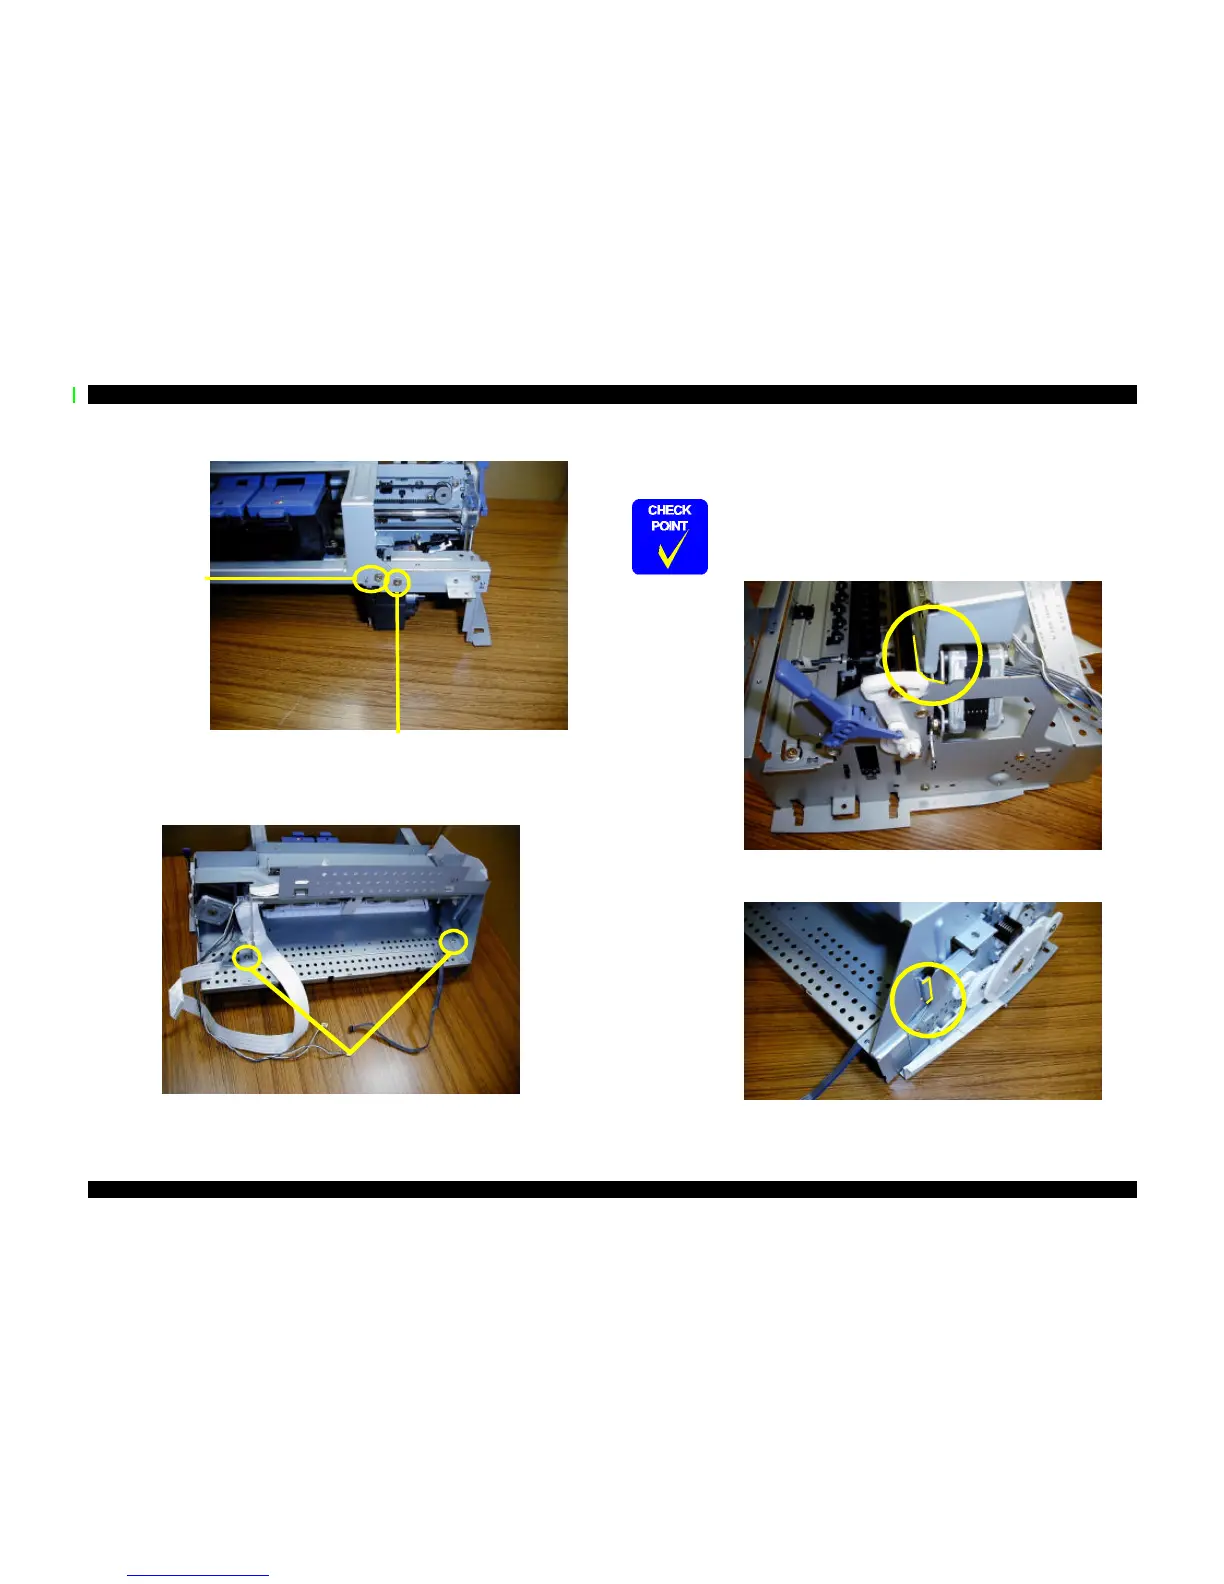
Note: When re-
installing, fit
the frame over
this hook and
screw.
Remove this CBP 3x6
screw.
Remove two CBP 3x6
screws.
Be sure to keep the following in mind when re-installing the upper
frame.
n The frame extension on the CR motor side slides behind and to
the right of the yellow lines below.
n The highlighted area of the upper frame (below) hooks around
the outside of the lower frame.

 Loading...


