4.2.2 Removal of printer consumables
The printer consumables consist of the waste ink pads (described below) and cleaning
assembly (described in “Removing the cleaning assembly (Pump and Cap)” on page94).
4.2.2.1 Removing the waste ink pads
1. Remove the front cover assembly as described in Section 4.2.1.1.
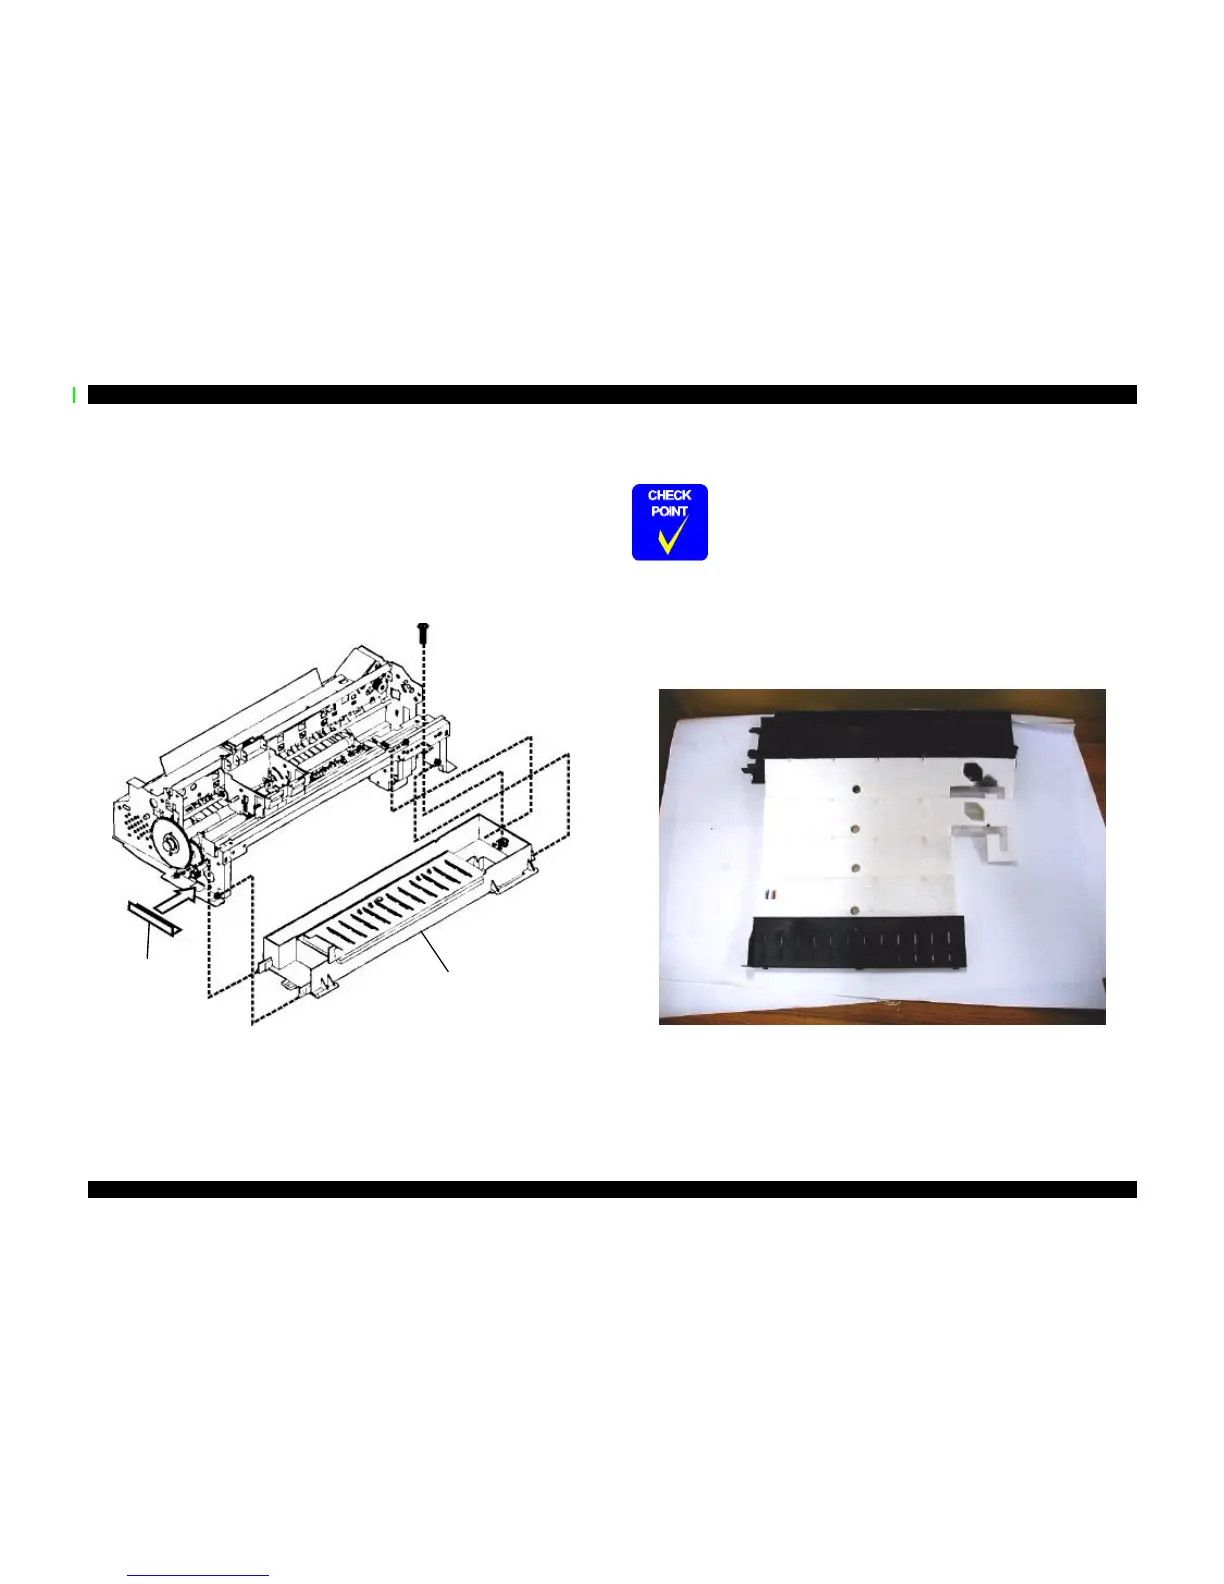
2. Remove one screw (CBP 3x8) securing the waste ink tank and which is located on the
right side of the printer mechanism.
Figure 4-2. Removing the waste ink tank
3. Remove the spacer on the left side of the tank and carefully pull the tank out and
downward.
4. Remove one screw (CBP 3x10) securing the waste ink tank cover, and then remove the
cover by lifting up from the center.
5. Carefully remove the old waste ink pads so as not to get yourself or anyone/anything
else dirty.
Figure 4-3. Waste ink cover, pads, and tank
One CBP 3x8
screw
Spacer
Waste ink tank
When re-installing the waste ink tank, make sure to secure the hooks
on the left of the tank on top of the spacer.

 Loading...


