1. When replacing any of the parts above, make a note of VH voltage ID. You
can find the VH voltage ID on the following position:
n Printhead: On the top side of the printhead.
n Printer mechanism: On the label of the packing box of the
printer mechanism.
1. Enter the Head ID menu as described in “Using the Service-Adjustment
Program” on page121.
2. On the Production menu (Figure 5-6), select Head ID. Then click OK in
the dialog box that appears.
3. From the Head ID menu, select Print Head ID to verify the voltage
information is enabled.
5.3.7 Head Angular Adjustment
During production, slight variations are created in printheads and carriage (which are used
as a printhead base.) The head angular adjustment procedures compensates for these
differences so that no banding or color/white line patterns appear in the printout.
To adjust the printhead angle correctly, an exclusive lever for adjusting the printhead angle
is installed on the side of the carriage unit. By moving this lever, you are able to adjust the
printhead angle without removing the ink cartridge.
This adjustment is required in the following cases.
n When a printhead is replaced.
n When the carriage unit is replaced.
n When the angle adjustment lever is moved.
Print the check pattern in the adjustment program to determine the angle degree needed for
the printhead. Then move the adjustment lever in the carriage unit to set the printhead angle
referring to the printed check pattern.
1. Remove the upper case from the main unit. (Refer to Chapter 4.)
2. Enter the Production menu as described in “Using the Service-Adjustment
Program” on page121.
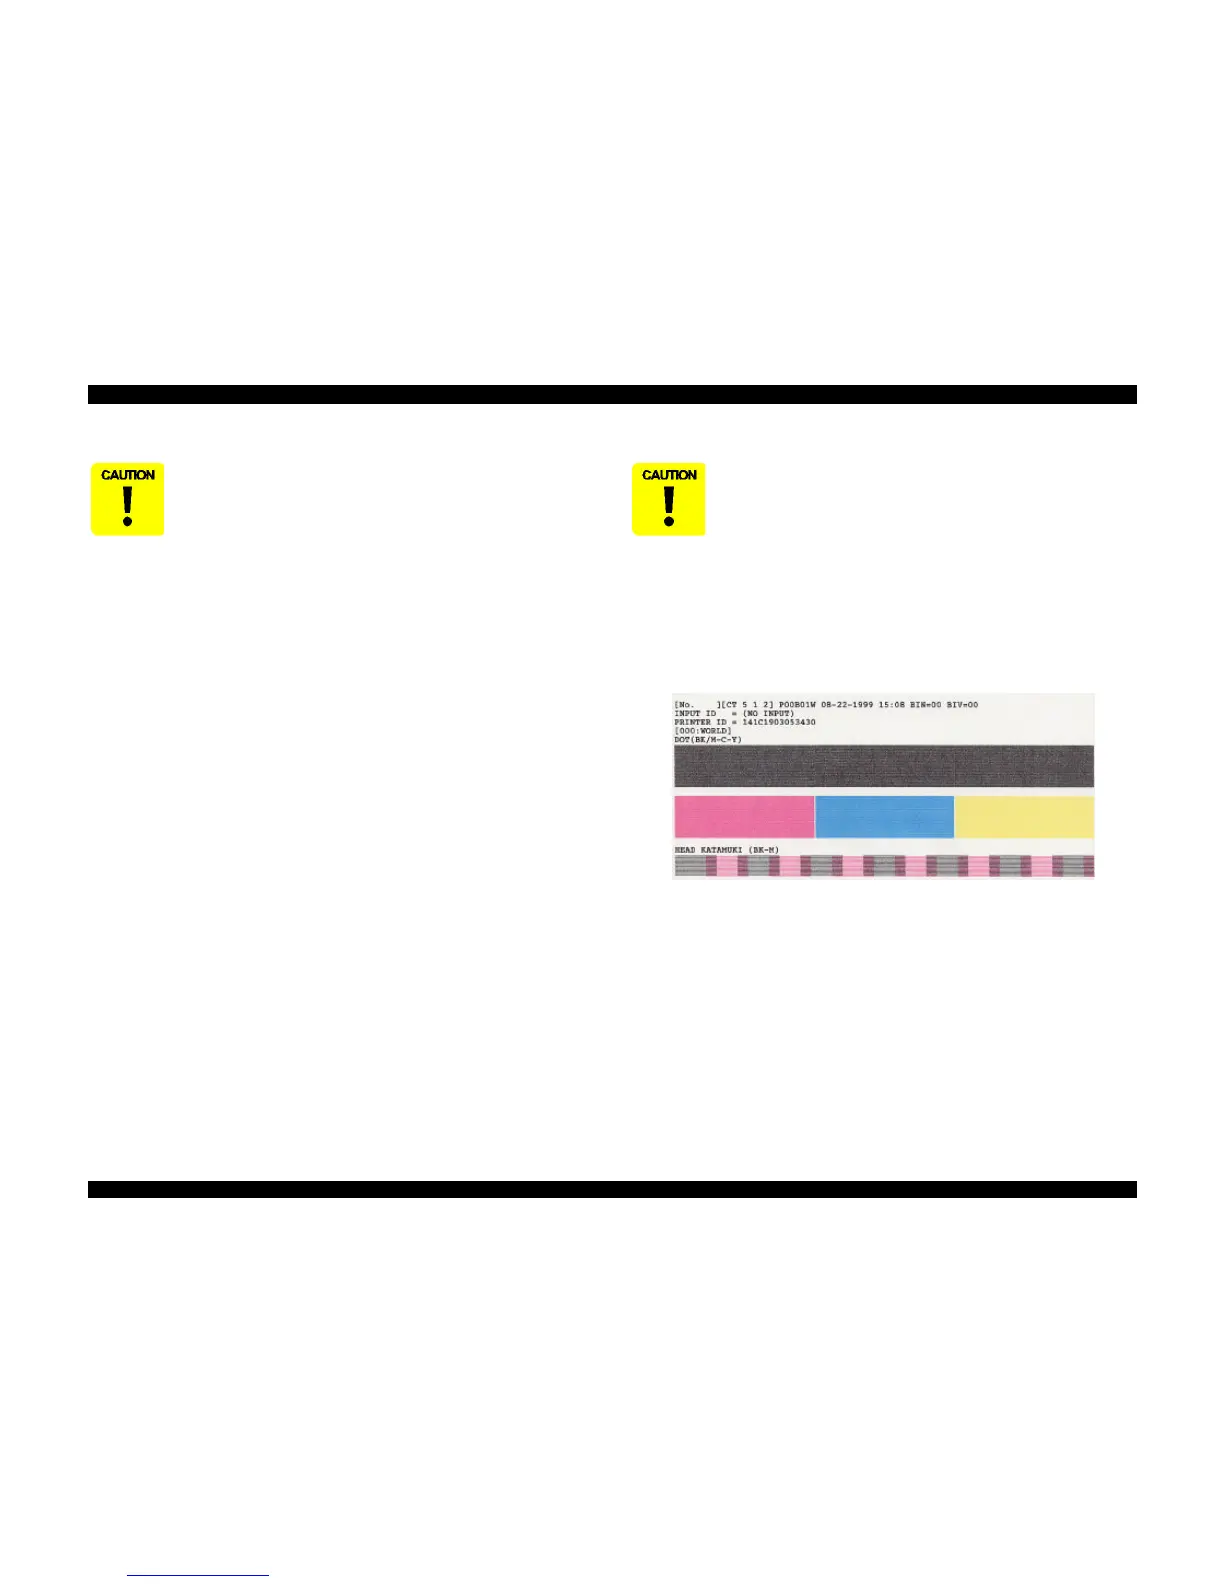
3. On the Production menu (Figure 5-6), select Print - Angular Adj. The
following patterns are printed.
Figure 5-8. Sample of Head Angular Adjustment Pattern
NOTE: In the above figure, Head Katamuki means Head Angle.
4. Loosen the screw securing the printhead on the carriage. (You don't need
to remove it completely.)
When performing this operation, also see Table5-4 on page122 to
determine what other procedures are necessary.
Before or after performing this operation, refer to Table 5-2 and
perform appropriate adjustments or operations.

 Loading...


