264
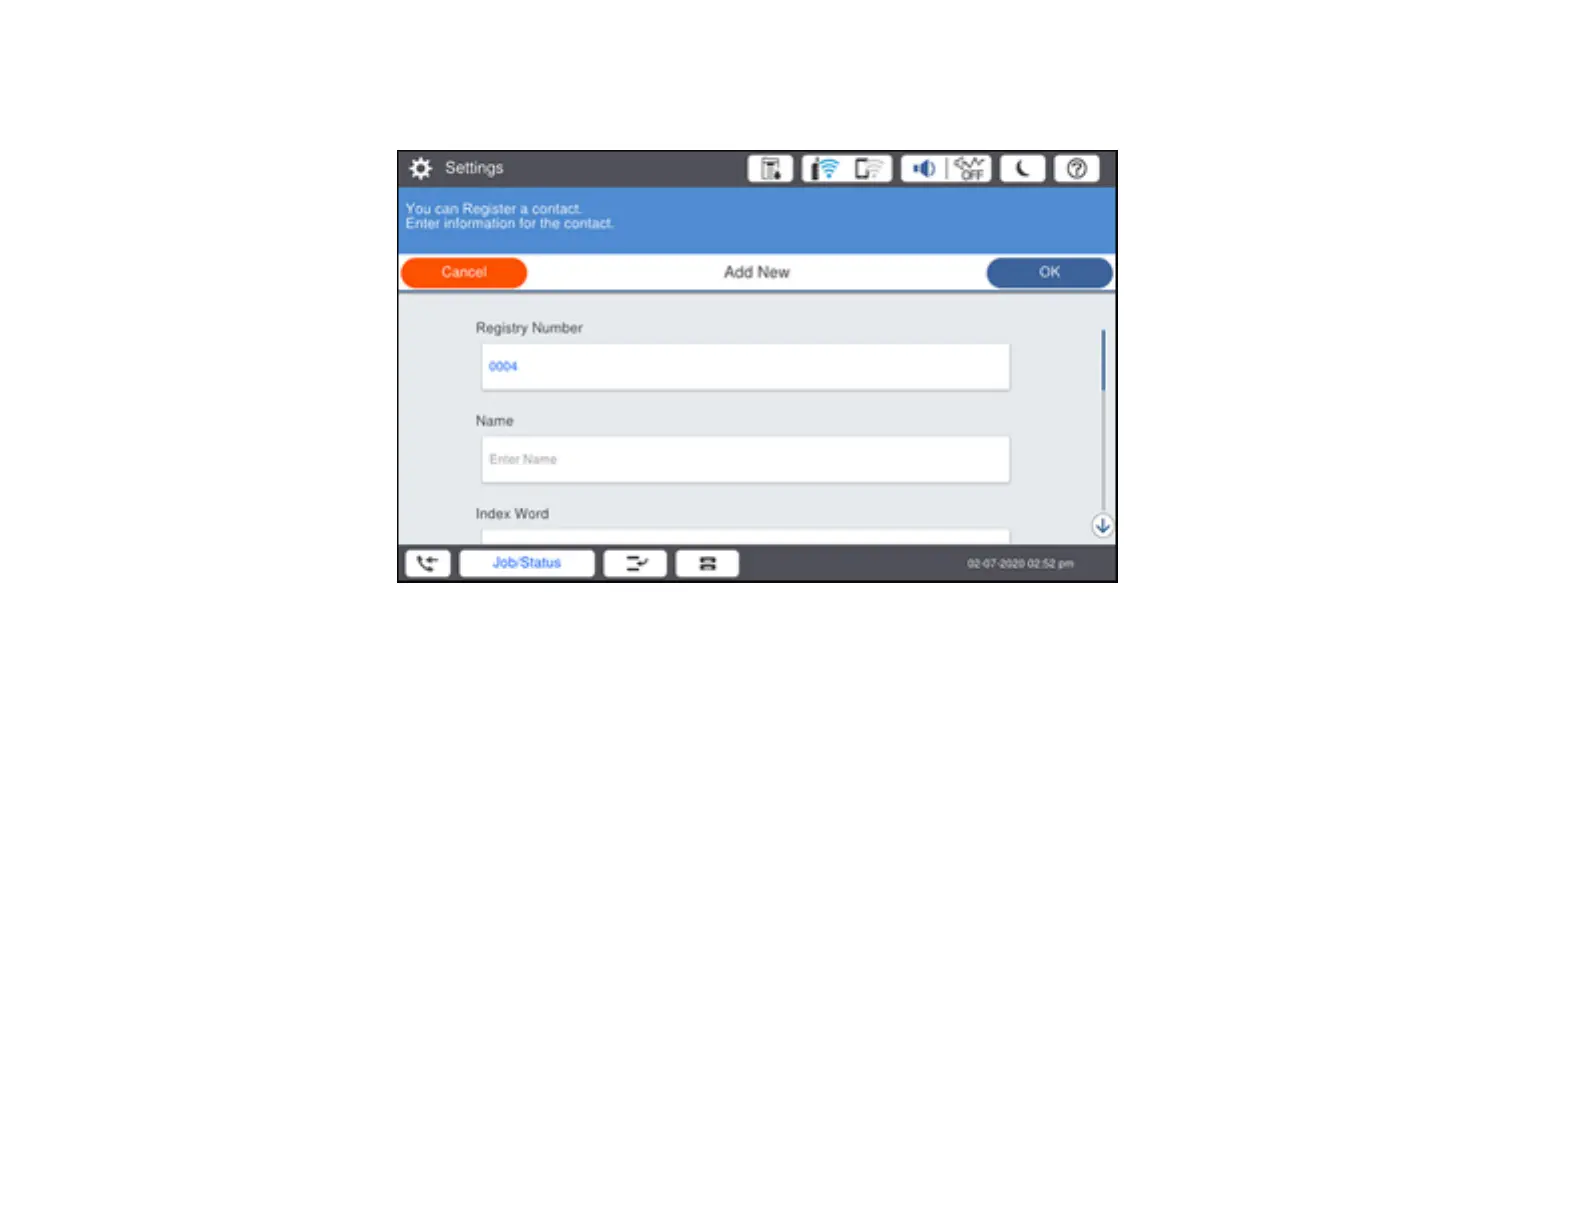
You see a screen like this:
6. Select the registry number you want to use for the contact you are adding.
7. Select the Name field, use the displayed keyboard to enter the contact name (up to 30 characters),
and select OK.
8. Select the Index Word field, use the displayed keyboard to enter a word to use when searching for
an entry (up to 30 characters), and select OK.
Note: This field is automatically populated after you enter the name. This field is optional.
9. Select the Fax Number field, and use the numeric keypad on the LCD screen or the buttons on the
product to enter the fax number. You can enter up to 64 characters. Select OK when you are done.
Note: If necessary, enter an outside line access code (such as 9) at the beginning of the fax number.
If the access code has been set up in the Line Type setting, enter the # pound sign instead of the
code.
10. Set the Fax Communication Mode, Subaddress, and Password settings, if necessary.
11. Set Assign to Frequent Use to On if you want the contact to appear on the Frequent tab.