EasyManuals Logo

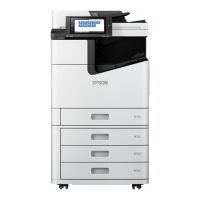
Epson WF-C20600 User Manual

Epson WF-C20600
446 pages
To Next Page IconTo Next Page
To Previous Page IconTo Previous Page
Page #290 background imageLoading...
Page #290 background image
290
3. Select Menu.
4. Select Extended Fax.
5. Set Polling Receive to On.
6. Select Close.
7. Enter the fax number you expect to receive the fax from.
8. Select the Polling icon to start receiving the fax.
Parent topic: Receiving Faxes
Viewing a Fax on the LCD Screen (Using the Fax Box)
You can save received faxes in your product's memory and view them on the LCD screen.
Note: The Inbox can be locked by an administrator. If you cannot access the Inbox, contact your
administrator for assistance.
1. Press the home button, if necessary.
2. Select Settings > General Settings > Fax Settings > Receive Settings > Save/Forward Settings
> Unconditional Save/Forward.
Table of Contents

Questions and Answers:

Question and Answer IconNeed help?

Do you have a question about the Epson WF-C20600 and is the answer not in the manual?

Epson WF-C20600 Specifications

General IconGeneral
ConnectivityUSB, Ethernet, Wi-Fi, Wi-Fi Direct
Duplex PrintingYes
CategoryAll in One Printer
FunctionsPrint, Copy, Scan, Fax
Scanner TypeFlatbed, ADF
Ink TypePigment ink
Print TechnologyPrecisionCore Heat-Free Technology
Scan Resolution600 x 600 dpi
Mobile PrintingEpson Connect, Apple AirPrint, Google Cloud Print
Display4.3-inch color touchscreen
Paper SizesA4, A5, A6, B5, Letter, Legal
Ink CartridgesBlack, Cyan, Magenta, Yellow

Related product manuals