Set System Time
This is needed when the OEM radio unit has been replaced and the vehicles battery has been reset in
order to get a working timer controller parking heater and service interval counter.
The eSID3 HW has been designed to make this much easier. One cable needs to be added between
the OBD connector and the BCM module which is located above the driver’s feet, behind the fuse
box on LHD cars. On RHD cars is in the same place (passenger side) and with the eSID3 Cable Kit the
correct terminals in both ends are already in place, just plug it into two empty slots on two sides (no
splicing!), takes no more than 15 minutes to complete. Note: The cable needs to be extended on RHD
cars, will be fixed in future versions of the Cable Kit.
When the cable is in place, go to “eSID Settings” to set the clock and follow the steps on the display.
Green cable shall be connected between:
OBD Pin: 2
BCM Pin: 25
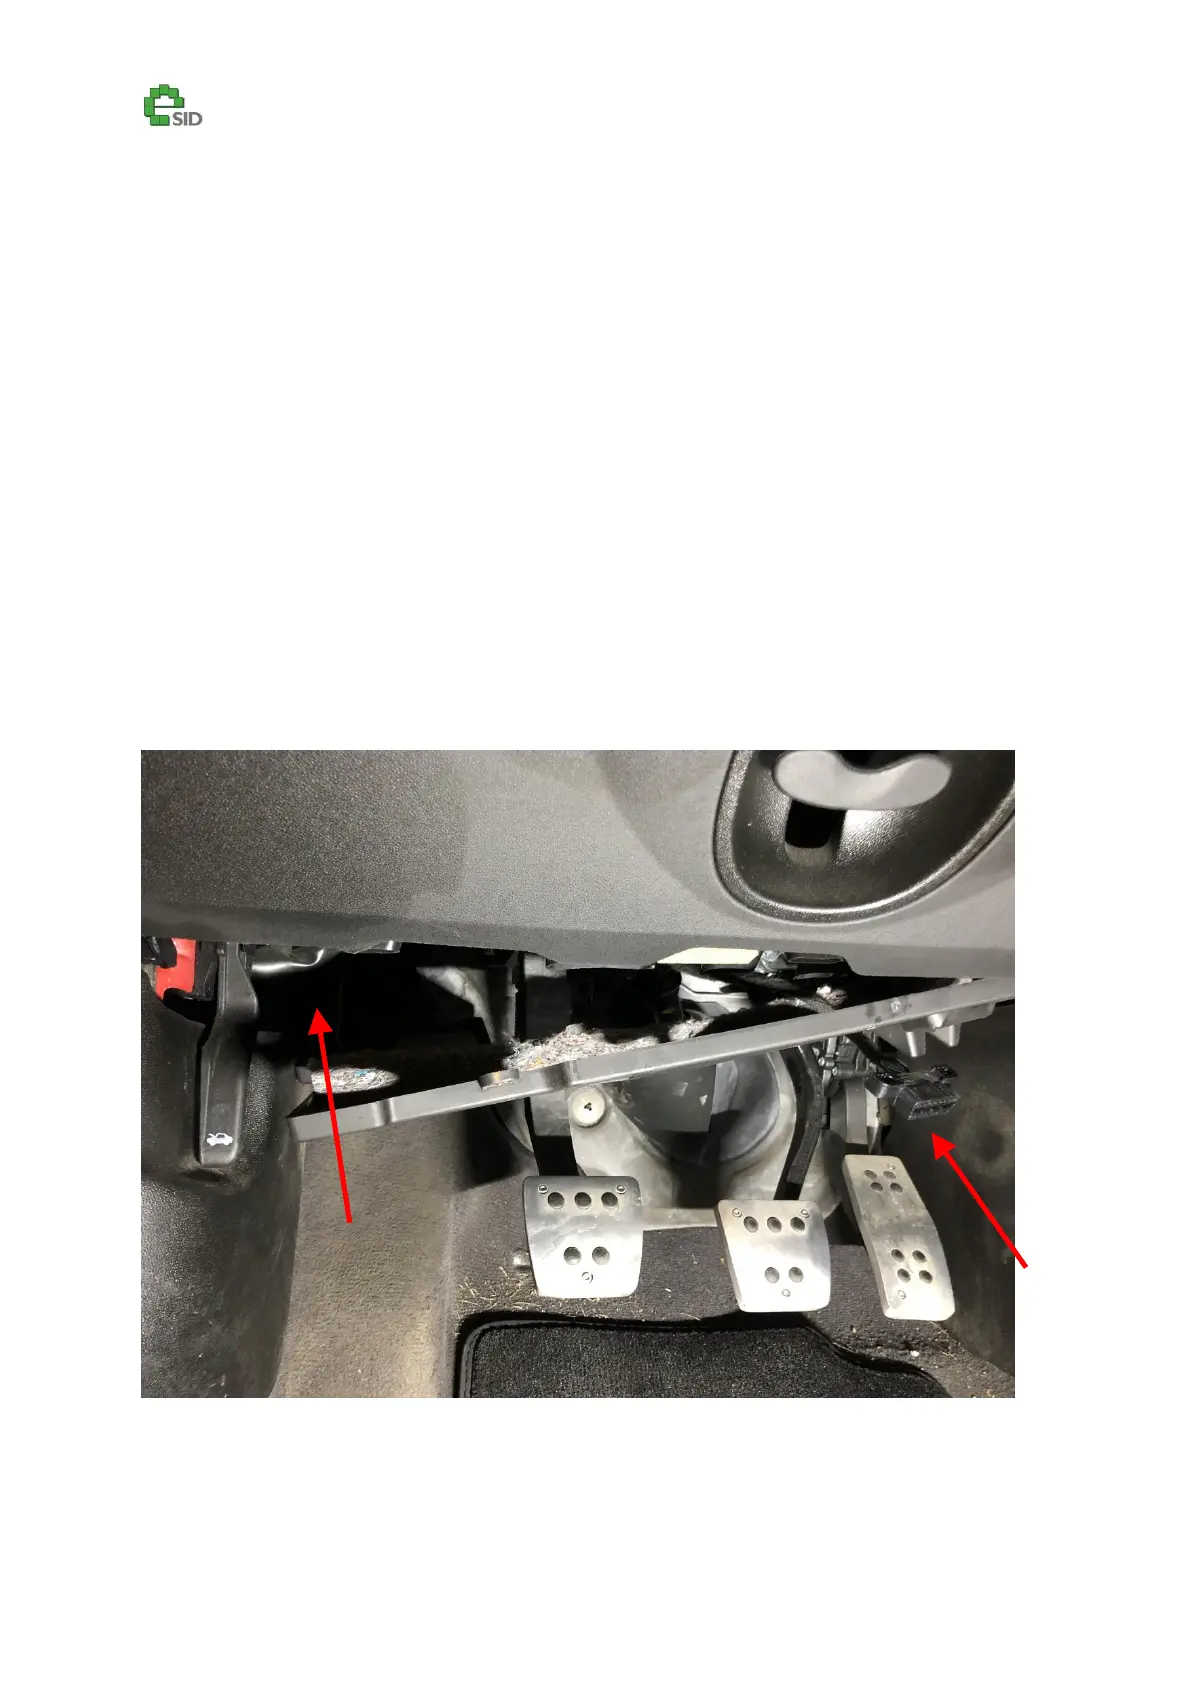
Step 1 – Take down the cover on the left hand side