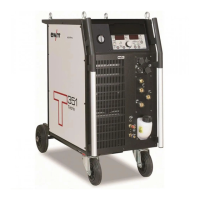
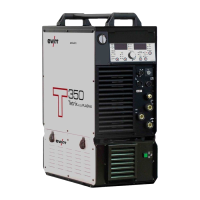
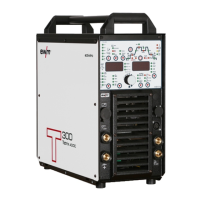
Machine description – quick overview
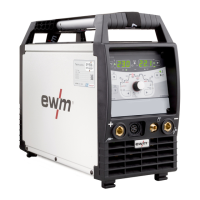
Machine control – Operating elements
099-000115-EW501
17.06.2015
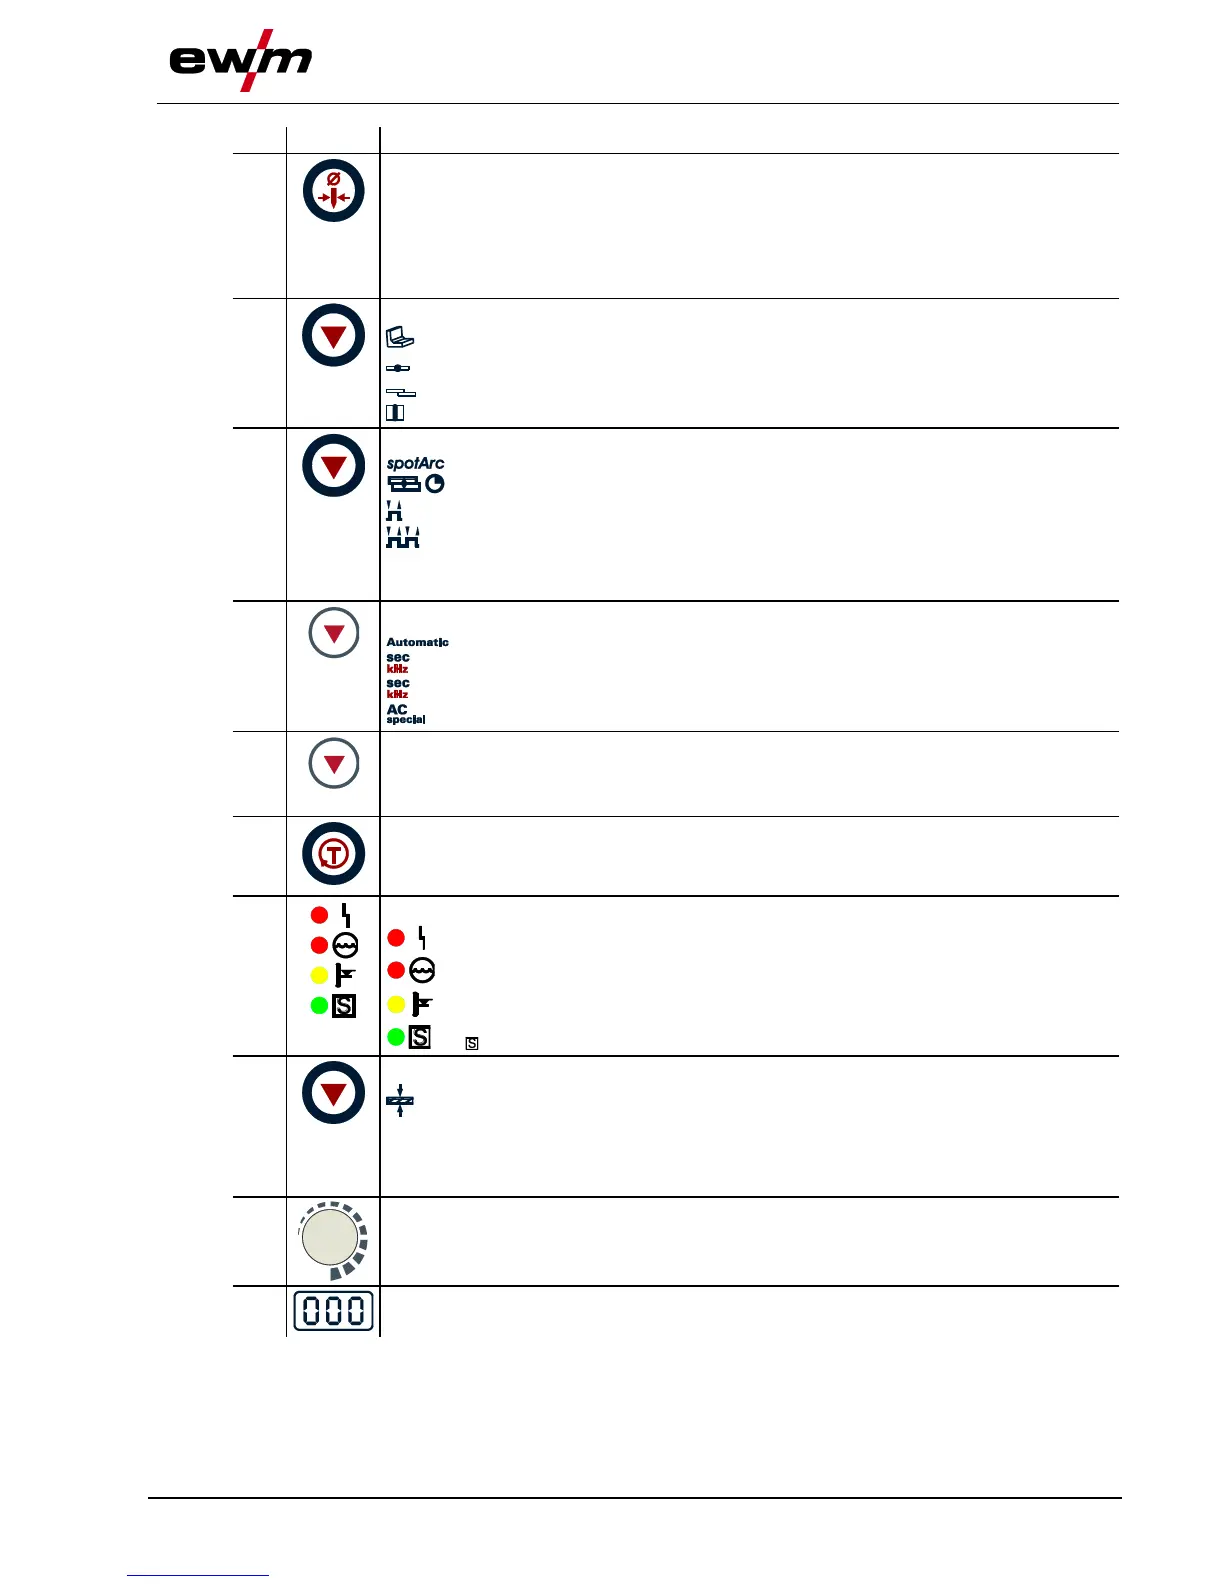
Tungsten electrode diameter / Ignition optimisation / Spherical cap formation button
1.0mm, 1.6mm, 2.0mm, 2.4mm, 3.2mm, 4.0mm or greater
Best ignition and stabilisation of the arc (DC, AC) and optimum spherical cup formation
in the tungsten electrode according to the electrode diameter being used. The
adjustable welding current is limited to the maximum permissible welding current of the
tungsten electrode.
Select seam type button
Fillet weld
Butt joint
Fillet weld - lap joint
Vertical-down
Operating mode / Power-saving mode button
spotArc / Spotmatic (spot time setting range)
Non-latched
Latched
Press for 3 s to put machine into power-saving mode. To reactivate, activate one of the
operating elements- See 5.22.3 Power-saving mode (Standby) chapter.
Pulsing push-button
TIG automated pulsing (frequency and balance)
Signal light lights up in green: Pulsing (thermal pulsing)/MMA pulse welding
Signal light lights up in red: kHz pulsing (metallurgical pulsing)
Special TIG AC
Synchronisation types key button (two-sided, simultaneous welding)
Synchronisation via mains voltage
Synchronisation via cable
Gas test/rinse hose package button
- See 5.8.2 Setting the shielding gas quantity chapter
Error/status indicators
Collective interference signal light
Water deficiency signal light (welding torch cooling)
Excess temperature signal light
safety sign signal light
Display switching button
Material thickness display
VOLT Welding voltage display
JOB JOB number display
PROG Program number display
Welding parameter setting rotary transducer
Setting of all parameters such as welding current, sheet metal thickness, gas pre-flow
time, etc.
Welding data display (3-digit)
Displays the welding parameters and the corresponding values