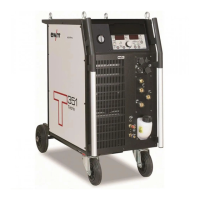
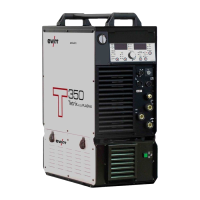
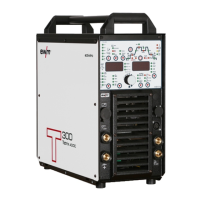
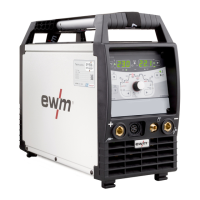
Design and function
TIG welding
099-000115-EW501
17.06.2015
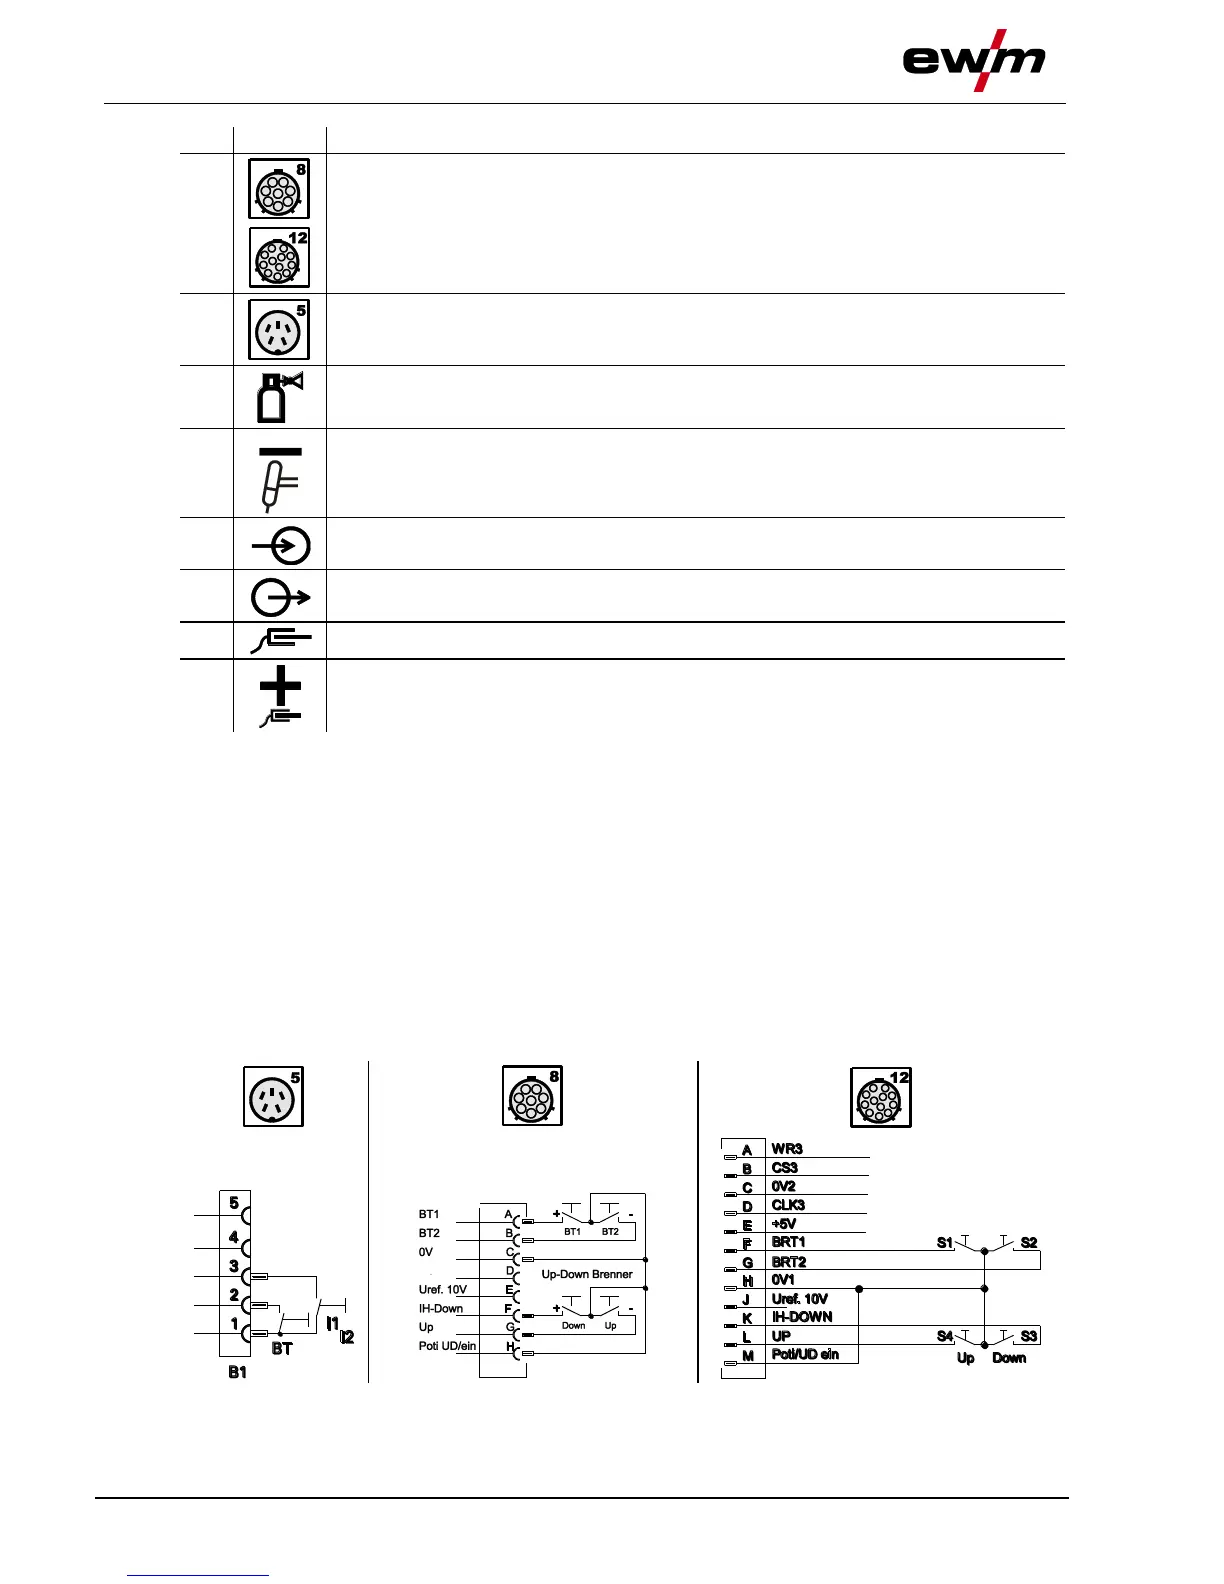
Connection socket, 8-pole/12-pole (depending on variant)
8-pole: Control cable TIG up/down or potentiometer torch
12-pole: Control cable TIG up/down torch with LED display (option)
Connection socket, 5-pole
Standard TIG torch control lead
G¼” connecting nipple, “-” welding current
Shielding gas connection (with yellow insulating cap) for TIG welding torch
Connection socket, “-” welding current
TIG welding torch connection
Quick connect coupling (red)
coolant return
Quick connect coupling (blue)
coolant supply
Connection socket, “+” welding current
Connection for workpiece lead
• Insert the welding current plug on the welding torch into the welding current connection socket and
lock by turning to the right.
• Screw welding torch shielding gas connection tightly onto the G¼" connection nipple, welding current
“-”.
• Insert the welding torch control lead plug into the connection socket for the welding torch control lead
(5-pole with standard torch, 8-pole with up/down or potentiometer torch and 12-pole with up/down
torch with LED display) and tighten.
• Lock connecting nipples of the cooling water tubes into the corresponding quick connect couplings:
Return line red to quick connect coupling, red (coolant return) and
supply line blue to quick connect coupling, blue (coolant supply).
• Insert the cable plug on the work piece lead into the "+" welding current connection socket and lock by
turning to the right.
5.12.1.1 Torch connection options and pin assignments