CHAPTER 1 ASSEMBLY
1-2
ASSEMBLE THE HANDLE, THE 2277 TABLET COMPUTER, AND CLAMP
The handle section with the black ball is the top section. The other section is the lower
section or Battery Handle. It contains a set of rechargeable batteries to provide power
for the 2277 Tablet computer.
Screw the lower section onto the Dipstick body stud and snug it down.
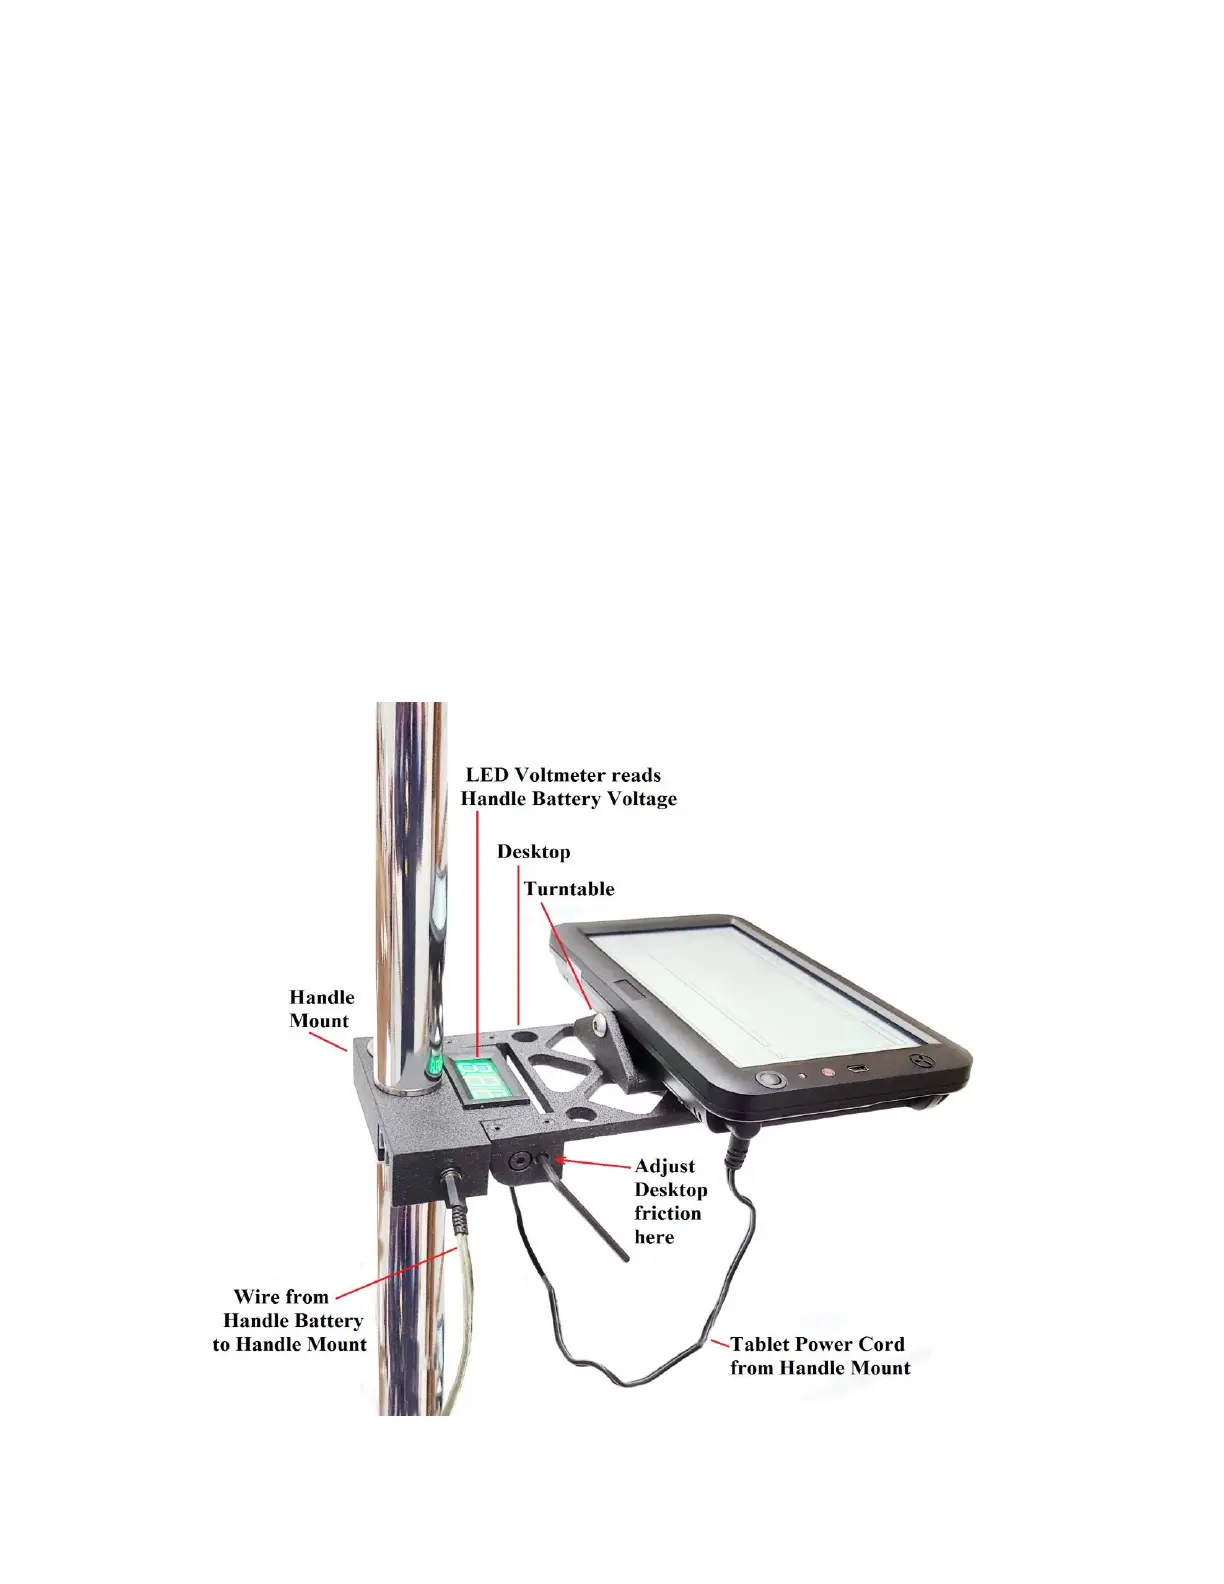
Place the computer clamp assembly over the threaded stud on the bottom handle
section. Be sure the beeper and LED Voltmeter on the computer clamp are facing up.
Align the Tablet so that it is over the “Start” end of the Dipstick.
Screw the top handle section onto the threaded stud on the bottom handle section
sticking through the computer clamp assembly and snug it down.
ADJUST THE COMPUTER CLAMP ASSEMBLY
The computer clamp assembly functions as a rotary desktop as well as a clamp that holds
the computer to the Dipstick
®
. The two 1/8" set screws on the side of the Handle Mount
provide the friction that holds the desired angle for the desktop. Once the desired position
is obtained, tighten up the set screws enough to provide adequate friction, but do not
overtighten.