CHAPTER 5 PROCESS
5-11
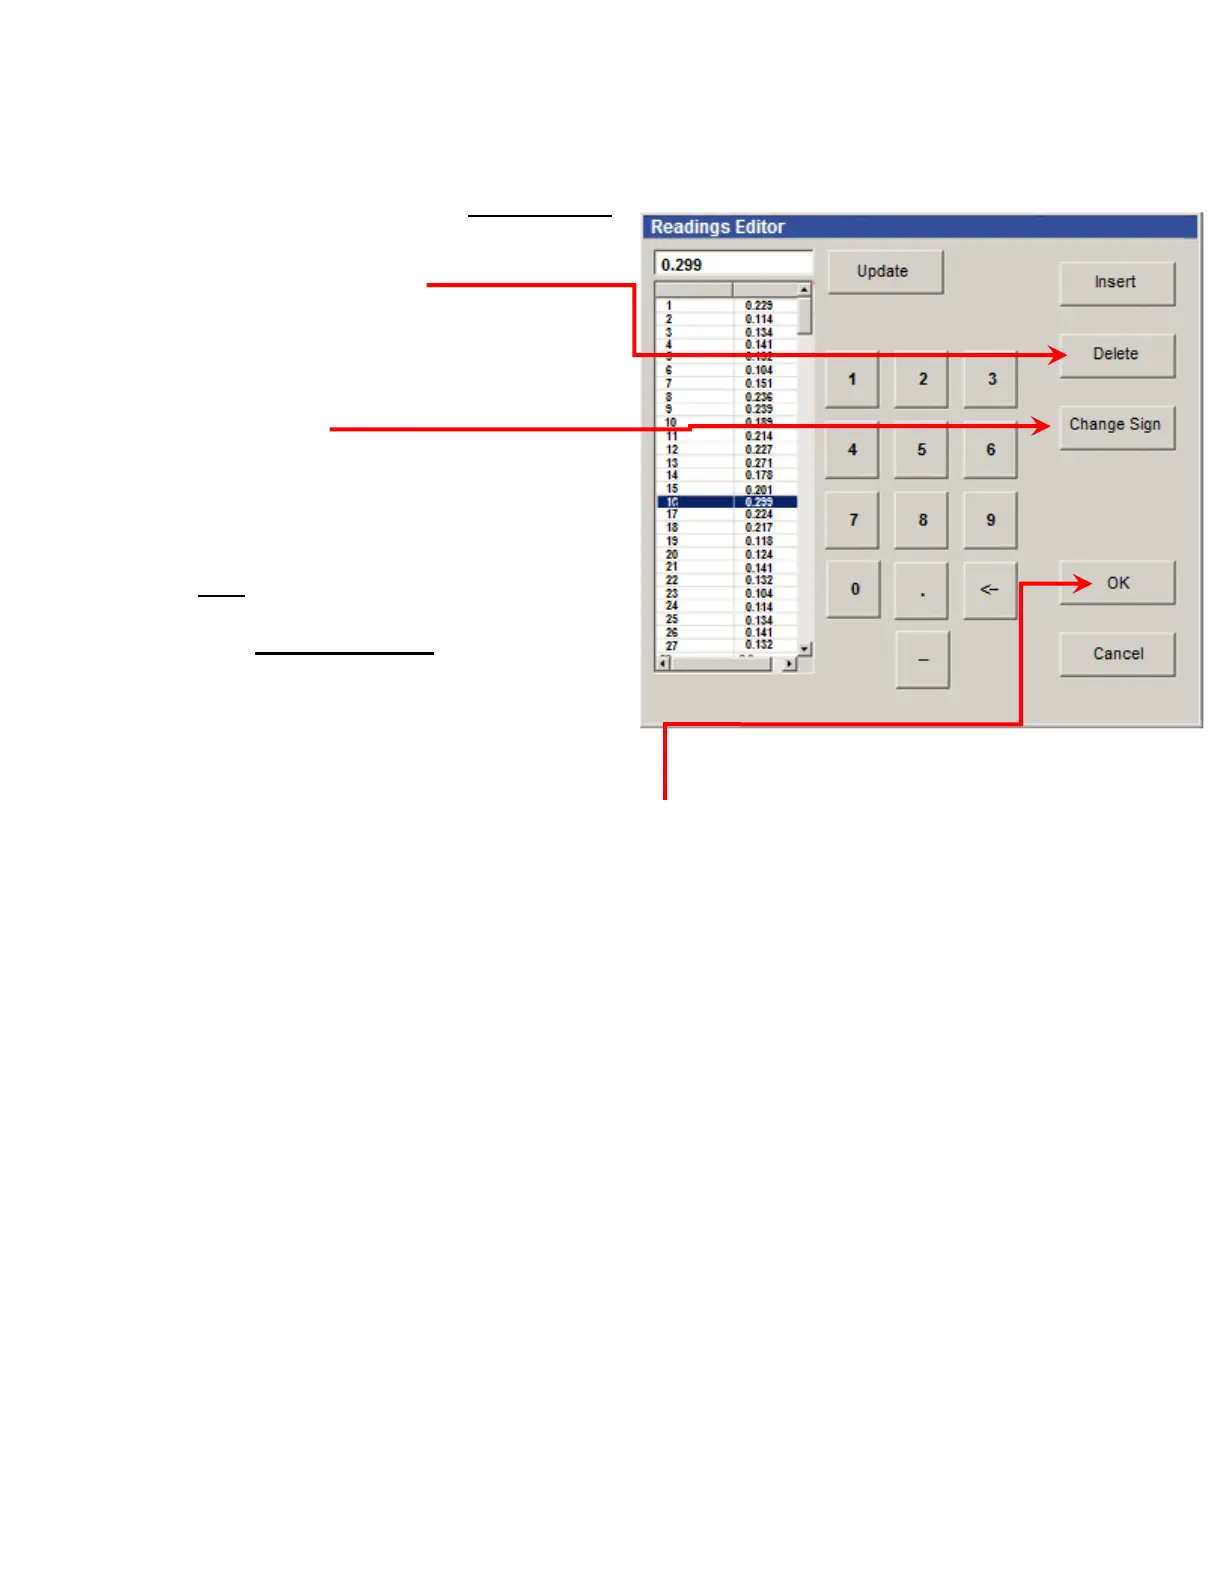
FIXING FALSE READINGS
There are two steps to Remove a False Reading:
Select (highlight) the False Reading and
press the “DELETE” button. The old
Reading disappears and all the subsequent
readings automatically move up to fill the
hole where the deleted reading used to be.
The cursor will stay in the same place.
Then without moving your cursor, click
“Change Sign” and this and all subsequent
readings will change sign. All the +
readings will become – readings, and all the
– readings will become + readings. This
will only change the signs of the readings
after the deleted False Reading.
To Add a Skipped Reading: Select (highlight)
the place where you want to insert a Skipped
Reading, then click the INSERT button. The
new reading appears, and all you need to do is
enter the correct value of the reading.
Once you have finished editing Readings, press the “OK” button at the bottom of the window. If
this is an Original Run, the program will automatically create a new Run, with the same name
and the suffix "^E". (to indicate that it has been edited) If this is a non-original Run, a
confirmation screen will appear and ask if you wish to create a New Record. With non-original
Runs, you get a choice whether to make a new Run with the edited data, or to simply save the
changed data in the same Run.
Important Note:
You should never edit, delete, or add readings unless you have a valid reason to do so. Valid
reasons include deleting “False Readings” and adding data that was collected manually.