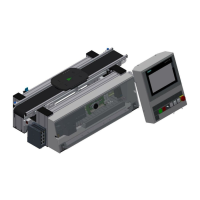
Design and function
68 © Festo Didactic Conveyor
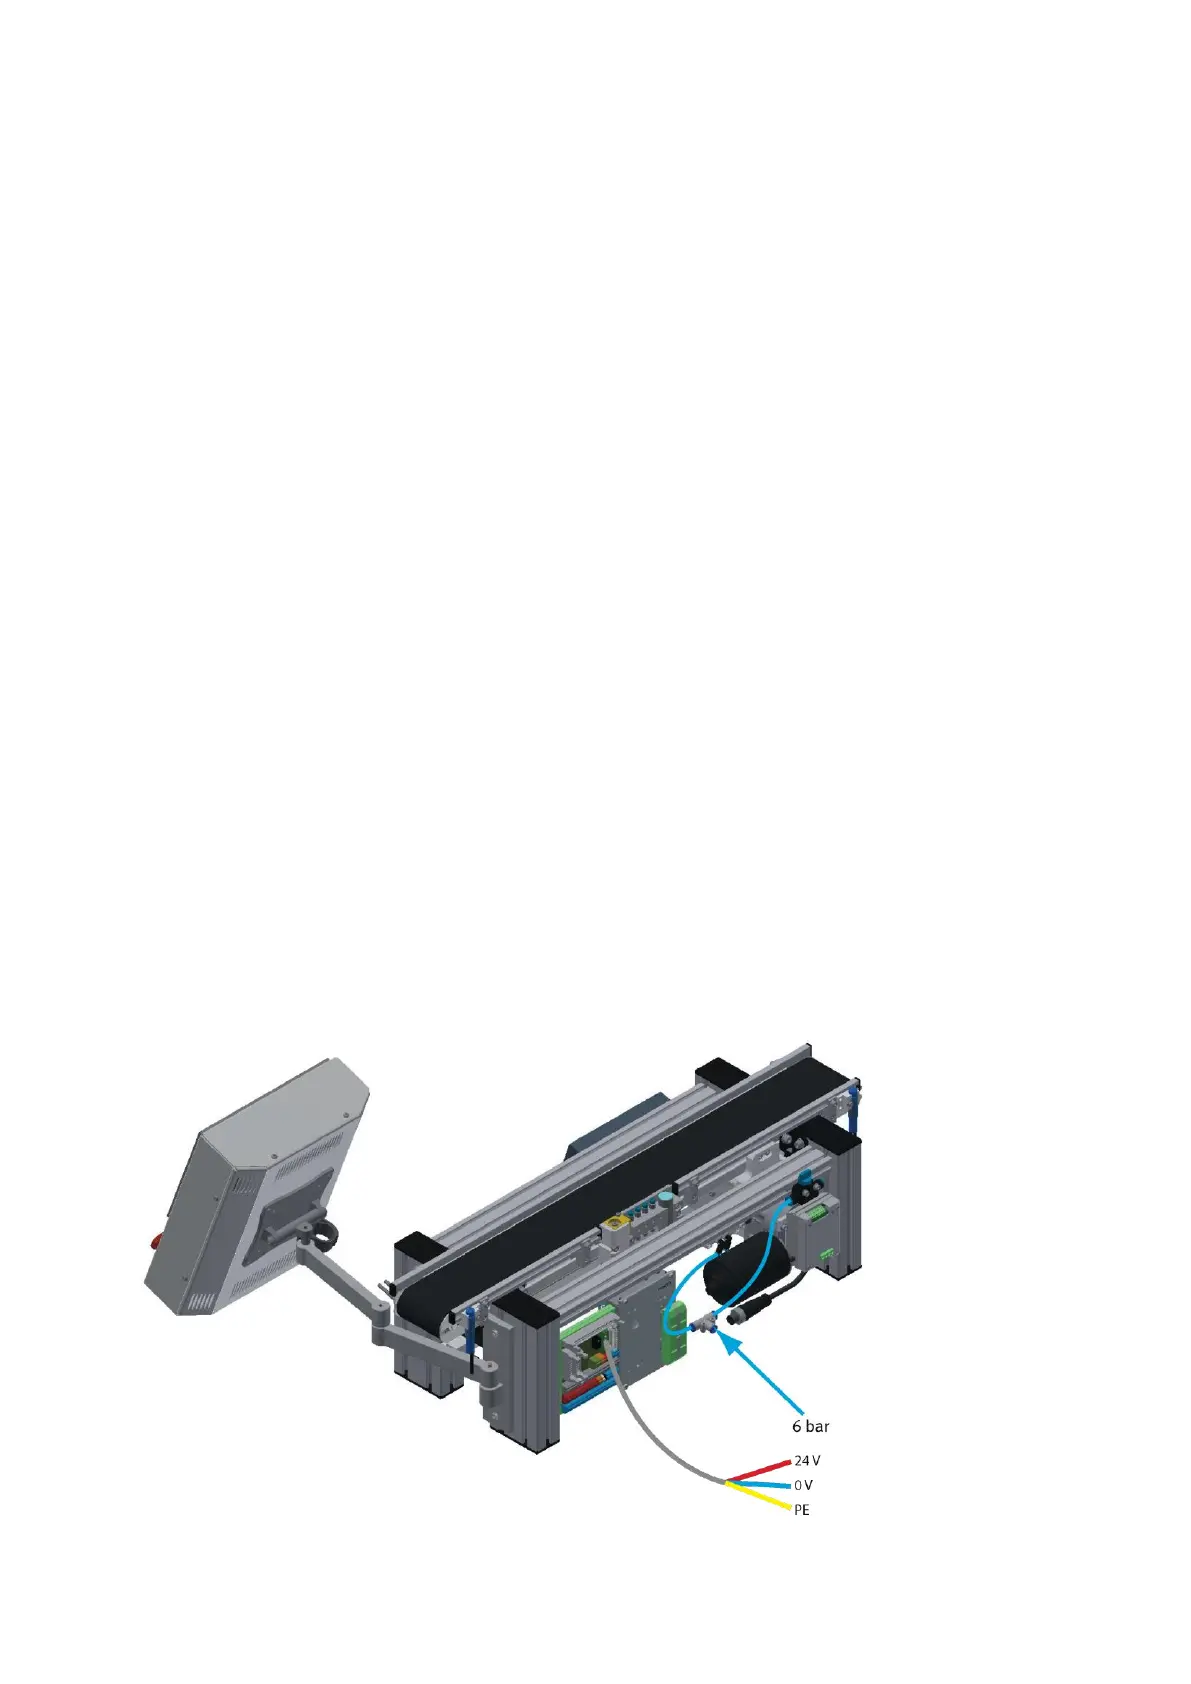
5.7 Commissioning
For the CP Lab conveyor, an initial start-up has been made ex works.
Please follow the following instructions in order to be able to work with CP Lab conveyor as well as with a
possibly present application:
1. CP-L-CONV with 36 V DC motor: Connect the power supply 230 V AC for the power supply unit and
connect the 24 V supply cable of the module.
CP-L-CONV with 230 V AC motor and G120 Edutrainer: Connect the the supply unit Edutrainer with
230 V. Connect the 24 V supply calbe of the module and connect the the supply cable of the G120.
CP-L-CONV with 400 V motor and G120 Edutrainer: Connect the G120 Edutrainer with 400 V and connect
the 24 V suppy cable of the module.
2. The power supply is correctly connected to the CP Lab conveyor, but not yet switched on yet.
3. The CP Lab conveyor is supplied with approx. 6 bar compressed air. When commissioning for the first
time, make sure to increase the pressure slowly. This prevents unpredictable events.
4. All EMERGENCY STOP signaling devices (pushbutton, door contact, light barriers, etc.) are not actuated
or activated and unlocked.
5. Check any installed application for visual damage and repair if necessary
6. Remove workpieces
7. For CP-L-CONV with 36 V DC motor: Switch on the power supply to the power supply unit.
For CP-L-CONV with 230 V AC motor and G120 Edutrainer: Switch on the Edutrainer and G120 supply
unit.
For CP-L-CONV with 400 V AC motor and G120 Edutrainer: Switch on the power supply to the G120.
8. The HMI (touch panel) is started and starts up
9. Illuminated button Q1 on the control panel flashes
10. Press illuminated button Q1
11. Q1 illuminated pushbutton lights up.
12. Acknowledge the error message on the HMI
13. On the HMI, select the straightening mode and press the straightening button
14. Select Automatic on the HMI and press the Automatic button