150718 PL YFLY rev A_Frame | Aug us t 7, 20 15 5:0 6 P M
38. Using a mallet, tap part 51 into place.
39. Secure part 51 to the assembly using 21 screws.
‒ Total of 21 locations, 21 screws.
40. Flip assembly right side up.
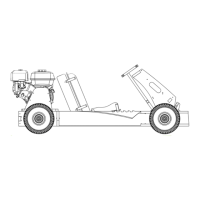
41. Lay part 50, with the small tee nuts facing upwards, into
place.
Note the orientation and position of tee nut pattern on part 50.
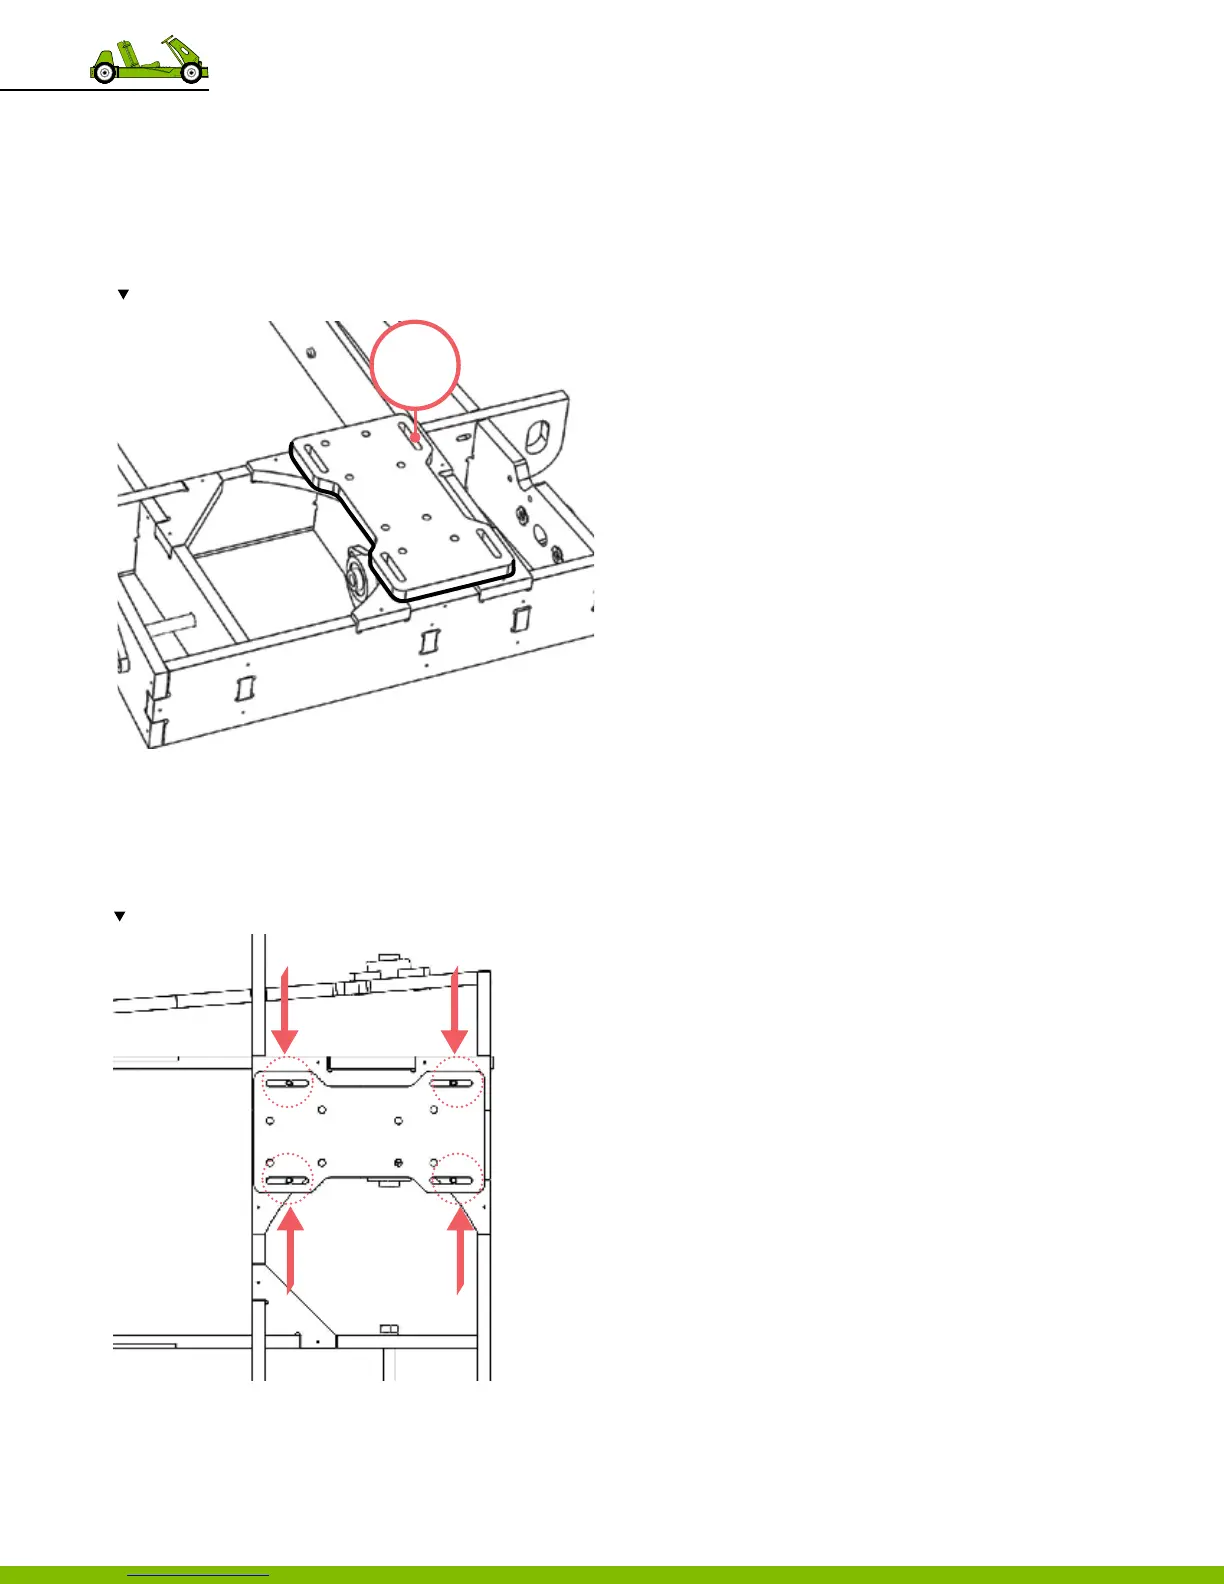
42. Secure part 50 to the assembly using washers &
hex head cap screw.
‒ Use 4 washers
‒ Use 4 hex head cap screw.
‒ Total 4 locations.
Note the orientation and position of the hex hed bolts; tee-nuts should face up.
50
36
9 Frame Assembly