Endurance® Series
Users Manual
92
11.3. Cleaning the Lens
Keep the lens clean at all times. Any foreign matter (dust, fingerprints…) on the lens or window
surface will affect 1-Color measurement accuracy and may affect 2-Color accuracy too.
However, care should be taken when cleaning the lens.
To clean the window, do the following:
1. Lightly blow off loose particles with “canned” air (used for cleaning computer
equipment) or a small squeeze bellows (used for cleaning camera lenses).
2. Gently brush off any remaining particles with a soft camel hairbrush or a soft lens tissue
(available from camera supply stores).
3. Clean remaining “dirt” using a cotton swab or soft lens tissue dampened in distilled
water. Do not scratch the surface.
For fingerprints or other grease, use any of the following:
• Denatured alcohol
• Ethanol
Apply one of the above to the lens. Wipe gently with a soft, clean cloth until you see colors on
the surface, then allow to air dry. Do not wipe the surface dry, this may scratch the surface.
If silicones (used in hand creams) get on the window, gently wipe the surface with Hexane.
Allow to air dry.
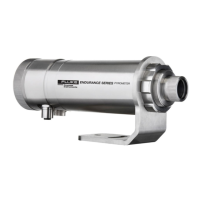
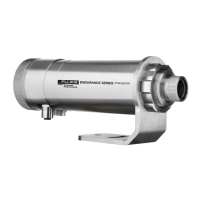
11.4. Changing the Window
Sometimes extremely harsh environments can cause damage to the window.
A replacement protective front window (E-PW) is available.
To replace the sensor’s protective front window, complete the following:
1. With a very small flat-bladed screw driver (e.g., a jeweler’s screwdriver), pry out the
rubberized Buna-N 70 durometer O-ring. The O-ring is set in a groove in front of the
window.
2. Turn the sensor face down (window pointing down), and the window should fall out.
3. Turn the sensor face up and insert the new window. (Make sure both sides of the
window are clean.)
4. Replace the O-ring.