Do you have a question about the Framery 2Q and is the answer not in the manual?
Specifies product's intended use and prohibits unauthorized modifications or uses.
Outlines primary safety hazards during installation, maintenance, and use.
Guides the installation of the floor components for the back pod section.
Installs support beams to the wall modules for the back pod section.
Attaches the back half of the roof to the wall modules.
Secures the assembled back roof and wall sections to the floor.
Guides the installation of the floor components for the front pod section.
Installs support beams to the wall modules for the front pod section.
Ensures structural integrity by checking alignment after joining pod sections.
Installs the control panel onto the strike plate-side glass frame.
Details attaching door hinges and adjusting door closing speed.
Installs the lock mechanism and door handles.
Guides the installation and adjustment of the optional smart lock.
Details connecting fans, lights, and motion detector to the control unit.
Connects the main power and completes the warranty checklist.
| Power supply | 110-240V, 50-60Hz |
|---|---|
| Lighting | LED lighting |
| Color options | Various |
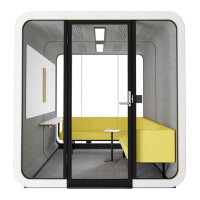
| Door type | Sliding door |
| Electrical outlets | 2 |
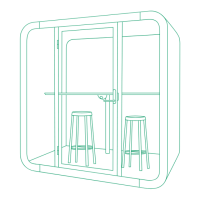
| Seating capacity | 2 |