28
Change over the welding system as shown below:
+
+
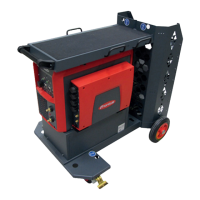
TPS 500i
WCC
CALSYS
WF 15i / 25i / 30i Euro
*
CALSYS = calibration system 2.0, WCC = WeldCube Connector, PoE = Power over Ethernet
* = Euro/central connector adapter with Tuchel socket
29
Confirm the prompt to change the polarity of the WeldCube Connector with
OK.
The calibration process resumes.
When the calibration process is complete, a notification to this effect is dis-
played and the [Print calibration record] button is available.
30
Click [Print calibration report]
Calibration system / create report is displayed.
31
Enter the details to create the calibration report:
Under Template, select the language for the calibration report from the list
Enter the output path
Enter or search for ( [Browse] ) the file name
If the Signotec signature pad is connected and has been detected by the cal-
ibration system, a notification to this effect is displayed under Signature pad.
If not, check the connection of the Signotec signature pad to the calibration
system and then click on [Reconnect].
32
Sign the Signotec signature pad with the corresponding digital pen
33
Press [OK] on the Signotec signature pad
The signature is sent to the calibration software.
x ... Cancel signature
Refresh ... new signature
A corresponding notification is displayed after the signature has been re-
ceived successfully.
34
Click [Create PDF]
IMPORTANT! Only after the confirmation "PDF created successfully!" is dis-
played, will the calibration report be saved.
89
EN