115 232003110G (03)
5.2 The LaserPro S400 Print Driver
With the LaserPro S400 print driver successfully installed, you will need to adjust the printer and page
size default settings before you can begin editing and completing jobs. By doing so, you will be setting
the work area in your graphics software to match the work table area.
Please make sure the LaserPro S400 is set to the default printer before proceeding to
the page and layout setup.
Ensure that the LaserPro S400 has been selected as the DEFAULT PRINTER. You can do so by
going into your Windows Touch Screen → Printers and Faxes. If the LaserPro S400 is not selected as
DEFAULT PRINTER, you may set it up through the graphics software as well. The following example
takes CorelDRAW to demonstrate how to set up LaserPro S400 as the Printer
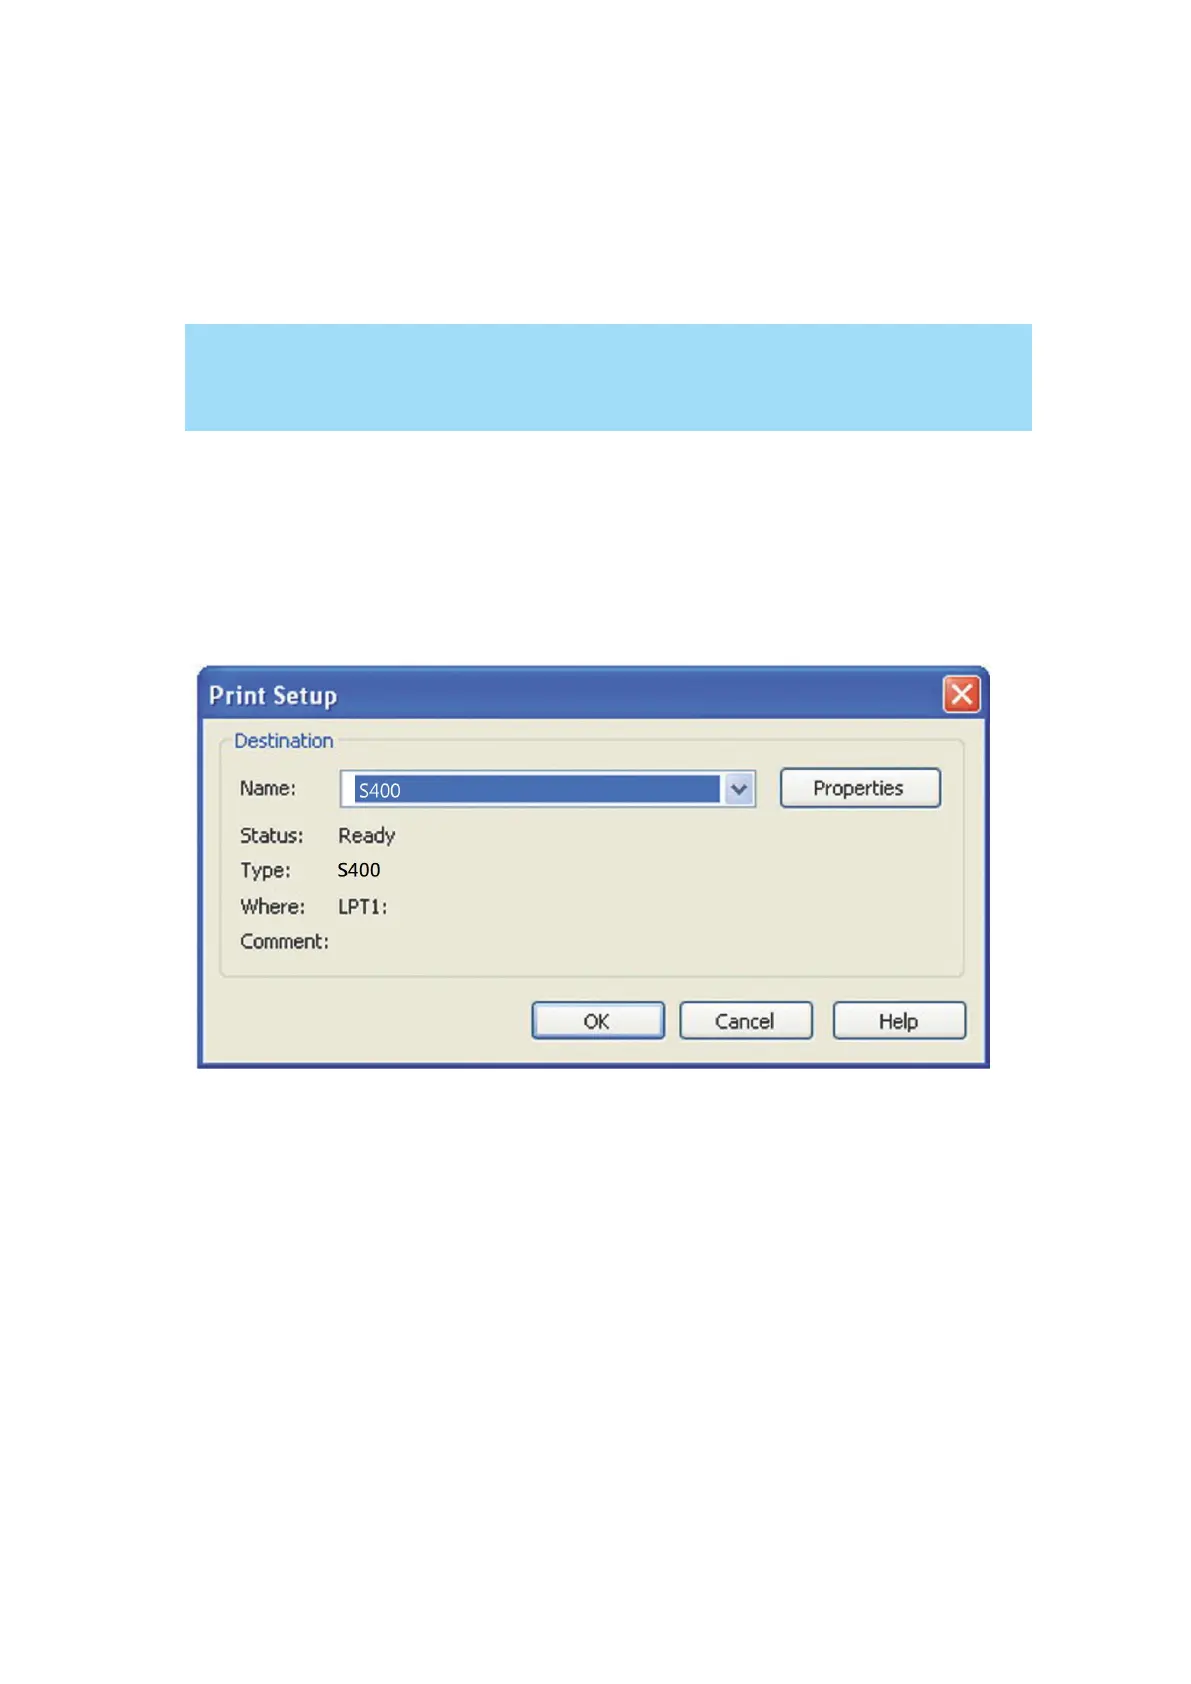
1) From the primary menu, click FILE → PRINT SETUP.
2) From the navigation bar Name, click S400 → OK
5.2.1 Page Setup and Orientation
The first thing you must do before working with the LaserPro S400 Print Driver will be to make
sure the page and layout settings are properly configured within your graphics software. You
will need to access and edit the Page Setup or Layout page of your graphics software to set
your graphics software’s page layout to match the LaserPro S400’ work table’s dimensions and
orientation.
From your graphic software’s Page Setup page:
• Set the page orientation in the graphics software to Landscape mode.
• Set page size to match laser machine work area size.
S400: 880x610 mm (34.6”x20”)