117 232003110G (03)
5.2.3 Using the LaserPro Print Driver
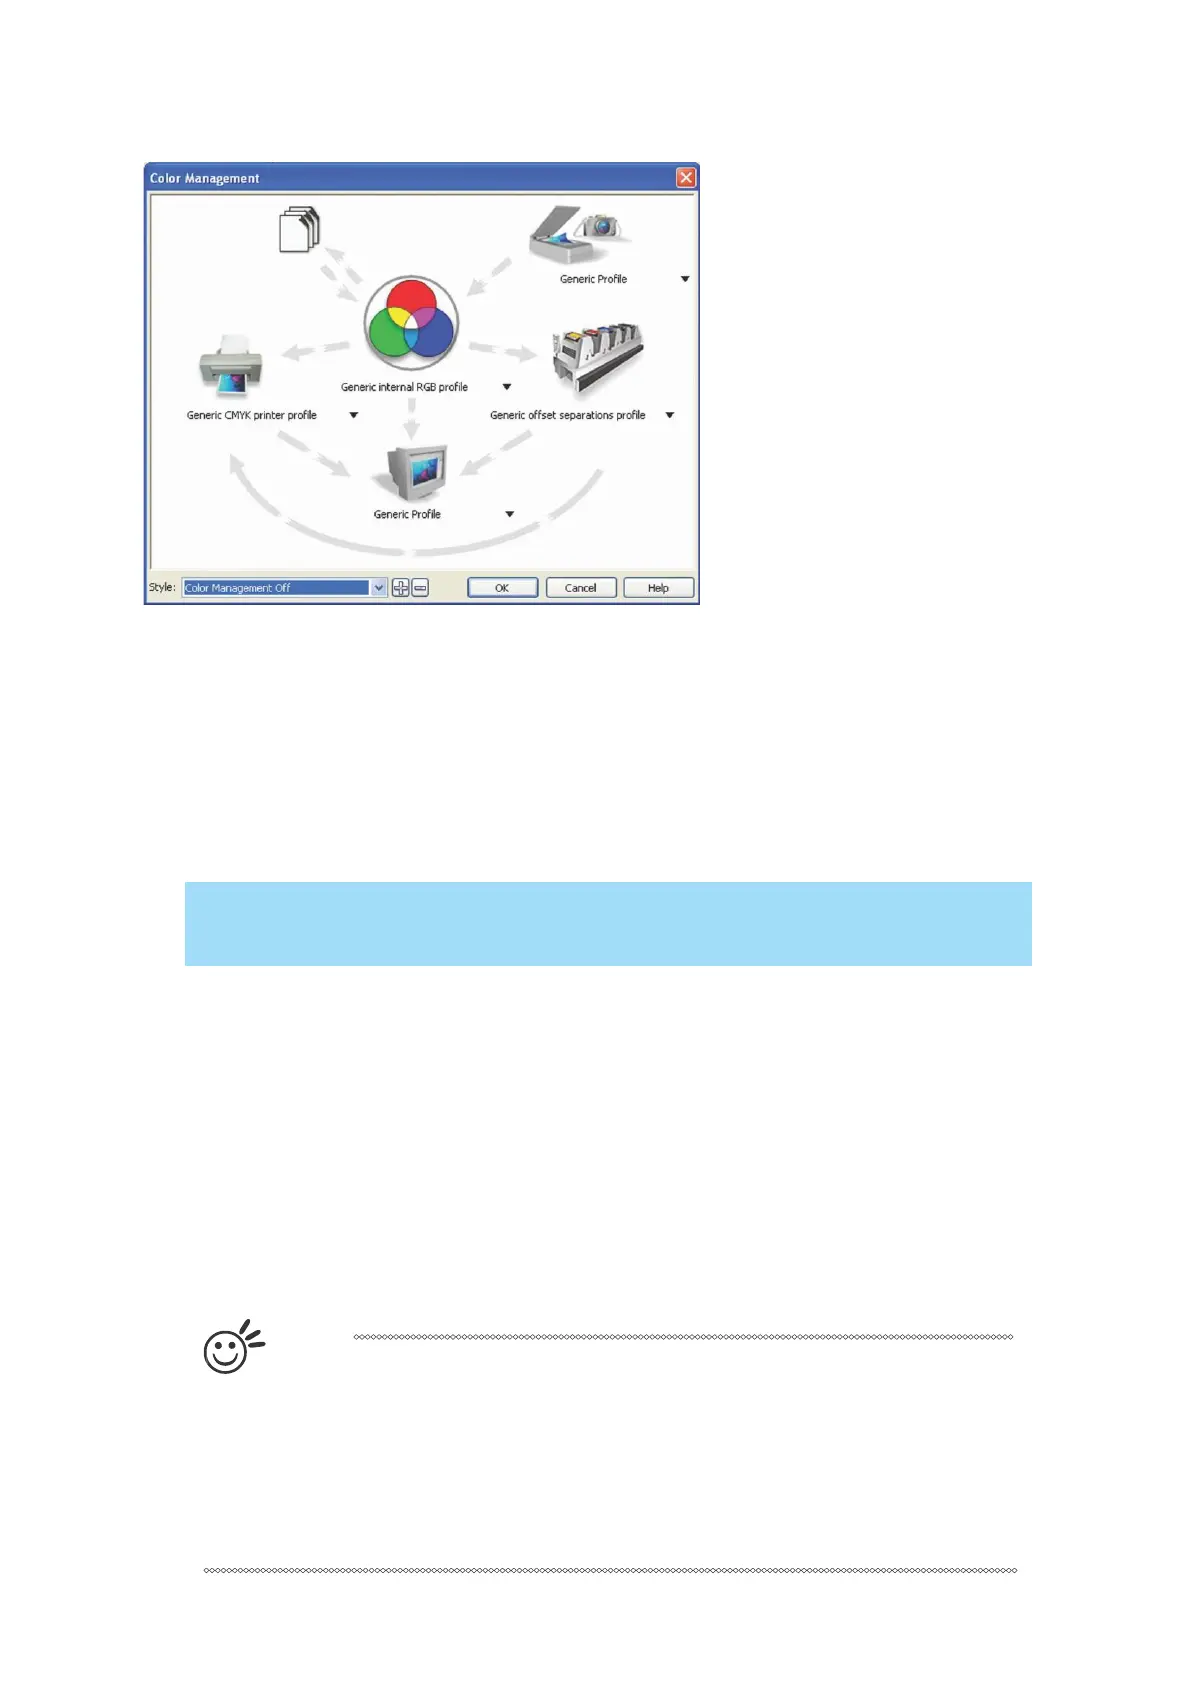
Now after you have properly set the Page and Layout and Color Management of your graphics
software, you are ready to configure the detail of your actual job through the LaserPro print
driver. The LaserPro print driver allows you to adjust your engraving / cutting options. After you
have setup your image, design, or text to be engraved in your software application, you can
access the LaserPro S400 print driver by going to <FILE> → <PRINT>→ <PROPERTIES>.
CorelDRAW was used as the software application for this screenshot example.
The LaserPro S400 Print Driver consists of seven primary sections (pages) in which you will be
able to choose various engraving / cutting options and settings:
• Options Page
• Pen Page
• Advanced Page
• Paper Page
• Language Page
• Raster Page (appears only in Black & White Mode)
• Stamp Page (appears only in Stamp Mode)
T
i
p
The following sections describe the specific functions for each of the settings
found in the LaserPro S400 Print Driver. If you are new to laser engraving, it is
recommended that you first familiarize yourself with the general principles of
the laser process in Section 6, especially the Vector Cutting and Raster
Engraving concepts. This will make it easier to understand the various
descriptions and terminologies used in this section.