166 232003110G (03)
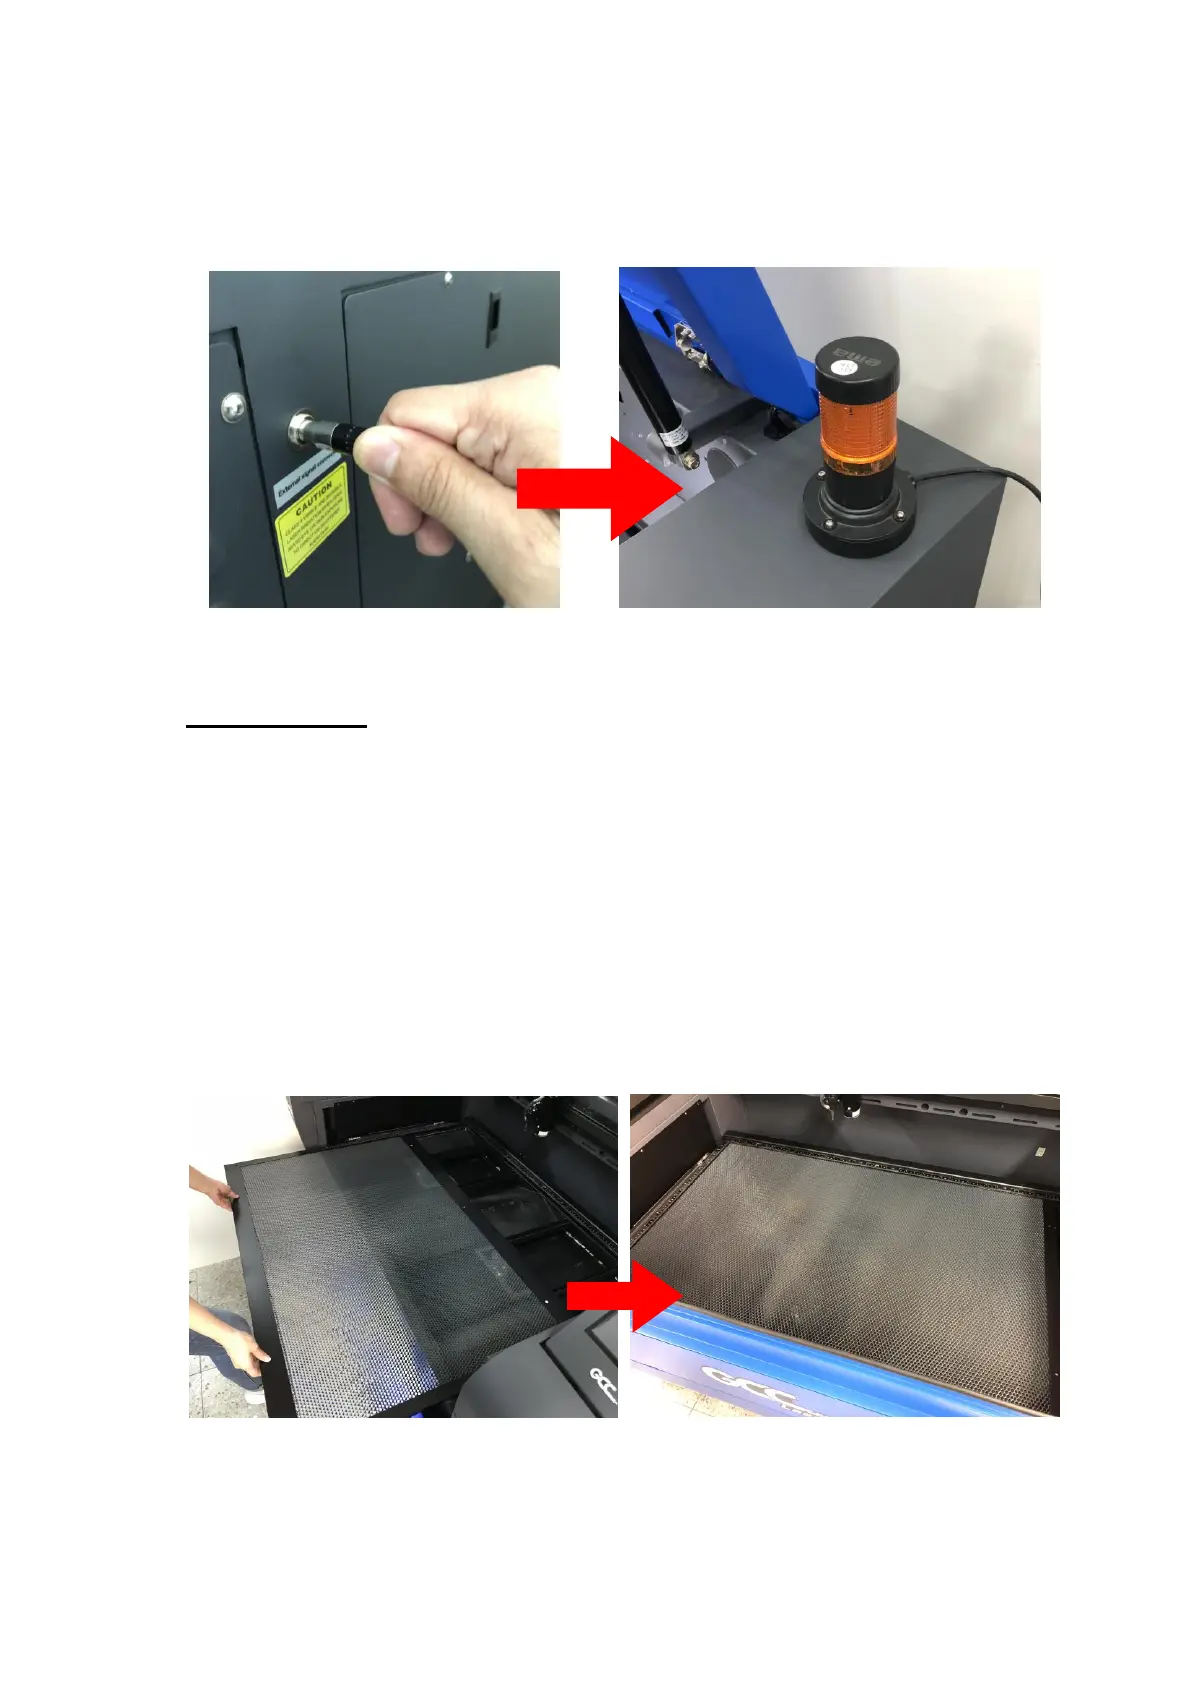
Step 4. Locate the external signal connector on the rear-right of laser system, and plug the warning light to
this port. Put the warning light on top of laser machine with high visibility as class IV safety
requirement.
7.5 Honeycomb Table
INSTALLATION
1) Open the front pass-through door and lower the work table to the lowest possible position
through the control panel.
2) Remove Aluminum grid cutting table and attached honeycomb table through the open front
pass-through door onto the work table, with the air extraction opening facing towards the back
end of the S400. Ensure the rear and left side of the cutting box is aligned to the edges of the
left and right rulers on the work table.
3) Lift the honeycomb table to find the four screw holes at the bottom of the cutting box. With the
included thumbscrews, secure the cutting box to the work table and close the honeycomb
table.
Congratulations, you are now ready to position your thin, flexible material on top of your
honeycomb table and commence your tasks.