Revision D 250 Series Maternal/Fetal Monitor 3-7
2020551-001
Installation: Self-Test Routine
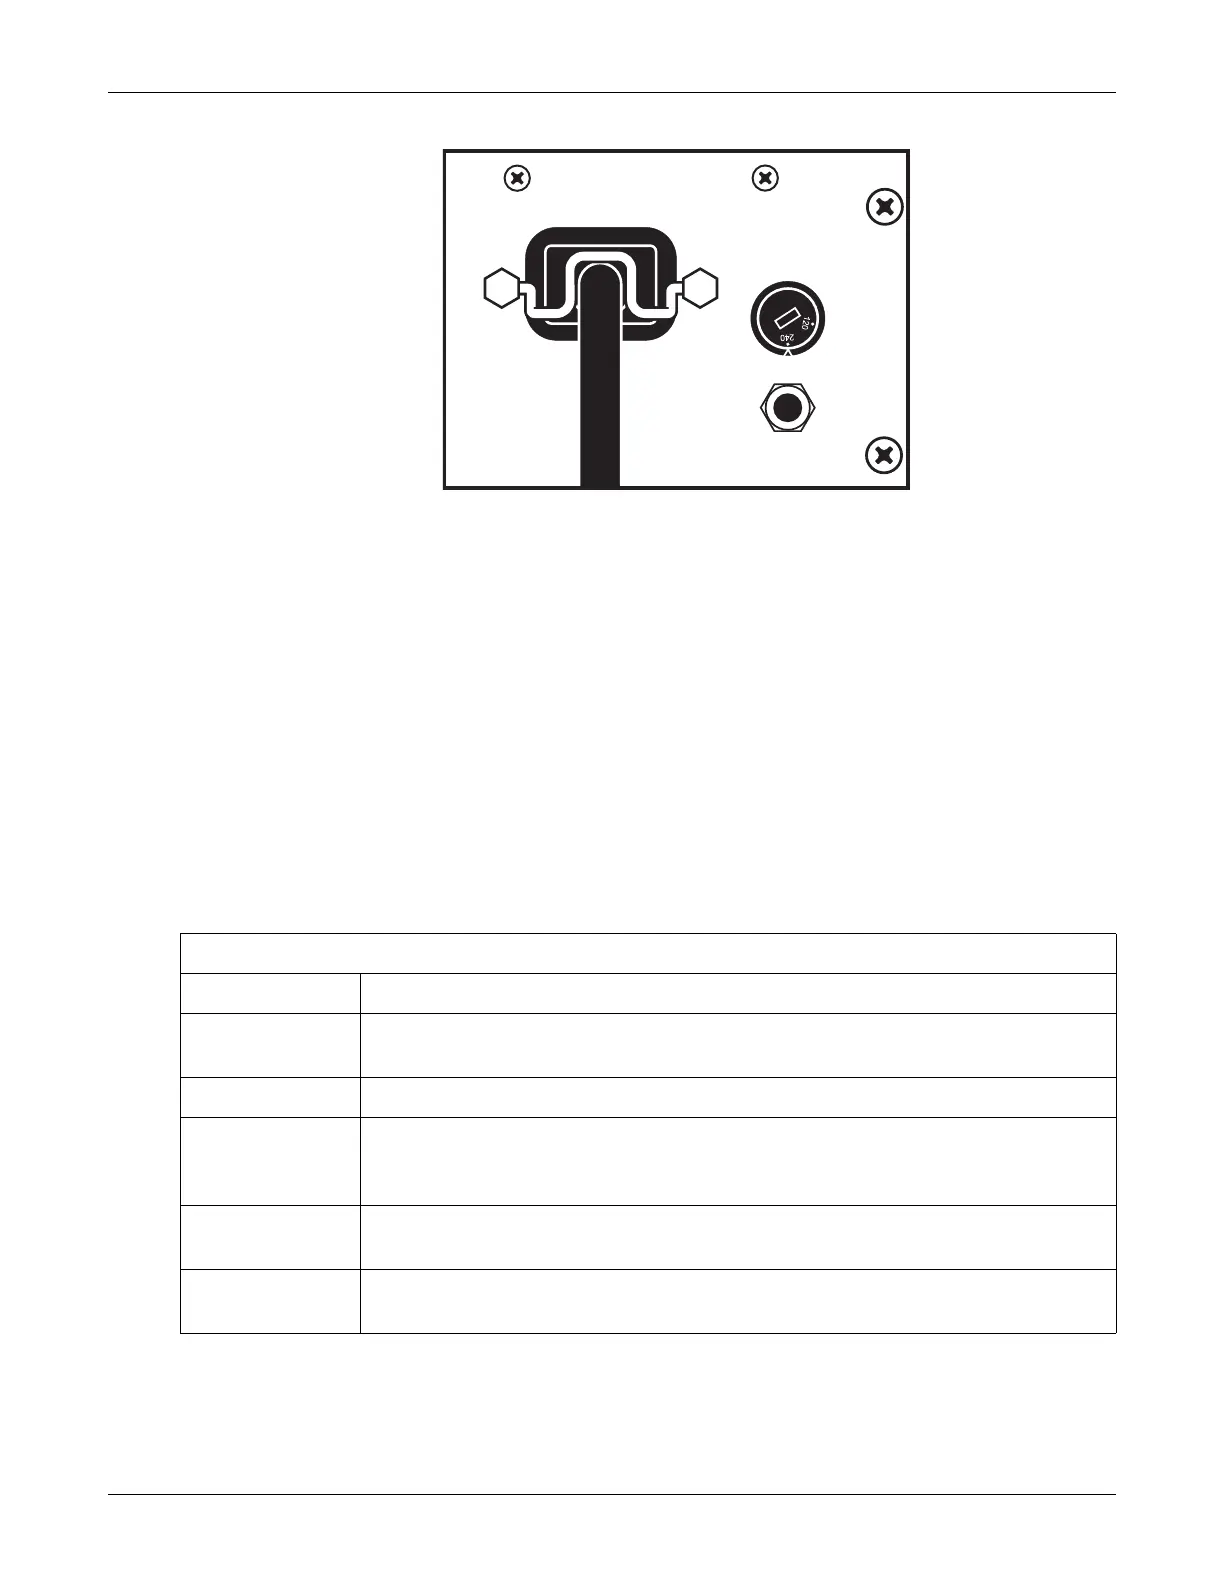
Attaching the Power Cord
3. Turn the monitor’s power on. The green indicator light, located near the upper
left-hand corner of the Light button, illuminates and a series of tones are heard,
indicating that the monitor has been turned on.
Self-Test Routine
The 250 Series Monitor contains a self-test routine which checks the calibration and
internal circuitry of the monitor. Initiate the self-test routine at the beginning of each
monitoring session to print the results on the patient’s strip chart.
NOTE: To stop a self-test routine that
is in progress, press the Test button or
open the recorder door.
1. Press the Test button.
2. Refer to Table 7 and ensure the test results are produced as expected. At the
successful completion of the self-test routine, the monitor is ready for use.
Table 7. Monitor Self-Test Routines
Test Routine Description
Display Test All display pixels extinguish for 1 second and then all illuminate for 1 second. Afterwards, a horizontal
line moves across the screen from top to bottom, followed by a vertical line moving from left to right.
Lamp Test The yellow Record indicator illuminates.
Recorder Test The message TEST: ARE ALL DOTS PRINTED? prints followed by two vertical lines which should
appear continuous. Discontinuous lines may be an indication of damaged printhead elements if gaps
occur in the same place on both lines.
Counting Test After the recorder test, the display returns to the main screen. The software generates a 120 bpm rate
in the FHR1 area, a 180 bpm rate in the FHR2 area, and both mode titles display Te st .
Uterine Activity The monitor adds 50 mmHg to the previously displayed value in the UA display area; the mode title
displays Te st .

 Loading...


