DIRECTION 5854713-100, REVISION 2
VENUE FIT™ SERVICE MANUAL
4-4 Chapter 4 - General Procedures and Functional Checks
PRELIMINARY
4-2-2-3 Connecting the Venue Fit™ Ultrasound Unit to Power
Connecting the Venue Fit™ultrasound unit involves preliminary checks of the power cord, voltage level
and compliance with electrical safety requirements.
1) Ensure that the wall outlet is of appropriate type.
2) Verify that the AC/DC power supply and the power cable are without any visible damage.
3) Verify that the on-site mains voltage is within the limits indicated on the rating label on the rear of
the Venue Fit™ ultrasound scanner.
4.) Connect the AC/DC power supply cable to the Venue Fit™system.
5.) Connect the other end of the AC/DC power supply cable (male plug) to a hospital-grade mains
power outlet with the proper rated voltage.
The unit is ready for Power/ON/Boot Up.
4-2-2-4 Switch ON the Venue Fit™
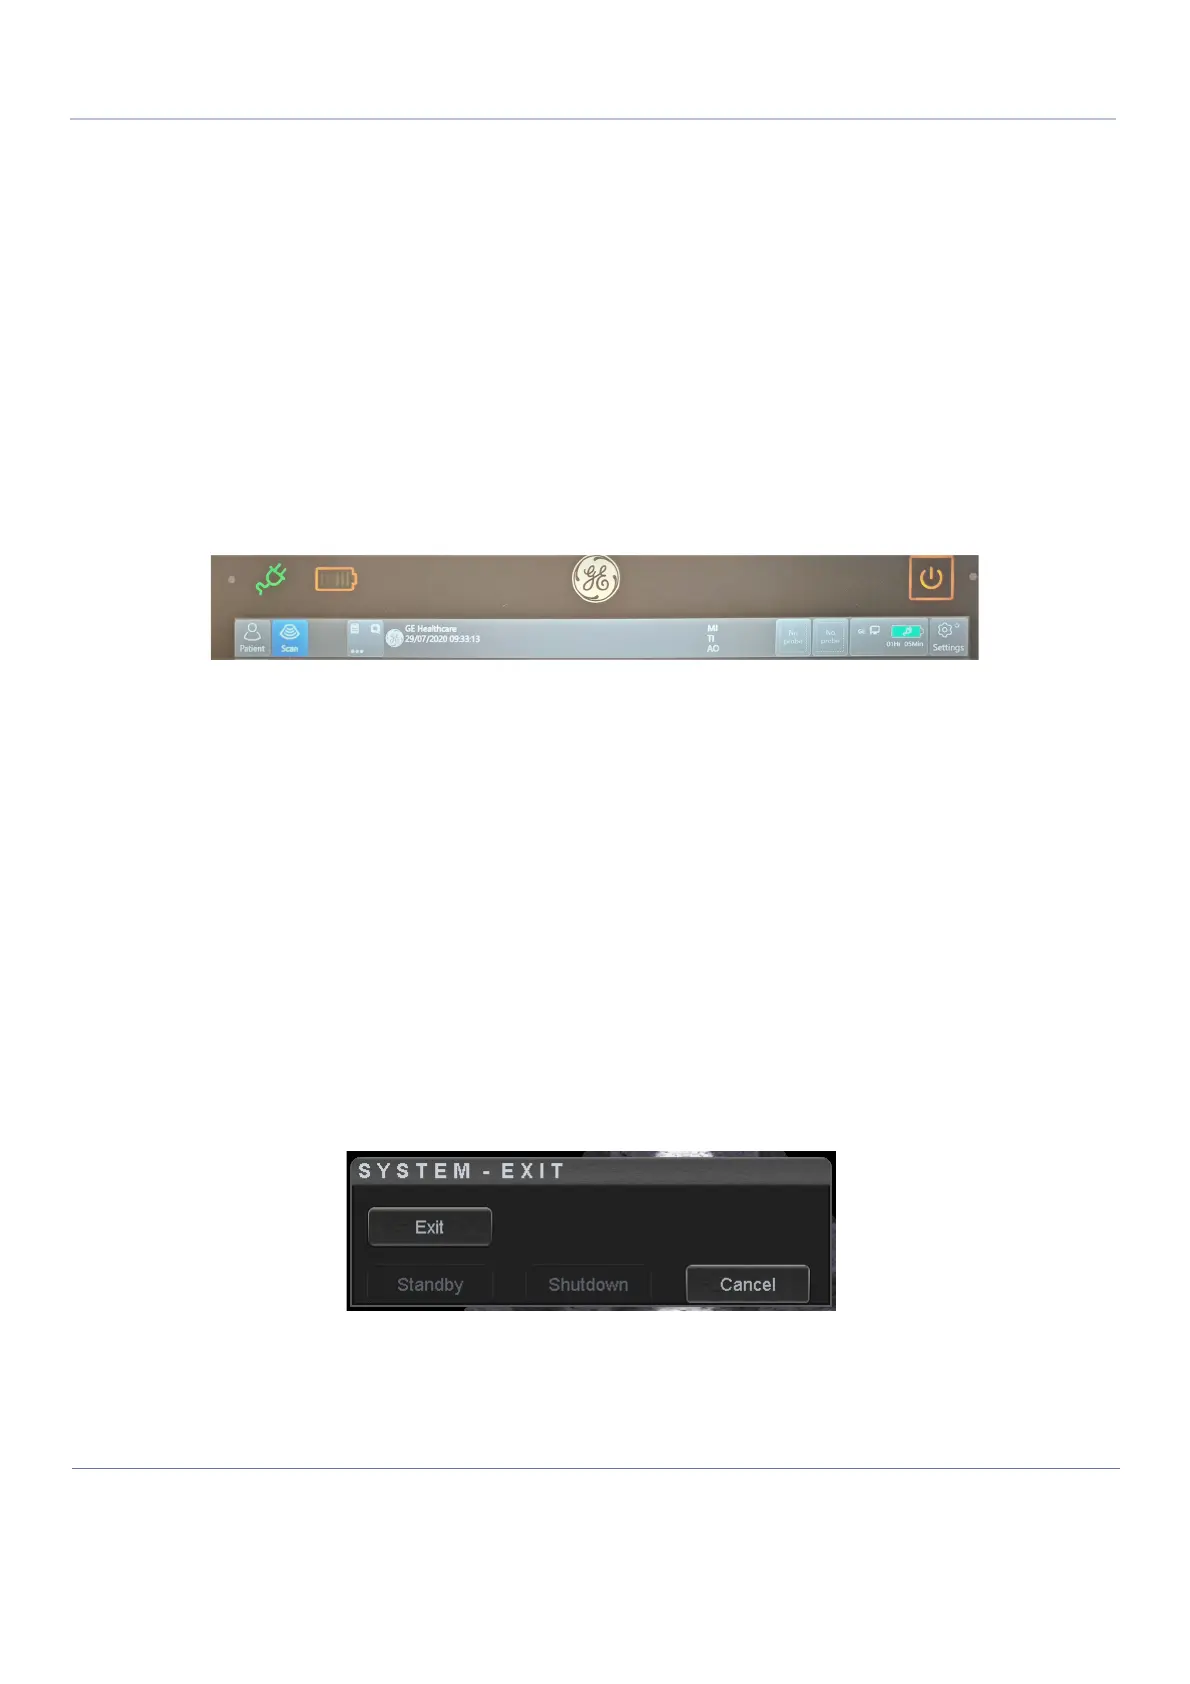
1) Tap the On/Off button on the touch display to boot up the unit.
Figure 4-41 On/Off Button on touch display
During normal boot-up, you may observe that:
a.) The unit’s ventilation fans start on full speed, but slow down after the application is loaded.
b.) The M-BEB and the rest of the scanner start with the sequence listed in the next steps:
1.) M-BEB Processor is turned ON and starts to load the software.
2.) The Start Screen is displayed on the monitor.
3.) A start-up progress bar indicating the time used for software loading, is displayed.
4.) The software initiates and sets up the Front-End electronics and the rest of the scanner.
5.) As soon as the software has been loaded, either a 2D screen is displayed on the screen,
indicating that a probe has been connected, or a No Mode screen is displayed, indicating
that no probe has been connected.
NOTE: Total time for start-up is approximately 1 minute.
4-2-3 Power Shutdown
When you tap the on/off button to turnoff the system, the system displays the following options:
Figure 4-42 Exit Dialog Window
• Standby
Use this button to enter the system into Standby mode.
 Loading...