48
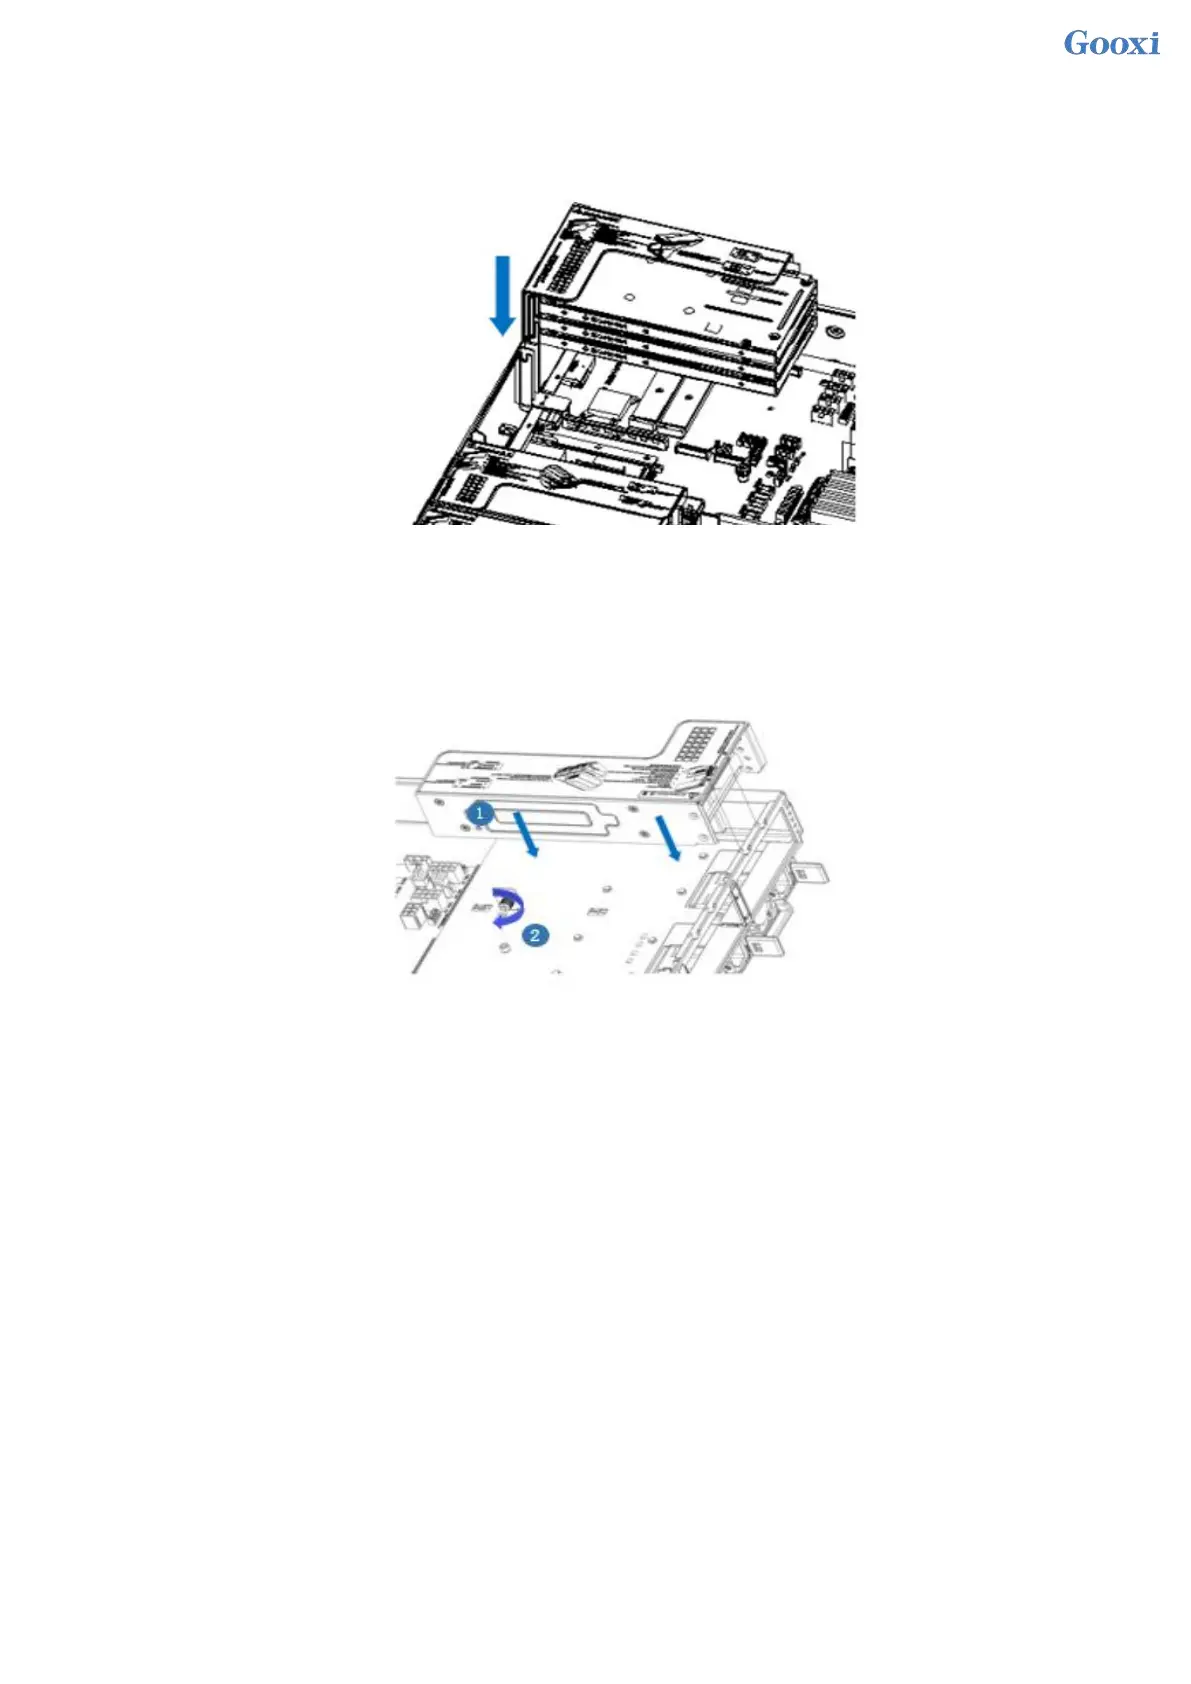
3.8 PCI-E module installation
Riser1-3 module installation steps: PCIE components on the rear window, place them vertically downward -
align with the PCIE slot, align with the positioning holes, and place them flush with the rear window.
Figure 3.22
Riser4 module installation steps: PCIE components in the rear window, place vertically downwards - align
the PCIE slot, align the positioning holes, place it flush with the rear window, and then tighten the side
screws.
Figure 3. 23
3.9 Rear hard disk module backplane installation
Step 1: Rear hard disk Module Backplane Installation
1. Move the back plate limit shrapnel outwards with your hands, and hold the shrapnel with your hands -
keep the shrapnel open
2. Align the peg holes on the backplane of the hard disk with the pegs of the hard disk module bracket, push it
in, and place it down in place, release the hard disk limit shrapnel, and the shrapnel will automatically bounce
back to the original position;
3. Flip over the fixing parts on the back panel of the hard disk, as shown in the figure - the fixing parts can be
placed flat.
 Loading...