2-68 Published 08-25-09, Control # 077-04
HYDRAULIC SYSTEM RT9130E SERVICE MANUAL
16. Remove the o-ring and backup ring from the outside of
the head and the wear rings, buffer seal, deep Z rod
seal, and the wiper ring from the inside of the head.
17. If necessary, remove the holding valve from the inner
cylinder rod and from the cylinder barrel.
Inspection
1. Clean all parts with solvent and dry with compressed air.
Inspect for damaged or worn parts and replace as
required.
2. Stone out minor blemishes and polish with fine crocus
cloth.
3. Clean all with solvent and dry with compressed air any
parts that have been stoned and polished.
4. Inspect the barrel for scoring.
Assembly
1. If removed, install the holding valves. Refer to HOLDING
VALVES in this section.
NOTE: Lubricate new seals and rings with clean hydraulic
oil.
NOTE: Locate the gap of wear ring 180 degrees with
respect to each other.
2. Install the wiper ring into the cylinder head.
3. Install the wear rings into the head.
4. Install the buffer seal and deep Z rod seal inside the
head ensuring the seals are assembled properly and
installed in the correct direction.
5. Install the o-ring and backup ring onto the outside of the
head.
6. Install the inner cylinder head onto the inner cylinder rod.
7. Install the wear ring onto the spacer and install the
spacer onto the rod.
8. Install the o-ring and backup rings onto the rod and
install the piston onto the inner cylinder rod. Secure the
piston in place with the setscrew.
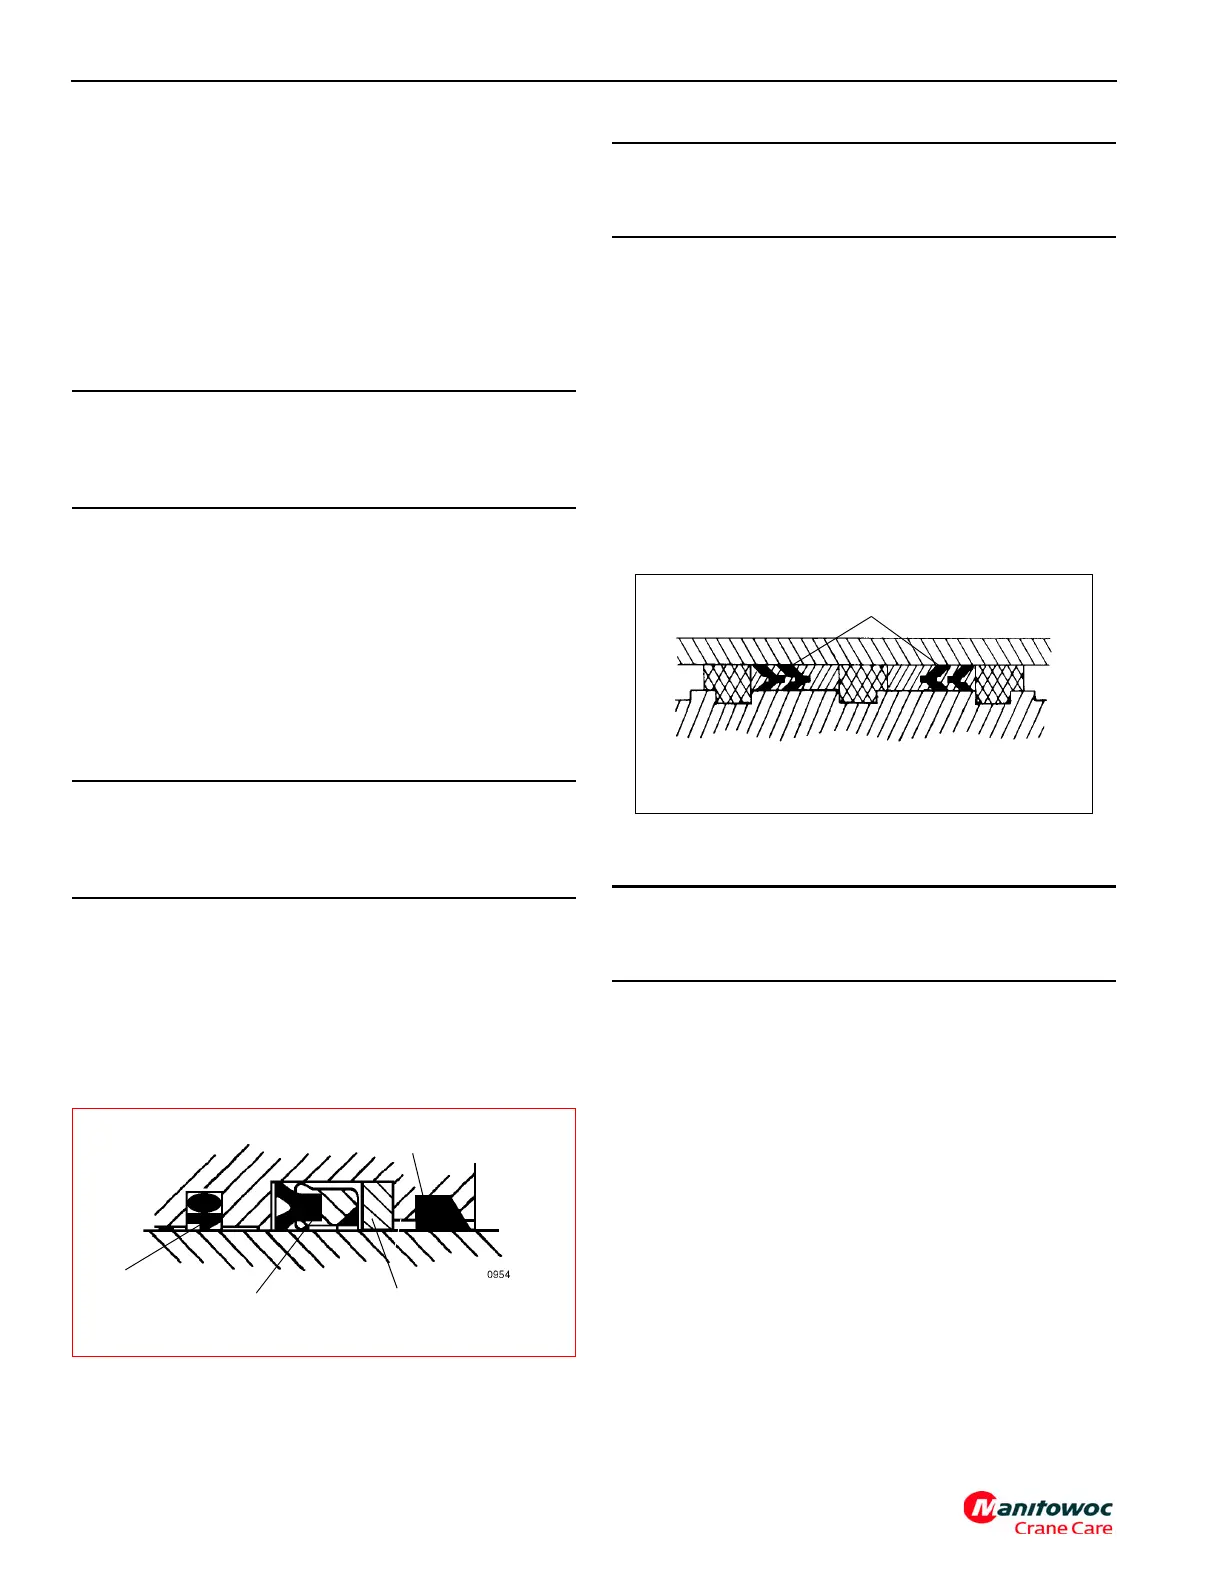
9. Install the hydrolock seals onto the piston. Refer to
(Figure 2-38) for proper seal orientation.
10. Lubricate the inner cylinder rod assembly with clean
hydraulic oil and install the rod assembly into the outer
cylinder rod with a slight twisting motion.
11. Using a spanner wrench, secure the inner cylinder head
to the outer cylinder rod.
12. Install the wiper ring into the outer cylinder head.
13. Install the wear rings into the head.
CAUTION
Clean all surfaces and remove all burrs and nicks before
installing new seals and rings. Replace all damaged or
worn parts.
CAUTION
When installing new seals and rings, clean all surfaces
and carefully remove burrs and nicks. Parts displaying
excessive wear or damage should be replaced.
Wiper Ring
Deep Z Seal
Buffer Seal
Back-Up Ring
FIGURE 2-37
CAUTION
Improper seal installation can cause faulty cylinder
operation.
CAUTION
Avoid scratching or damaging the grooved and gland
surfaces or the seals and rings.
Hydrolock Piston Seals
FIGURE 2-38