INTRODUCTION RT9130E SERVICE MANUAL
1-12 Published 08-25-09, Control # 077-04
Primer Application
NOTE: It is not necessary to bathe the threads in primer.
1. Ensure the threaded surface, both male and female, is
clean and free of dirt and oil. Apply a light spray coating
of primer to both male and female parts to be joined to
clean and accelerate the curing process.
2. Allow the part to dry prior to adhesive/sealant
application.
Adhesive/Sealant Application
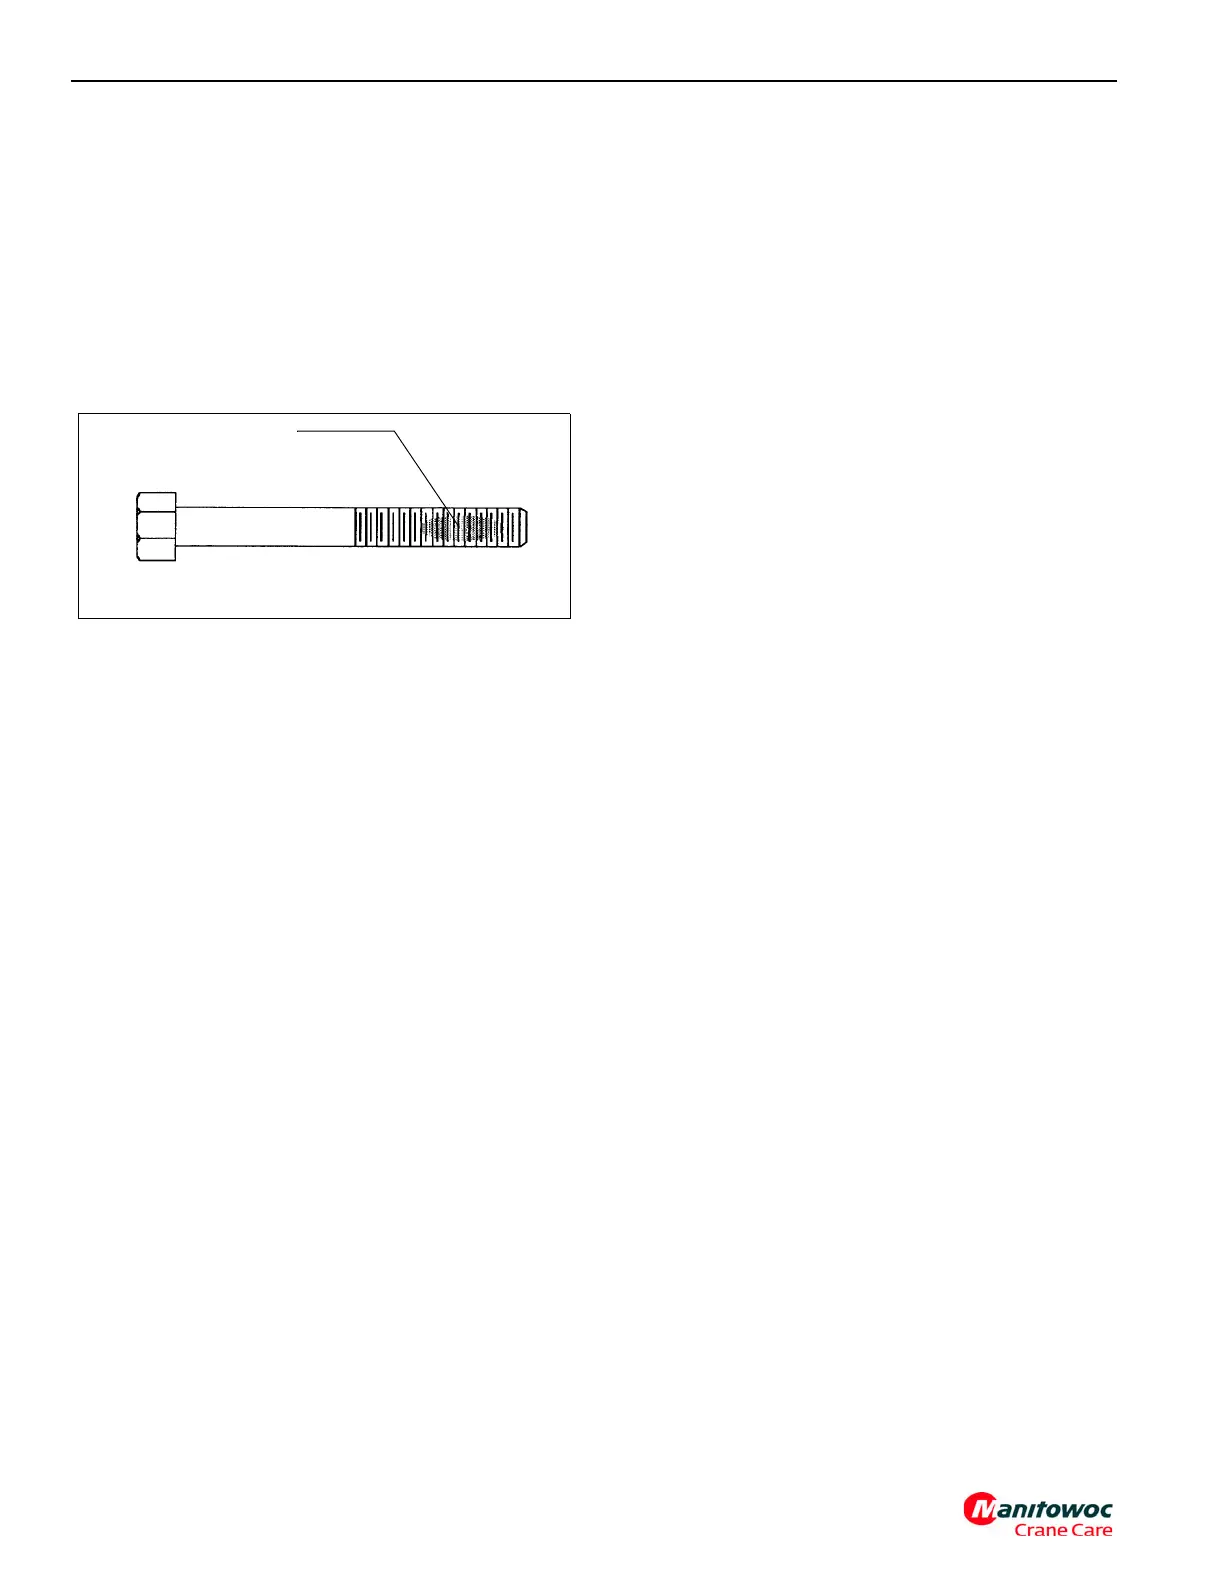
1. Apply a bead perpendicular to the thread, several
threads wide, in the approximate area of threaded
engagement (Figure 1-3).
2. In a blind hole application, a bead of several drops of
adhesive should be applied into the bottom of the hole to
be hydraulically forced up during engagement.
3. After application and engagement of mated threads,
fixturing will occur within five (5) minutes if primed prior
to engagement. Fixturing may take up to 30 minutes on
unprimed parts.
4. Time required to achieve full strength is 24 hours.
Maximum ultimate strength is achieved using no primer
with this specific threadlocking adhesive.
Fasteners And Torque Values
Use bolts of the correct length. A bolt which is too long may
bottom before the head is tight against the part it is to hold. If
a bolt is too short, there may not be enough threads engaged
to hold the part securely. Threads can be damaged. Inspect
them and replace fasteners, as necessary.
Torque values should correspond to the type bolts, studs,
and nuts being used (Figure 1-4) and (Figure 1-5).
The torque tables, (Table 1-2), (Table 1-3), (Table 1-4), and
(Table 1-5) are provided by Grove Manitowoc for reference
when performing maintenance.
Use of proper torque values is extremely important. Improper
torquing can seriously affect performance and reliability.
Identification of fastener grade is always necessary (grade 5,
8, etc.). The mechanic must be aware that he is working with
a highly stressed component and the fastener should be
torqued accordingly.
NOTE: Some special applications require variation from
standard torque values. Reference should always
be made to component overhaul procedures for
recommendations.
Special attention should be given to the existence of
lubricant, plating, or other factors that might require variation
from standard torque values.
When maximum recommended torque values have been
exceeded, the fastener should be replaced.
When referring to the applicable torque charts, use values as
close as possible to the torque values shown to allow for
wrench calibration tolerance. An erratic or jerking motion of
the wrench can easily result in excessive torque. ALWAYS
use a slow wrench movement and STOP when the
predetermined value has been reached.
Torque wrenches are precision instruments and are to be
handled with care to ensure calibrated accuracy. Calibration
checks should be made on a scheduled basis. Whenever the
wrench might be either over stressed or damaged, it should
immediately be removed from service until recalibrated.
KNOW YOUR TORQUE WRENCH! Flexible beam type
wrenches, even though they might have a preset feature,
must be pulled at right angles and the force must be applied
at the exact center of the handle. Force value readings must
be made while the tool is in motion.
Rigid handle type torque wrenches are available with torque
limiting devices that can be preset to required values and
which eliminate dial readings.
NOTE: To convert foot-pounds of torque to newton meters
(Nm), multiply the foot-pounds quantity by 1.3558.
NOTE: To convert pounds-inch of torque to newton meters
(Nm), multiply the pounds-inch quantity by
0.11298.
NOTE: When multipliers and/or special tools are used to
reach hard to get at spots, ensure torque readings
are precisely calculated.
FIGURE 1-3
Bead Application
4203