© Guldmann GB-1394/11/08
46
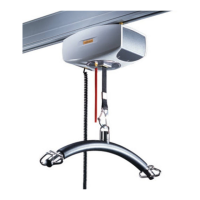
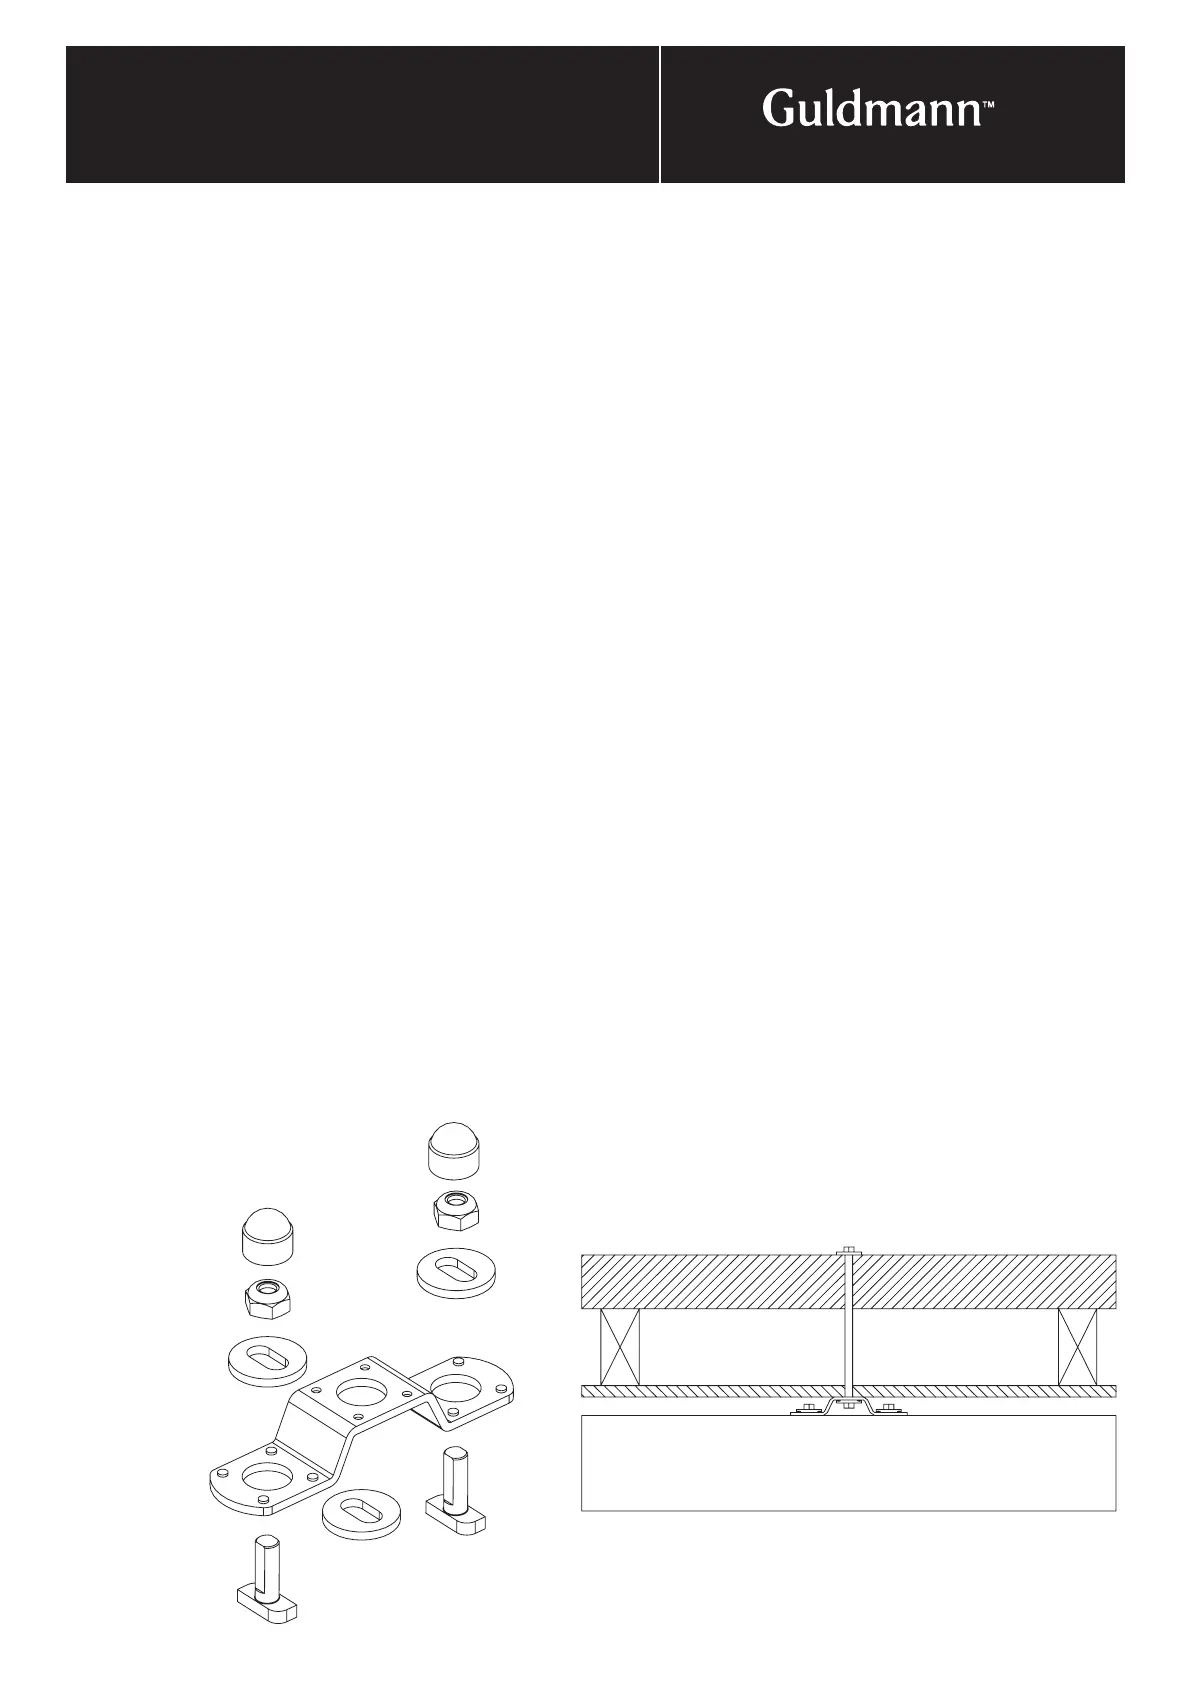
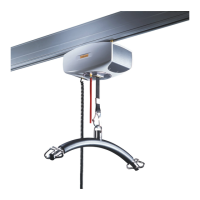
3. InstallatIon
Ceiling installation
Ceiling types: Wood/plaster ceiling and other
lightweight ceiling constructions.
Reinforcements: Laid out by Guldmann installer,
above the foot of a rafter
Bracket types: All GH ceiling brackets.
• We recommend that you start by fitting all brackets.
• Examine the loft and remove objects which may
obstruct drilling.
• Mark the position where the bracket is to be fitted. At
the same time, it should be determined whether plastic
discs should be used between the concrete floor/ceiling
and the ceiling brackets to make the system 100 per
cent level.
Measurement/levelling is performed using laser equipment.
• Drill up through the ceiling. Drill through the holes of the
ceiling bracket using an 12 mm (
7
/
16
") drill.
• Push an item through the holes to mark the holes and
make them visible in the loft.
In this way you avoid having to search for the fixing holes.
• Lay out the reinforcements on the foot of the rafter and
fix them over the drill holes.
• When using timber it must be at least 100 x 150 mm
(4” x 6”) for systems with Combi-Locks. For other
systems use 100 x 100 mm (4” x 4”).
• Re-drill up through the holes and through the fixed
reinforcements.
• The threaded rods are inserted from above with
self-fixing wood nuts which are hammered into the
reinforcements.
• Mount washer and lock nut on threaded rod from below.
• Tighten the locking nut firmly.
• Screw the threaded rod up through the self-fixing wood
nut to fix the bracket against the ceiling.
• Tighten lock nut and ensure that the track system is
hanging horizontally.
• Fit a counter nut on the threaded rod from the loft so
that the counter nut counter-tightens against the self-
fixing wood nut.
• The threaded nuts can be shortened above the counter
nut if the excess threaded portion is in the way.
• Fit the rails. Turn the T-bolt so that the chamfering on the
sides is perpendicular to the rail.
• When the rails have been fitted to the brackets, tighten
the T-bolts securely.
Fitting of brackets