12336
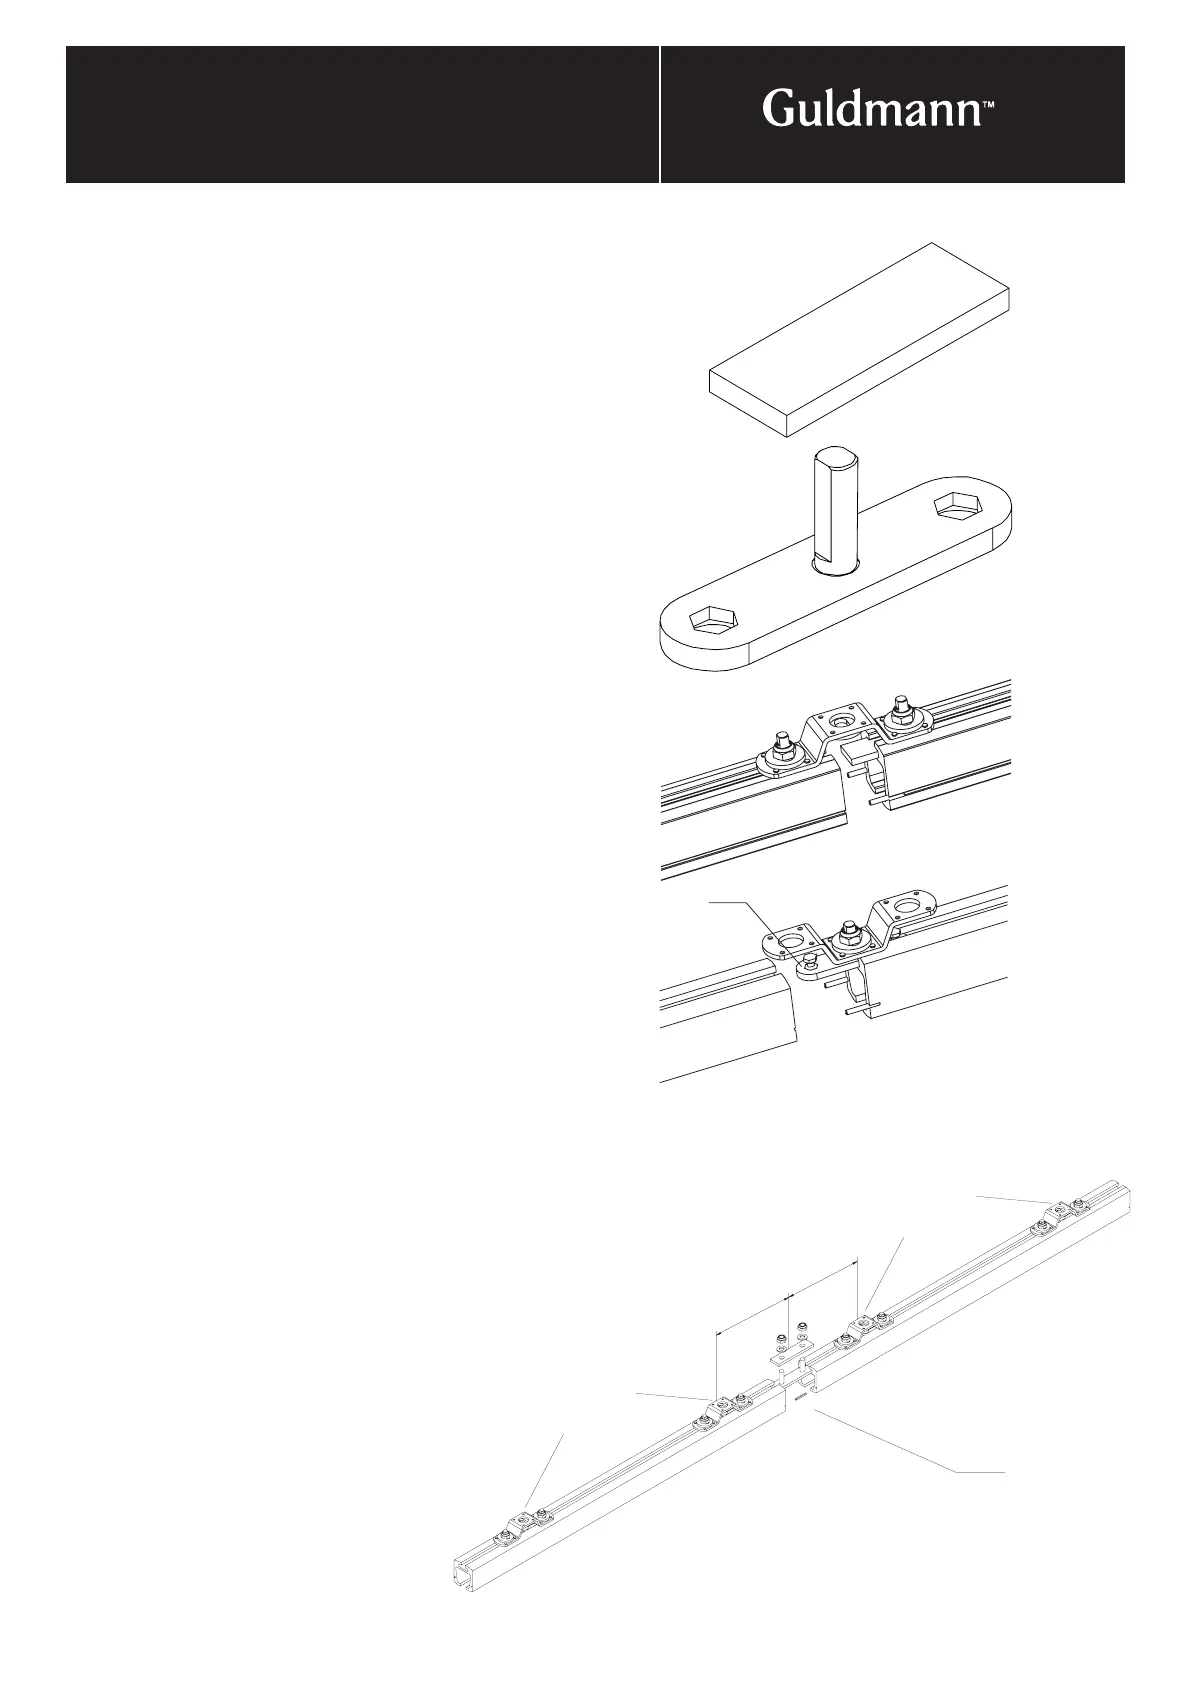
Min. 2 bracket
s
Min. 2 bracket
s
Max. 500 mm
(20")
Max. 500 mm
(20")
© Guldmann GB-1394/11/08
52
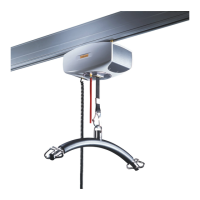
3. InstallatIon
Rail assembly
Type of bracket:
GH ceiling bracket, standard and
suspended.
All rail joints must be installed with a reinforcement plate.
Figure (1) included in bracket package.
or rail connecting bracket no. 12448 figure (2).
For installation with one point of attachment to the ceiling,
a reinforcement plate (accompanies the bracket) must be
used as shown in figure (3) with.
For installation with two points of attachment to the ceiling,
rail connecting bracket 12448 must be used when rails are
joined as shown in figure (4).
Tubular pins should be installed in one rail flush with the
edge.
When the rails have been joined and secured, the tubular
pins must be knocked back so that they are half in each
rail.
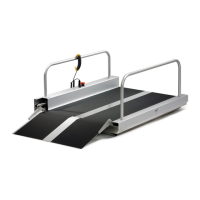
Bracket type: GH rail assembly bracket 12336
•
Only use this bracket as shown on the illustration.
• The rail assembly bracket is mounted with one
half in each of the two rails to be assembled.
• Place two cylinder pins in one of the rail
tracks (one in each track).
• The rail ends are joined and the two
10 mm (
3
/
8
") screws are fastened
to the rail.
• The cylinder pins are hammered
back, leaving half of each in
their respective rail.
Rail assembly
Figur 1
Figur 2
Figur 3
Figur 4