www.HandiQuilter.com/ProStitcher 07/23/12 Installation Instructions 3.5
table top.
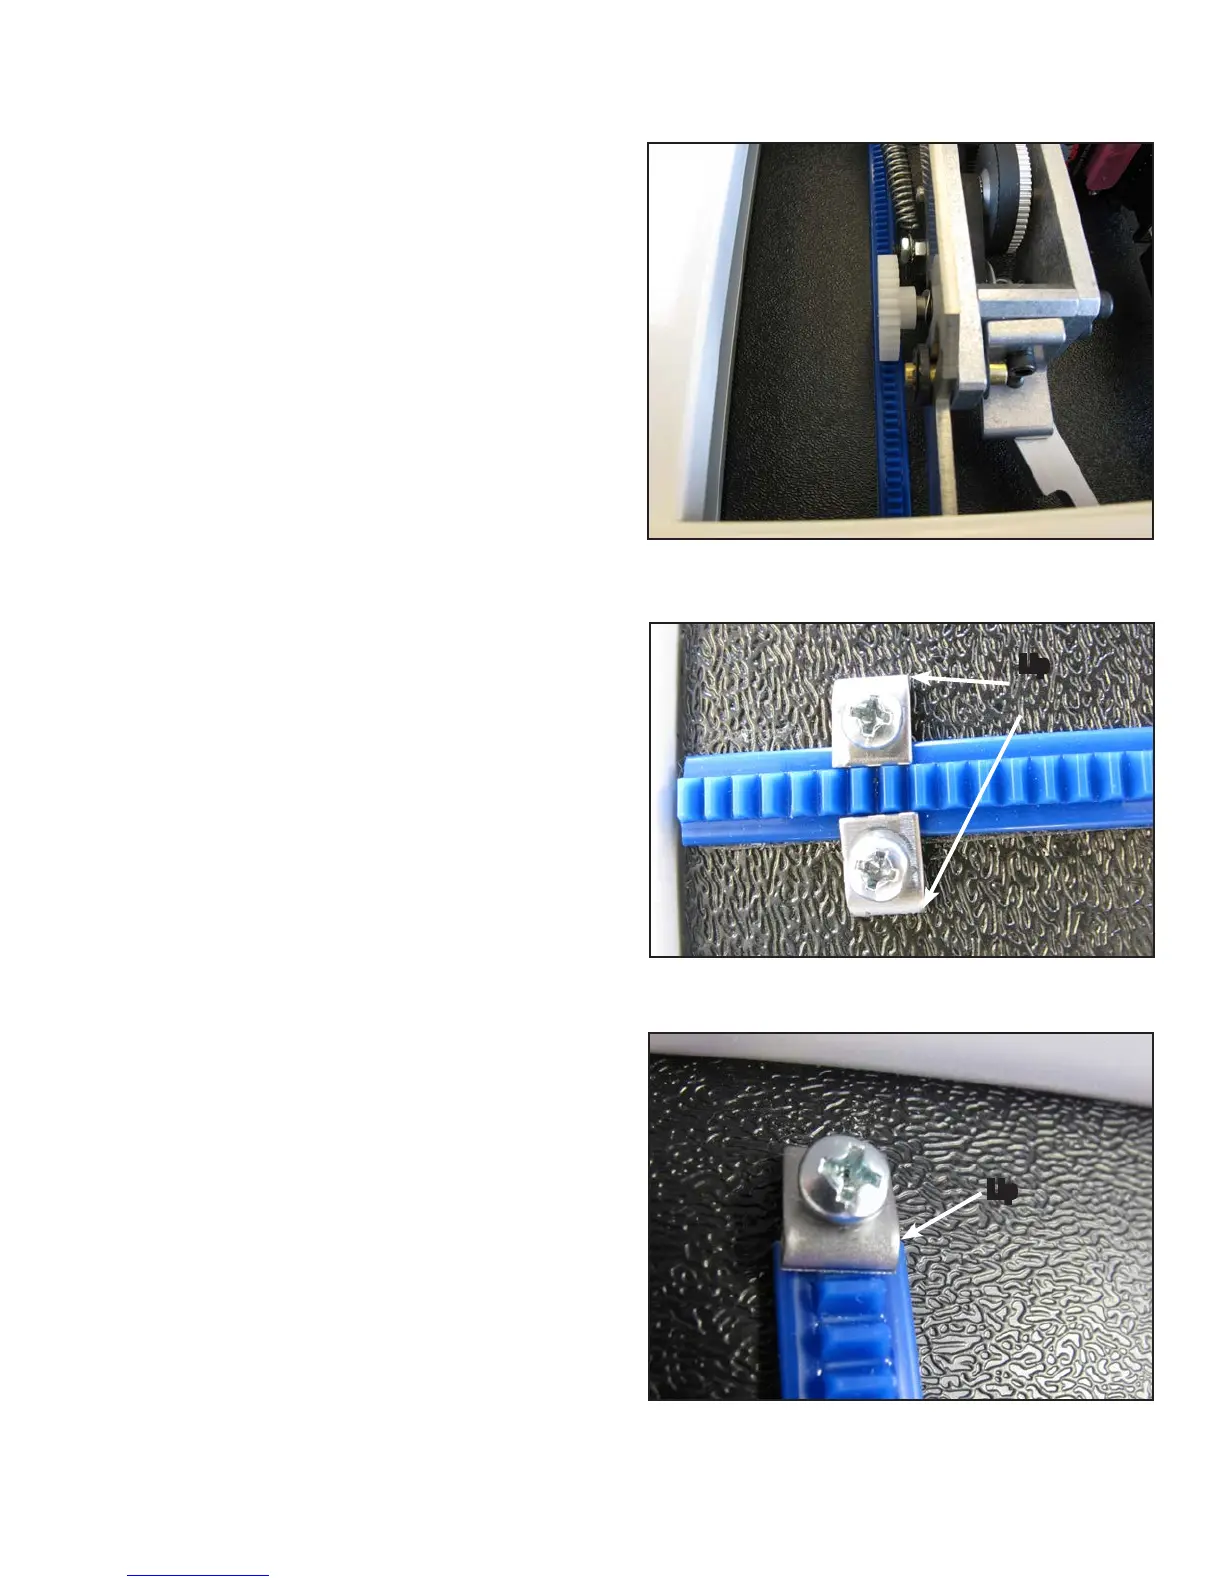
4. Make adjustments to the placement of the blue
rack as necessary to align the blue rack with the
front white gear on the HQ Pro-Stitcher carriage
(Figure 3.4).
5. If alignment using the wooden block is accurate,
continue using the wooden block as a guide to
mount the remainder of the blue rack to the table
top. Otherwise, use the carriage as a guide and align
the blue rack with the white gear along the length
of the table, removing the pink protective layer and
pressing downward on the blue rack while moving
down the entire length of the table top.
6. Trim the rack to length using a knife or wire cut-
ters if necessary (the blue rack does not necessarily
need to extend the full width of the table and can
actually be a couple of inches shorter on either end,
if desired).
7.
At the ends of the blue rack, use the four small
metal clamps (Page 3.3, B) to hold the ends rmly
in place (Figure 3.5). e clamps have a hole
through the center and a lip on one end. e lip
should be on the side opposite the blue rack. Drill
pilot holes using the 3/32” drill bit and then attach
the clamps as shown on either end of the blue
rack using a Phillips screwdriver.
Note: Do not use the larger drill bit included in the
emergency repair kit…this is the wrong size for the
X-rack clamps! As an alternative, choose to use one
clamp at each end using the lip of the clamp to slide
over the last gear of the blue rack (Figure 3.6).
Figure 3.4
Figure 3.6
Figure 3.5
Lip
Lip