HQ Pro-Stitcher User Manual07/23/123.24 Installation Instructions
Figure 3.44
Setting Up the New Carriage
1. Remove the new HQ Pro-Stitcher Carriage
(Page 3.16, E) from the box.
2.
Place the carriage on the frame/table to attach the
cables.
a.
Plug the 10-pin connector on the end of the at
gray stitch-regulator cable (opposite the 9-pin
D-sub connector) into the X-axis stitch regulator
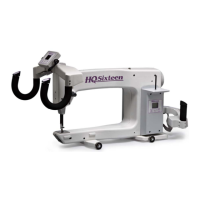
encoder. Make sure the red stripe on the
gray cable is facing up for the HQ-Sixteen
(Figure 3.44) and the le (power cord side) for
the HQ
18
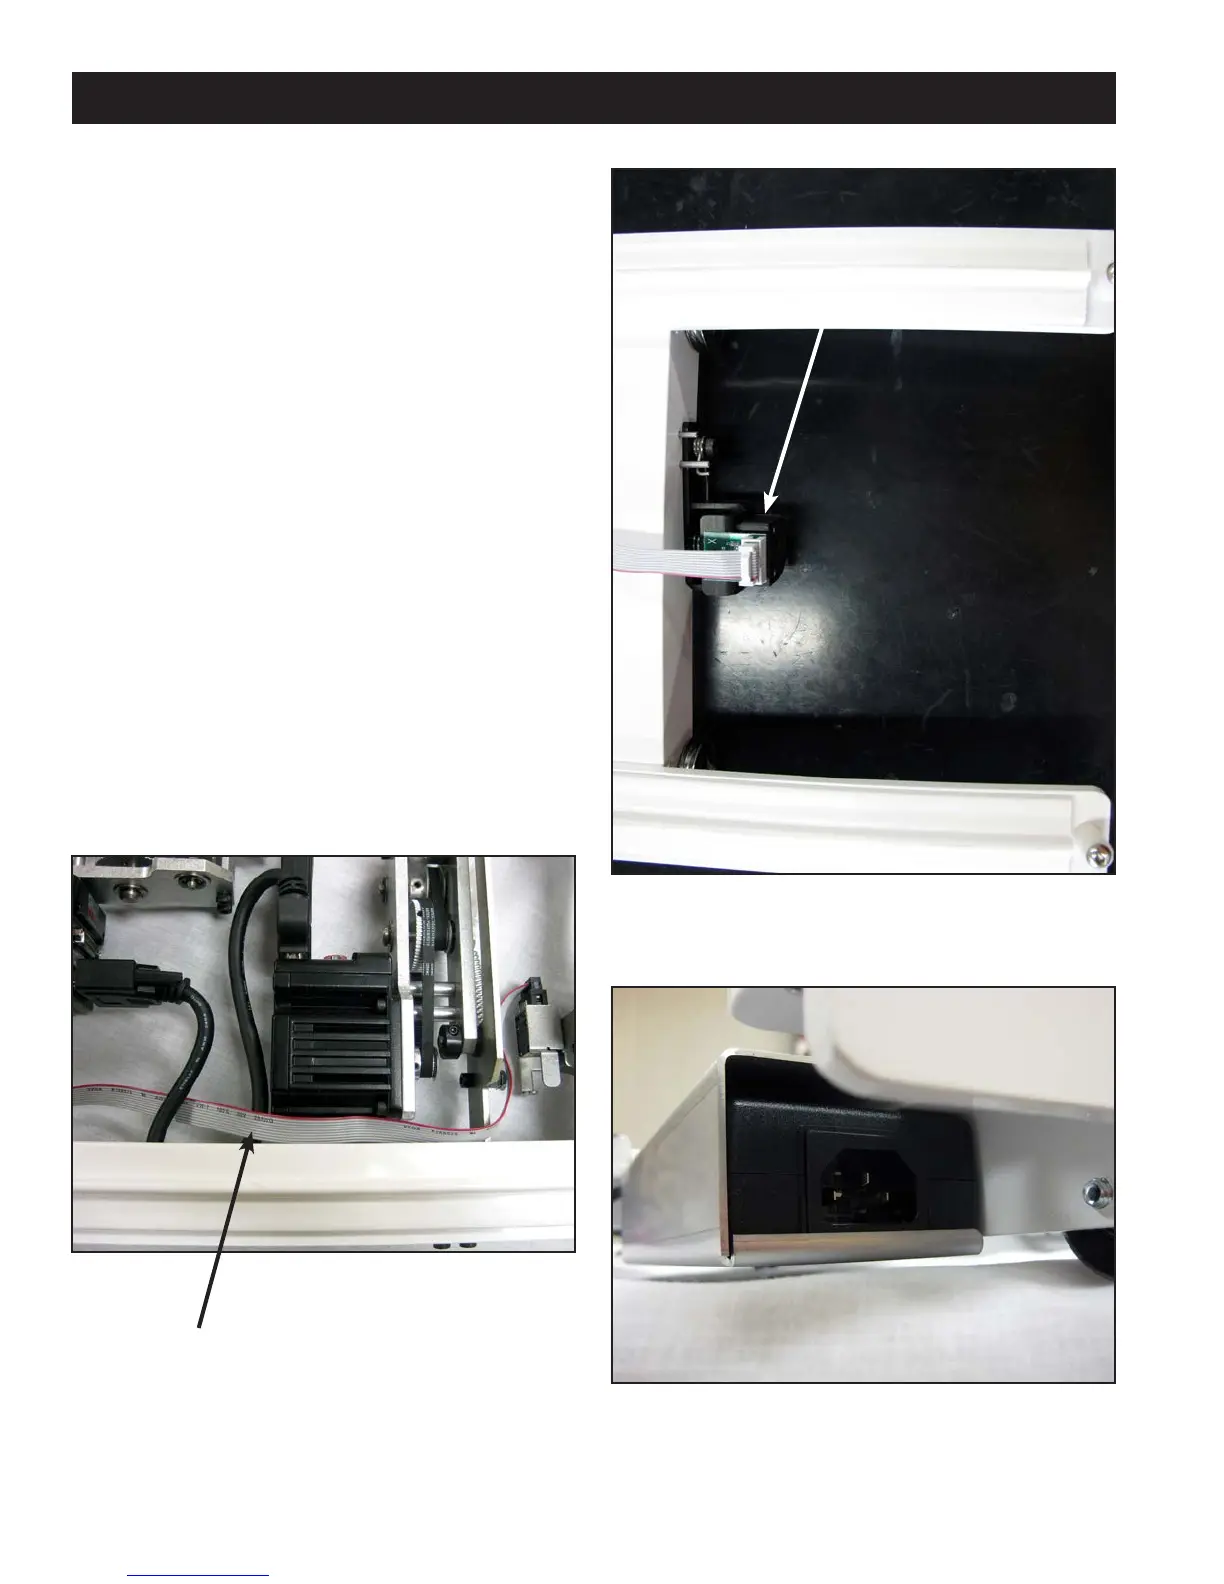
Avanté (Figure 3.45).
b. Route the cable around the X-axis motor
bracket as shown in Figure 3.44 and through
the black motor cable loop to keep the gray
cable from interfering with the machine or
carriage.
3. e “Y” end of the power cord that is not attached
to the P-Pod should be attached to the power
supply at the back end of the Pro-Stitcher carriage
(Figure 3.46).
Figure 3.46
Figure 3.45
Route the stitch regulator cable through the
motor cable loop to keep the stitch regulator
cable in position.
X-Encoder