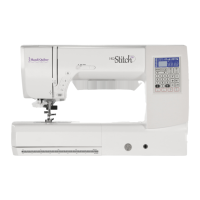
Pro-Stitcher User Manual7.6 Quilt Menu
Pause
While stitching, a Pause button is available in case a
quilter needs to pause the machine and make some
minor adjustments, replace a bobbin, or x broken
thread. Pause causes the machine to come to a
gentle stop and a beige colored marker is placed in
the design where the HQ Pro-Stitcher has stopped.
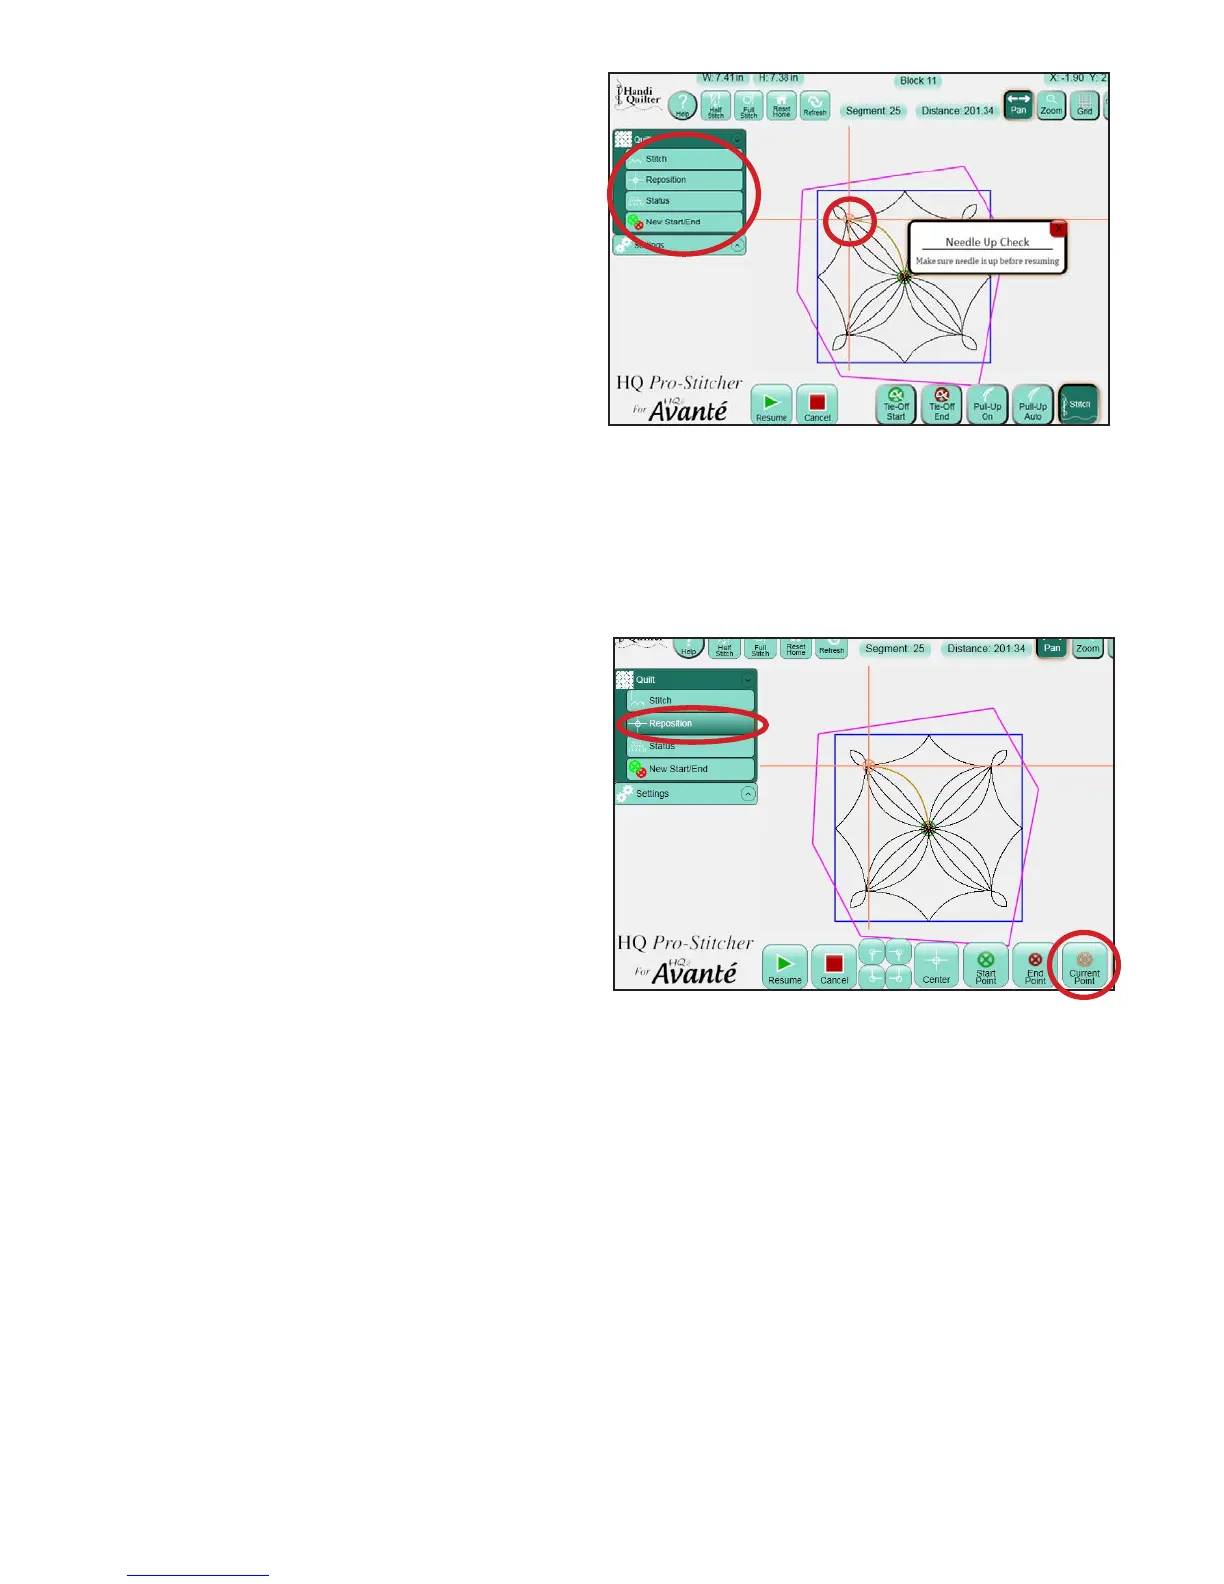
Some additional Quilt menu options are available
while the Pro-Stitcher is paused. ese options are
Stitch, Reposition, Status, and New Start/End as
described previously under the Quilt menu section
of this manual (Figure 7.11).
If Pause was pressed because of a thread break or
empty bobbin, it is likely that the quilter will want
to back the Pro-Stitcher up to the point that the
stitching stopped. Use the New Start/End function
under the Quilt menu to begin stitching at the
desired point.
e simplest way to do this is to press the Start
Auto button, press the Disable Motors button, and
then move the machine manually back to the point
where the stitching stopped and then turn o Start
Auto. If some ne tuning is needed to move the new
starting point forward or back in the design, use the
le or right arrows on the scroll bar until the new
start point is exactly where desired.
If the quilt has shied slightly and the point on the
design does not match up exactly with the point
on the quilt, move the needle to the exact point on
the quilt that matches the new starting point that
was just set and press the Start Point button in the
Reposition sub-menu. e design will be shied
to align the new start point with the current needle
position. Double check the Tie O and Pullup
settings and press Resume to continue stitching the
design.
One feature that is available only during a Pause is
the Current Point option under the Reposition
sub-menu (Figure 7.12). e Current Point is
the point in the design where the Pro-Stitcher
has paused. It is marked with a beige marker.
Repositioning may be done using this point
in the same way it is used to reposition based
on the Start Point or the End Point. Simply
move the machine and crosshairs to the desired
Figure 7.11
Figure 7.12
location and press the Current Point button under
Reposition. Be aware that if the Start Point has
been altered at all during a Pause, pressing Resume
will cause the Pro-Stitcher to resume from the
adjusted Start Point rather than the Current Point.