Steps 2: Select the channel, click "OK", select the event type, and set the
search time range.
Steps 3: Click " ", the searched image is displayed on the right
side of the interface.
Steps 4: Select the picture, click "Download" to select the storage path, click
"Ok", select the image to download to the specified folder. Click on the
" " corresponding to the preview position to view the image.
Channel: Select the channel to which you want to search for image files.
You can select one channel individually or multiple channels or "Select
All" at the same time.
Event Type: Capture image type, the drop-down box option consists of
All, Manual capture, Motion capture, Face detection, Regional Intrusion,
Crossover, Wandering and Staff Gathering.
Start/End Time: The time range for capturing image files.
Query: Click " ", the system will query the corresponding
picture file according to the set channel, event type and time range, and
display it in the file list.
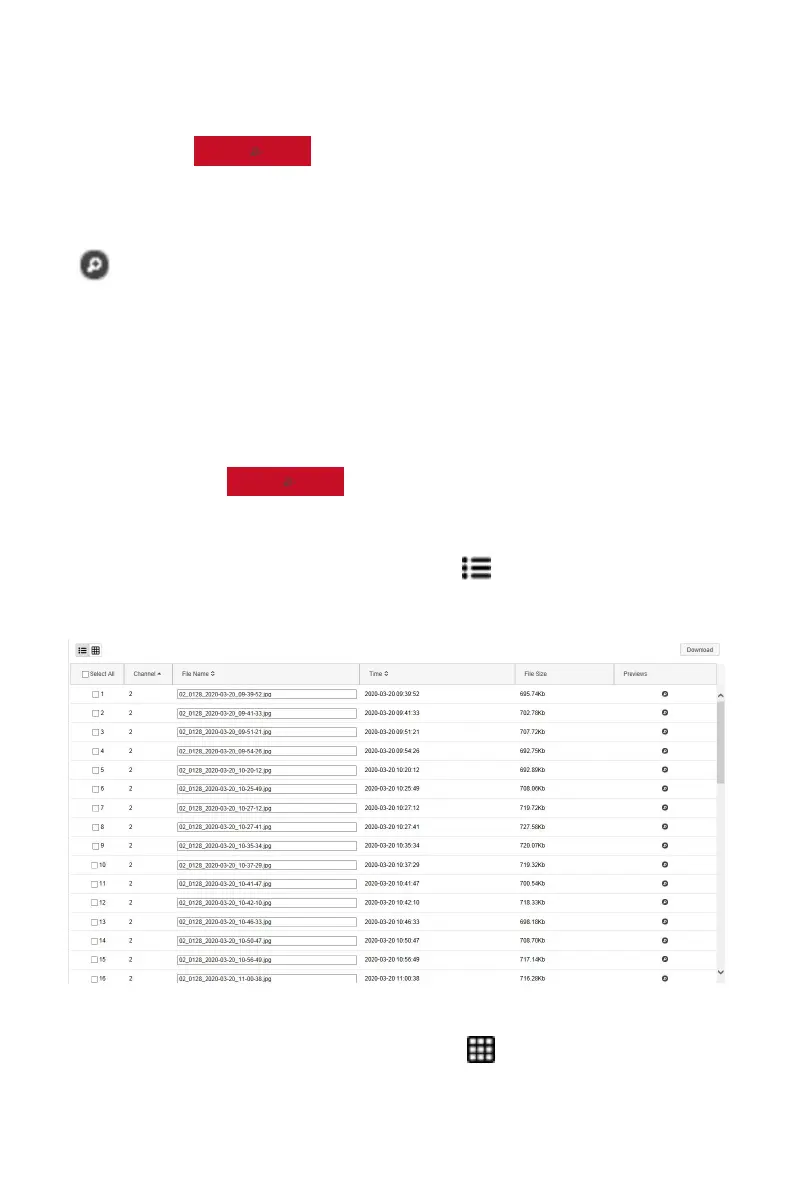
Details: The image searched by clicking " " is displayed in the list as
detailed information, as shown in Figure 6-47 below:
Figure 6-47
Big icon: The image searched by clicking " " is displayed in the list as
a large icon, as shown in Figure 6-48 below: