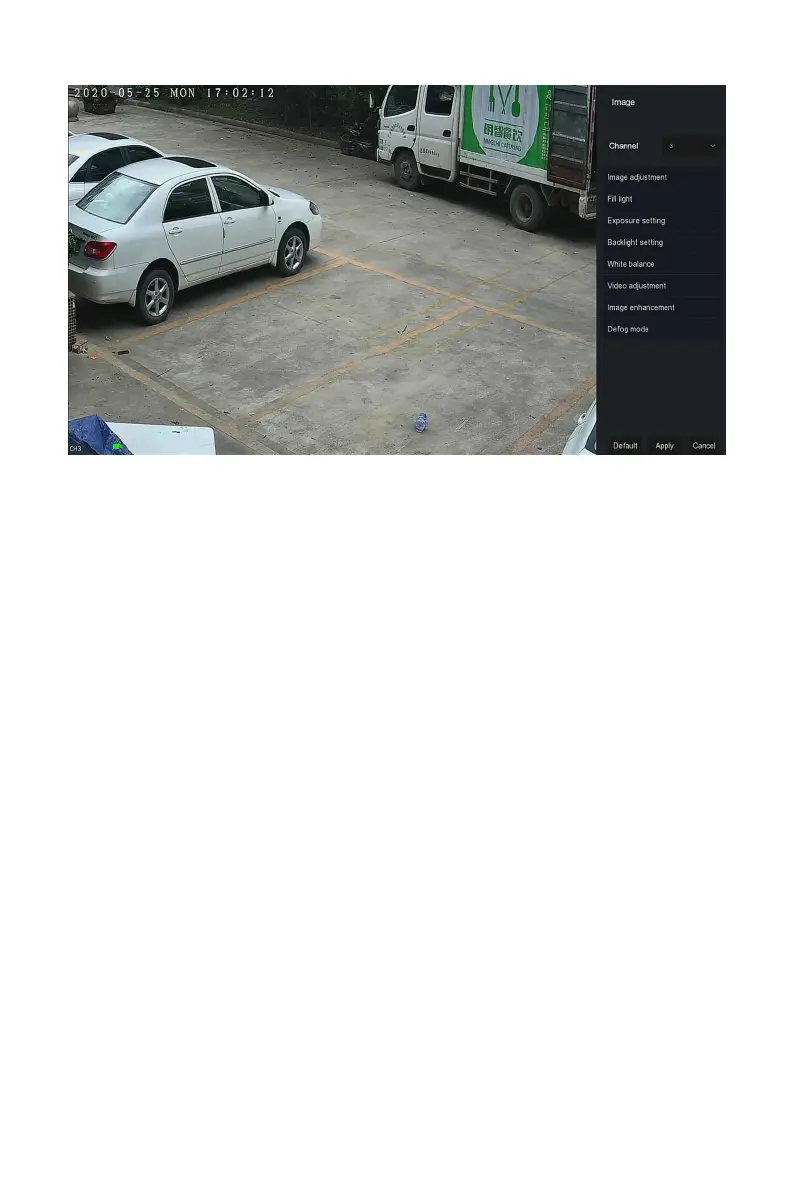
Figure 4-12
Steps 2: Select the configuration channel.
Steps 3: Set image adjustment, fill light, exposure, backlight, white balance
and video adjustment according to actual needs.
Steps 4: Click "Apply" to save the settings.
Image adjustment: According to the actual environment, you can adjust
the brightness, contrast, saturation and sharpness of the preview screen
by dragging the progress bar. You can also set the value behind the
progress bar, "Brightness", "Contrast", "Saturation", "Sharpness". Valid
values range from 0-255 and the default value is 128.
Fill light: The default is auto, the sensitivity is 3, the filtering time is 3,
the light brightness is 100. When the fill light mode is "Auto", the device
will turn on the fill light according to the actual environment. The user
can switch the fill mode to "Day", "Night" and "Scheduled switch"
according to the actual video scene in the scene, and switch the
sensitivity and filtering time of the device according to the fill mode.
When the fill light mode is "Scheduled switch", you can set the daylight
and dark time(ie, start and end fill time) and fill light brightness.
When the fill mode is "Day", the device monitor video is added to
the daytime effect.
When the fill mode is "Night", the device monitor video is patched
into a night effect.
Filtering time: It is used to prevent the ambient light from getting
better and the light is frequently turned on and off, and the