Install the two special low-profile M4 x 3.2mm Philips screws provided to secure the inner rail to the
chassis.
e) Follow these steps for the second inner rail on the opposite side of the enclosure.
Note: The cable tray only needs to be installed if the number of cables being installed into the CMA will
be greater than 10. If not, the following step is not necessary
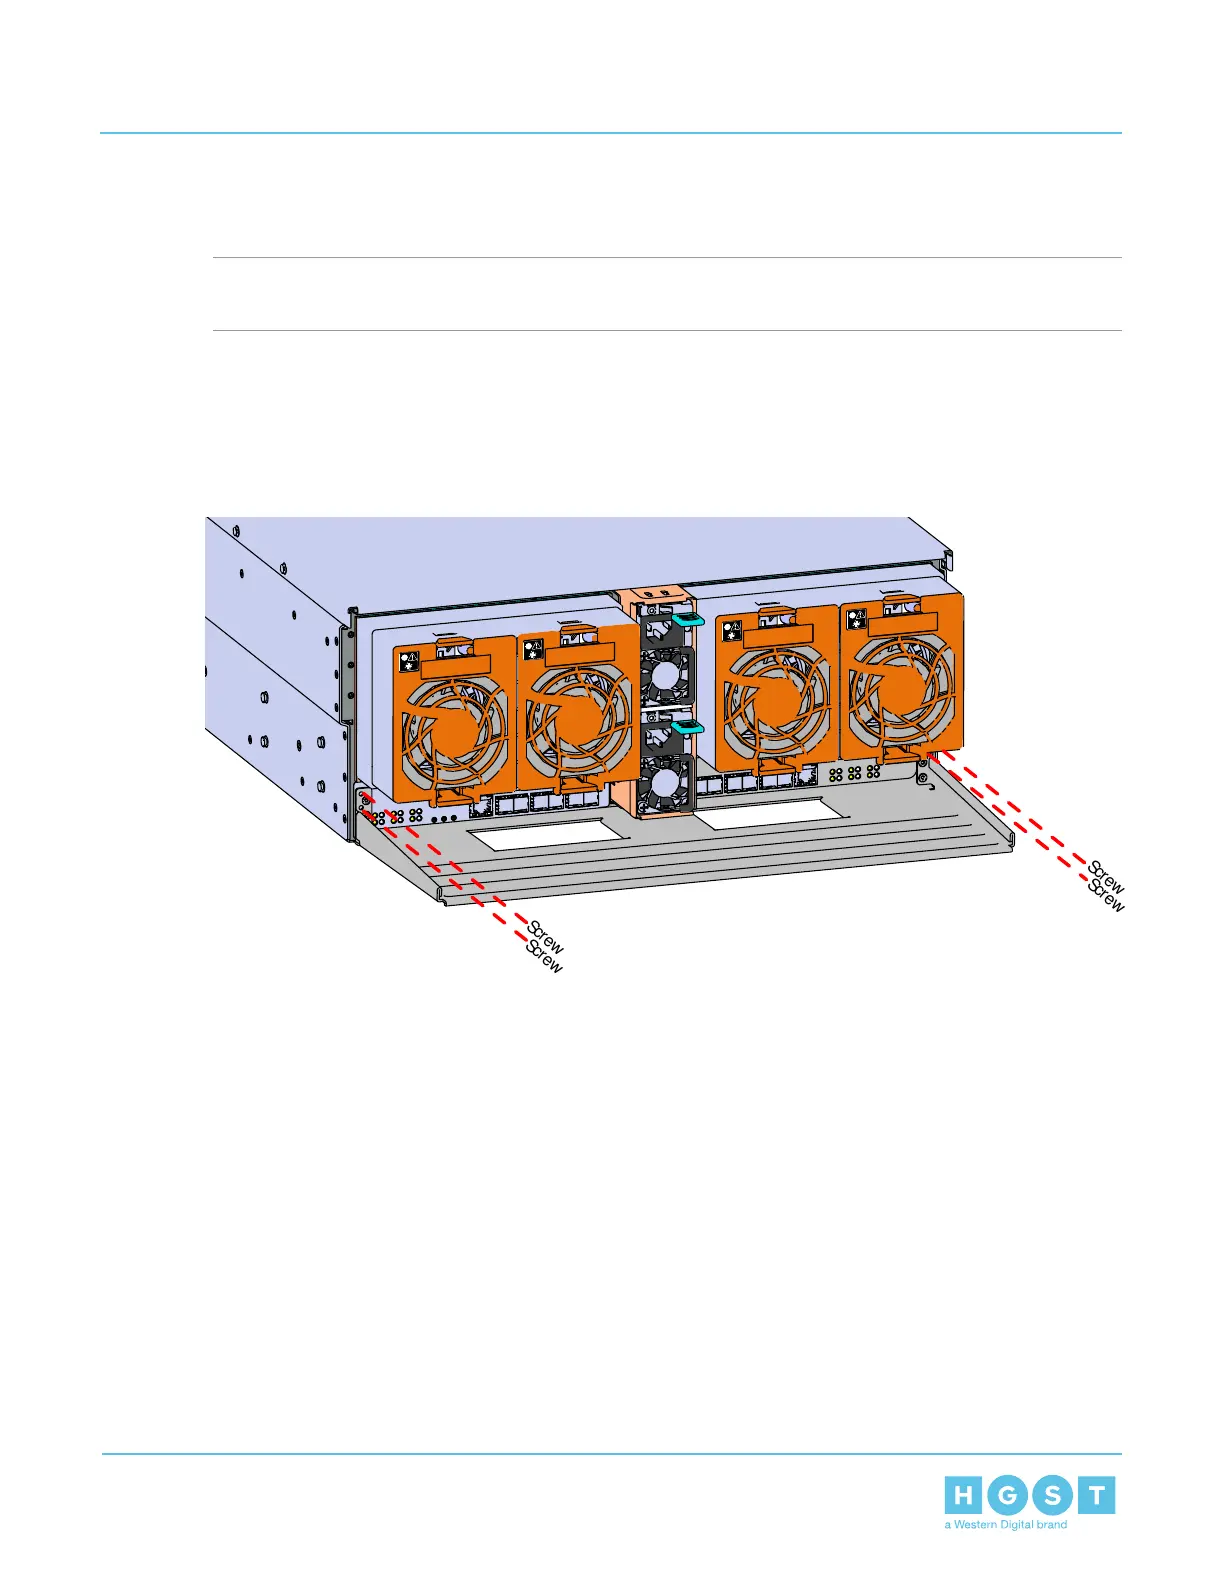
27. Secure the Cable Tray onto the enclosure using the included M3 x 8mm T10 Torx screws and the Long
T10 Torx Screwdriver. These screws should be tightened to .33-.56 Nm / 3-5 in-lbf using a Long T10
Torx Screwdriver.
Figure 139: Installing the Cable Tray
124
4 Part Replacement
User Guide 4.9 Chassis Replacement

 Loading...