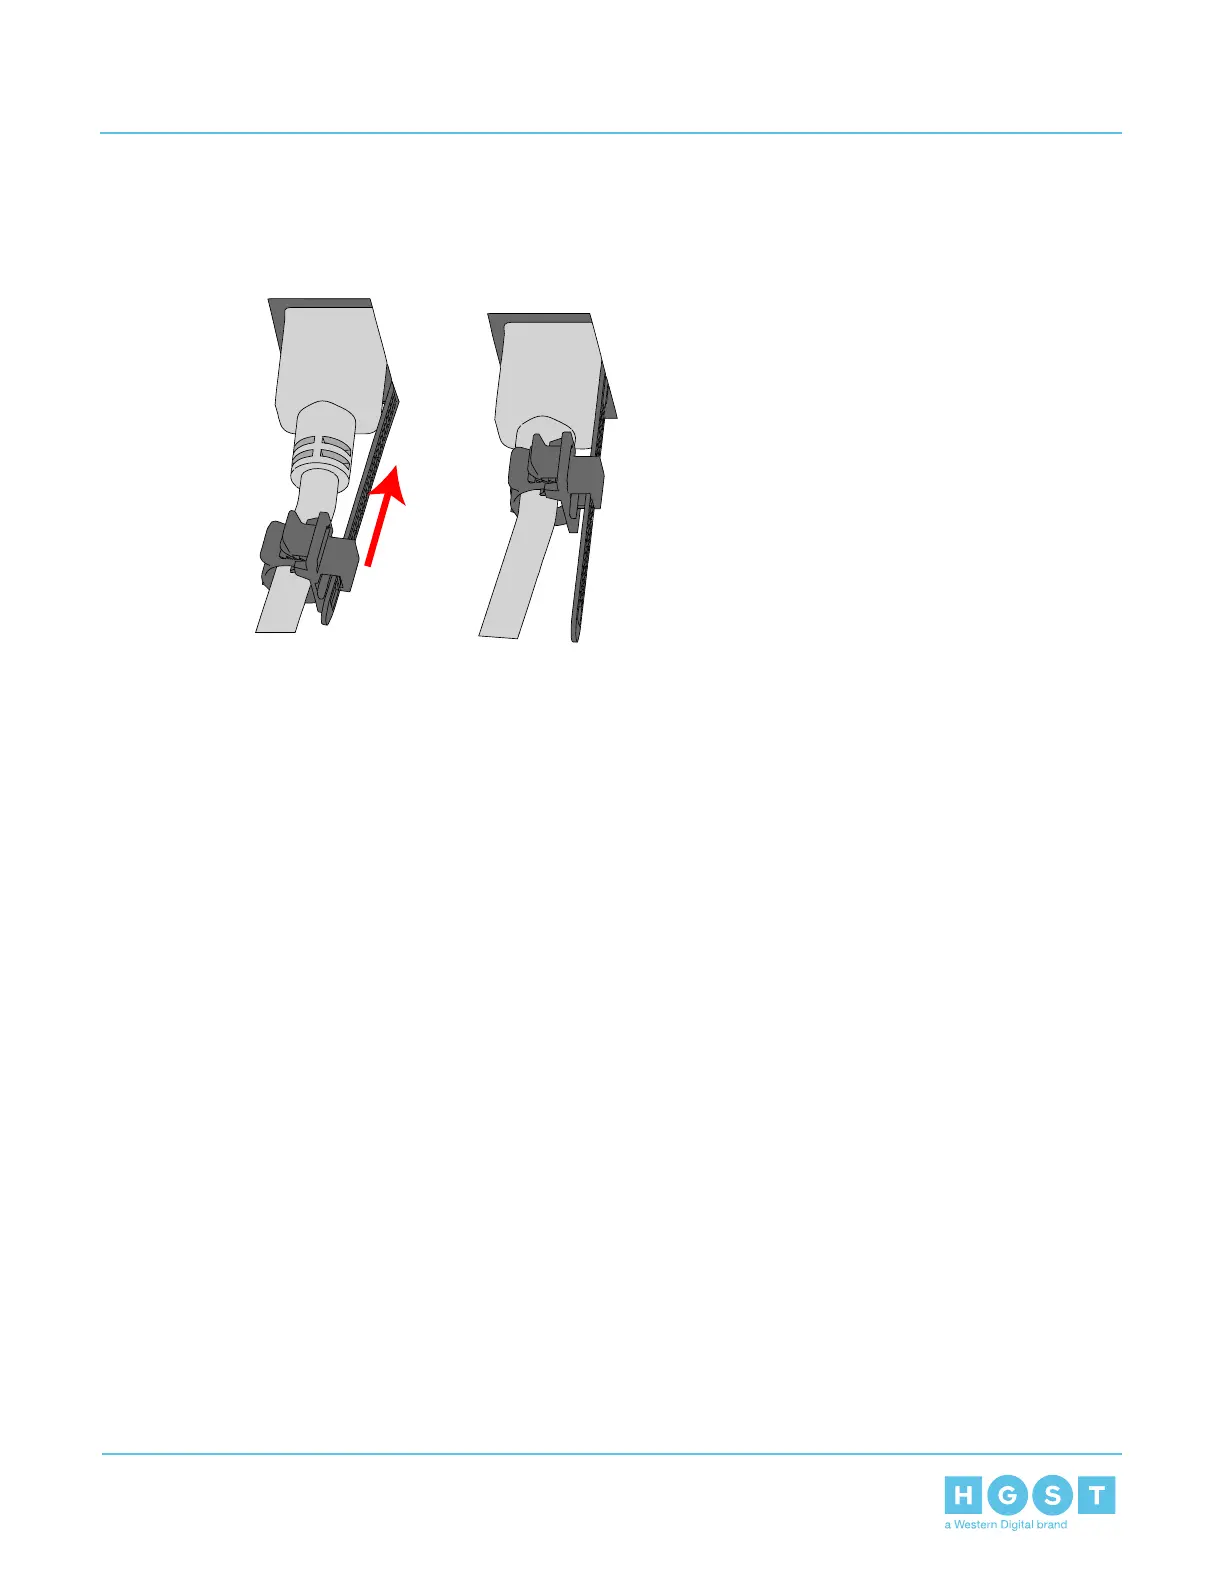
f) Slide the retention clip forward until it stops near the cable connector. Doing this will ensure that the
retention clip functions properly in the event the cable is pulled on for some reason.
Figure 169: Cinching Cable Retention Clip
g) If the Ultrastar Data60 is being installed in a rack and will subsequently be transported inside that
rack, it is important to use the included cable tie to wrap the CMA bundle to ensure it does not get
damaged during transport. If the Ultrastar Data60 is instead being installed where it will operated, skip
this step.
h) Close all of the baskets.
i) Reconnect the CMA at the elbow to connector A.
48. Test for binding in the extension of the CMA by gently pulling the enclosure out of the rack to ensure the
cables extend properly and that the system doesn’t bind at all. If it does, examine the point at which the
binding occurred and adjust the seating of cables in the baskets, check the connections to the rails, and
examine the joints of the CMA arm to ensure that they are all functioning properly.
49. Make sure the CMA is in operational position by folding the arm in toward the enclosure and attaching
the elbow end of the CMA to the connector that is attached to the rail. Verify that all of the cabling is in
functional order and does not bind or catch.
4.10 Special Considerations for Cable Routing
There are a number of special considerations installers should take when routing cables through the CMA.
This section outlines those considerations.
142
4 Part Replacement
User Guide 4.10 Special Considerations for Cable Routing

 Loading...