7. Check the fault LEDs on the IOM or on the enclosure's front and rear LED panels to determine if there is
a firmware mismatch between the replacement IOM and the IOM that was not replaced.
a) If the fault LED is illuminated, open a command prompt on the host server issue the following command
using SG3_utils.
sg_ses /dev/sg* -p 3
Remember to replace the sg* field with the appropriate value related to the IOM in slot A.
b) Scan the output for the ESCE element status descriptor. If it is critical, then there is a firmware mismatch.
c) To fix the firmware mismatch perform an upgrade to the current firmware revision by following the
upgrade instructions here: Firmware Upgrade on page 146
4.3 PSU Replacement
Table 36: Replacement Procedure Info
Replacement WindowTime Required# of People RequiredRequired Tools
5 Minutes60s1None
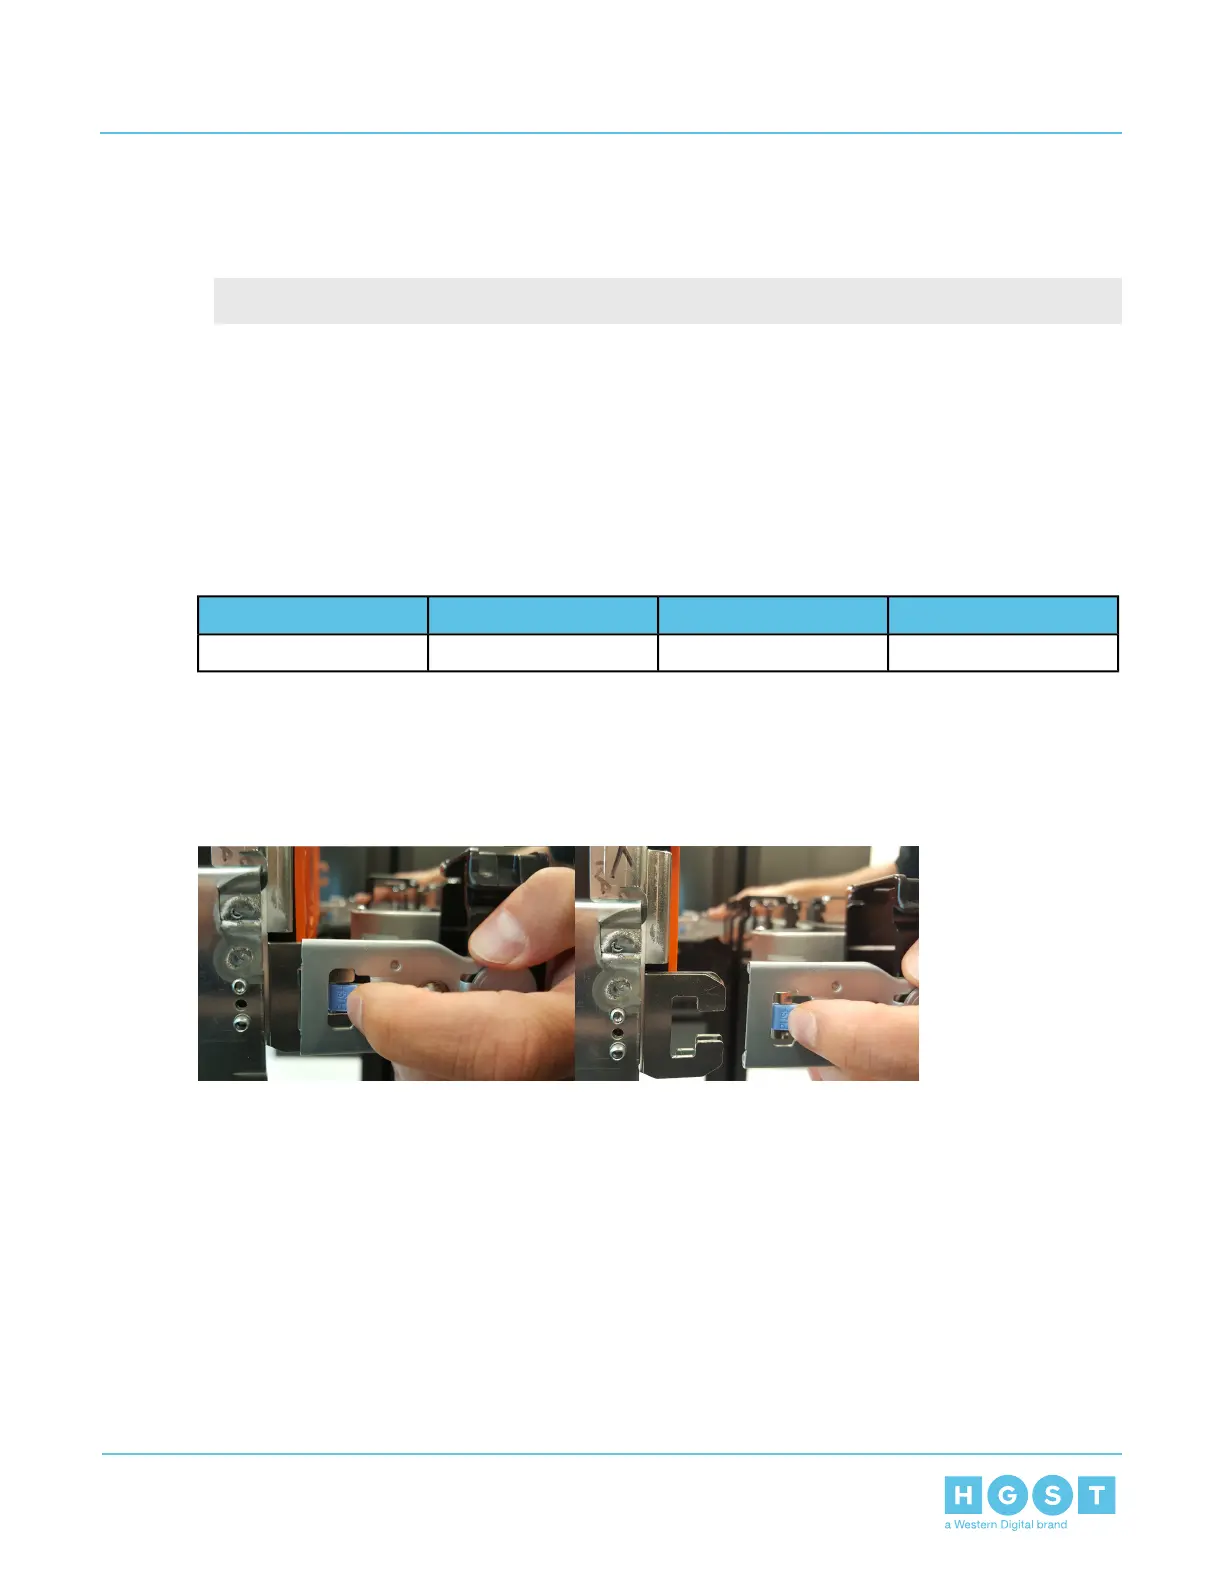
1. Place both CMAs into service position.
a) Unlatch the upper CMA at the elbow connector by pressing the blue release button to unlatch the
connector from the rail.
Figure 41: Unlatching a CMA Connector
b) Swing the CMA away from the enclosure.
c) Do the same for the lower CMA arm as what was done for the upper.
60
4 Part Replacement
User Guide 4.3 PSU Replacement

 Loading...