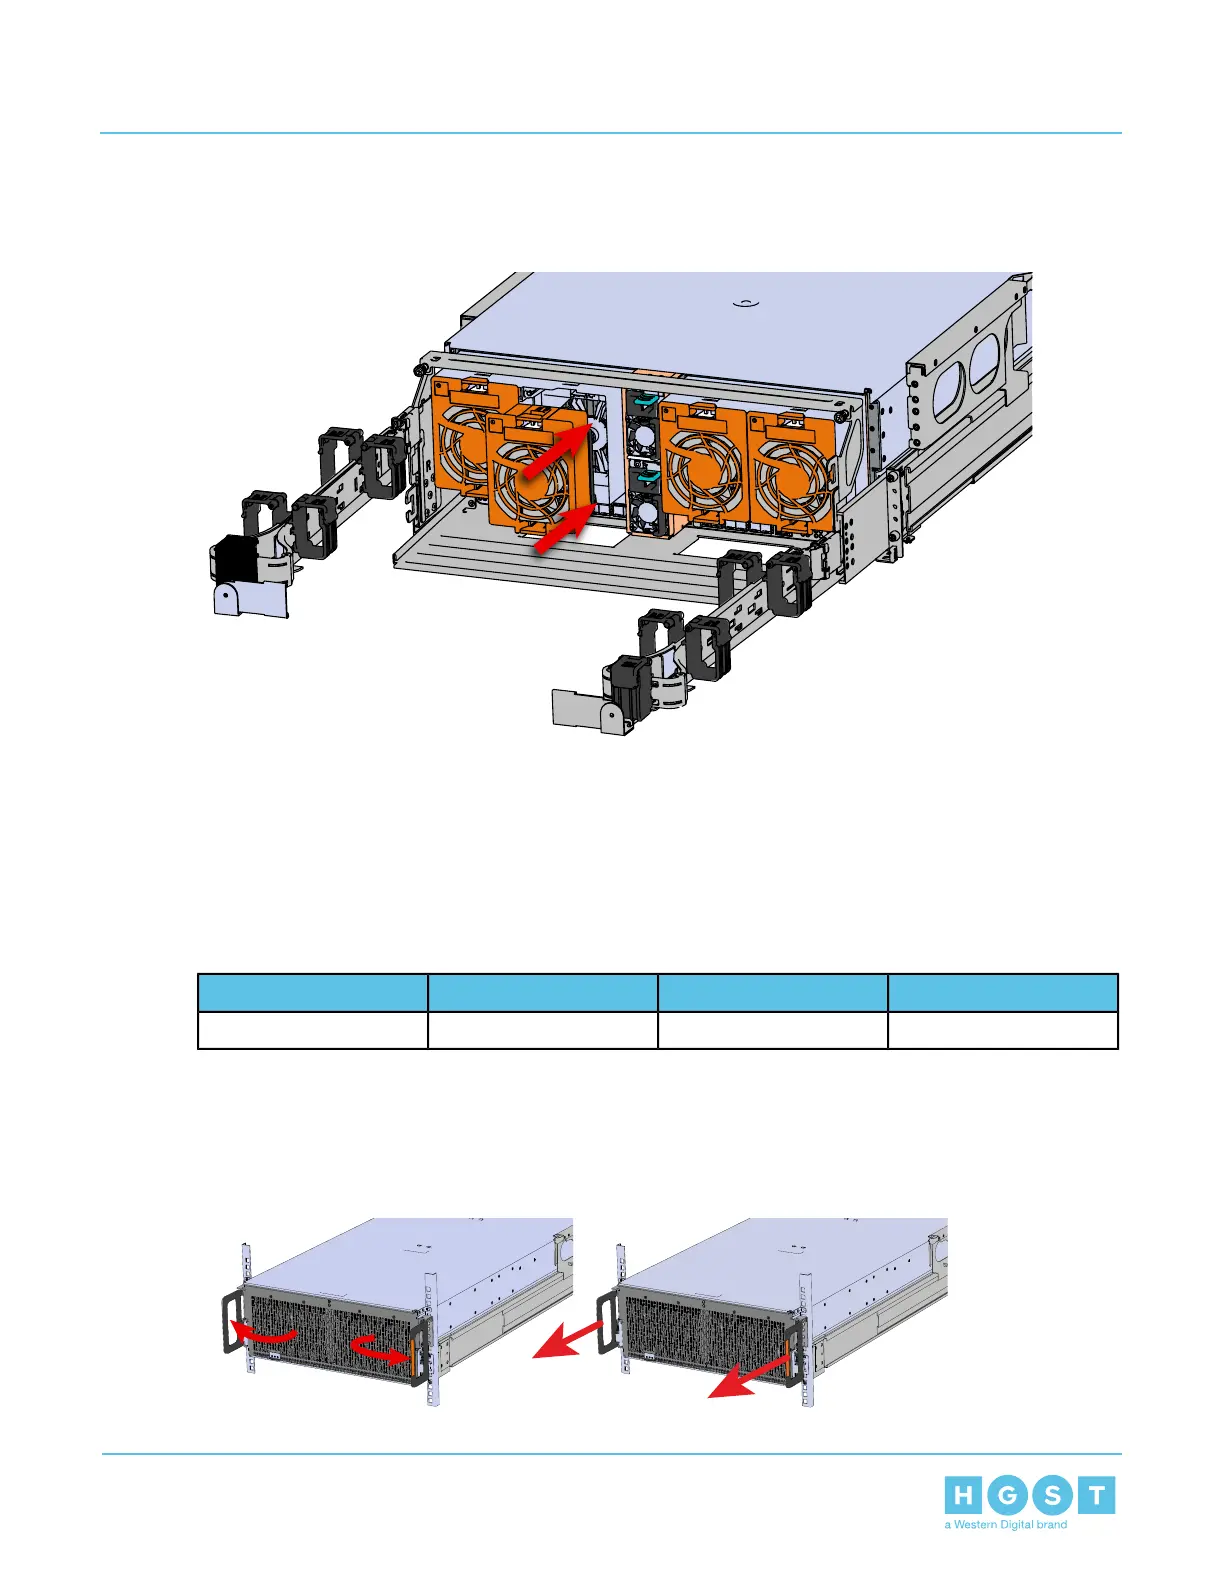
b) Insert the rear fan into the housing as shown in the following image.
Figure 51: Installing the Rear Fan
4. Make sure the CMA is in operational position by folding the arm in toward the enclosure and attaching the
elbow end of the CMA to the connector that is attached to the rail. Verify that all of the cabling is in functional
order and does not bind or catch.
4.5 IOM Fan Replacement
Table 38: Replacement Procedure Info
Replacement WindowTime Required# of People RequiredRequired Tools
5 Minutes60s1None
1. Grasp both handles at the front of the enclosure and pull with even pressure to extend the chassis out of
the rack until it is stopped by the safety latches. The safety latches will prevent the enclosure from coming
out of the rack completely and the cover will remain in the rack attached to the rear alignment brackets.
Figure 52: Chassis Handle Operation
66
4 Part Replacement
User Guide 4.5 IOM Fan Replacement

 Loading...