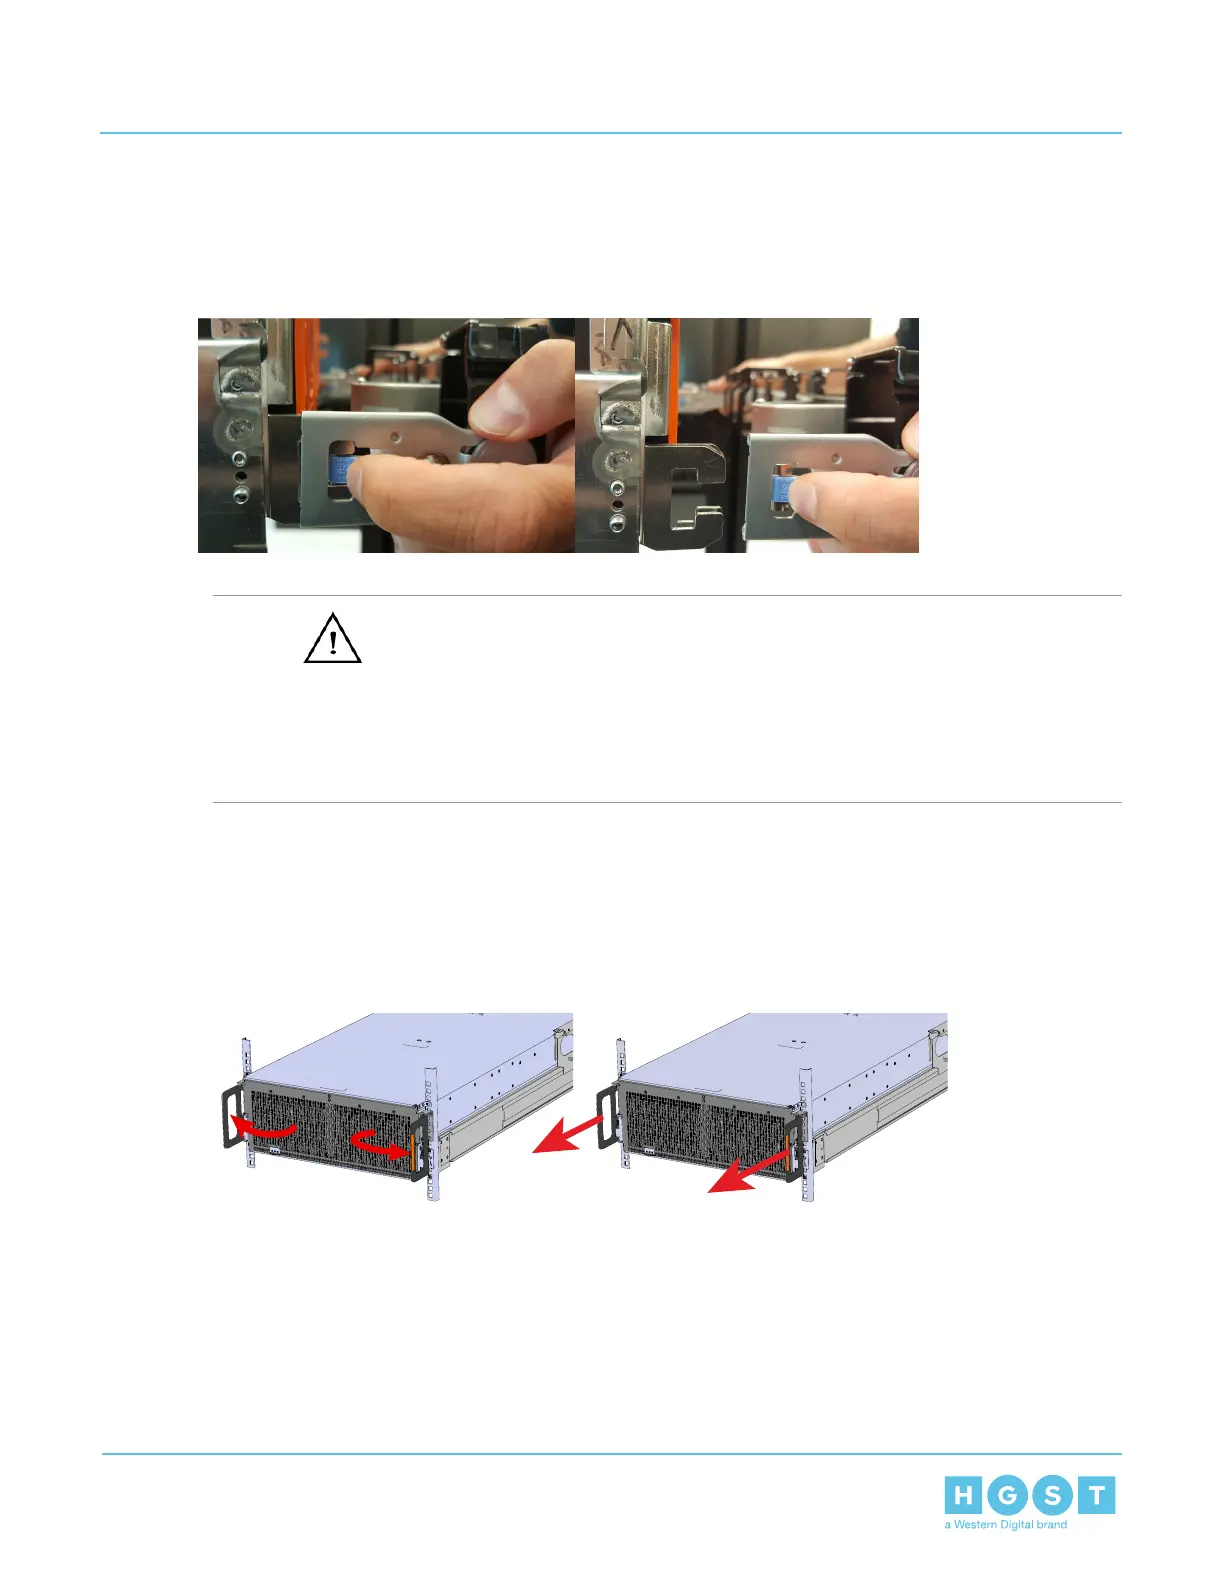
6. Unlatch all of the connectors that attach the CMA to the enclosure and the rail by locating the latch release
button and pressing it from either side of the latch. There are three total connections that need to be
removed, one at the elbow and two at the opposite end.
Figure 80: Unlatching a CMA Connector
7. Complete the previous step for the second CMA.
Warning: The following steps regarding uninstalling drives from the enclosure should be followed
in order to reduce the weight enough to remove the chassis during the rails replacement process. However,
if there is proper lift/support equipment rated to support the full weight of the enclosure, 79.4 kg. / 175
lbs. , these steps can be skipped. If not, please follow these drive removal instructions to remove all of
the drives and reduce the weight. Never try to support the weight of the full system by hand. Doing
so could cause damage to the system or serious bodily harm.
8. Grasp both handles at the front of the enclosure and pull with even pressure to extend the chassis out
of the rack until it is stopped by the safety latches. The safety latches will prevent the enclosure from
coming out of the rack completely and the cover will remain in the rack attached to the rear alignment
brackets.
Figure 81: Chassis Handle Operation
9. Follow these steps to remove a Drive Assembly.
a) Find the latch release mechanism on the Drive Assembly being removed.
84
4 Part Replacement
User Guide 4.8 Rails Replacement

 Loading...