Copyright © 2019, 2021, Hitachi, Ltd.
DKC910IHitachi Proprietary
[INST(IN)09-03-20]
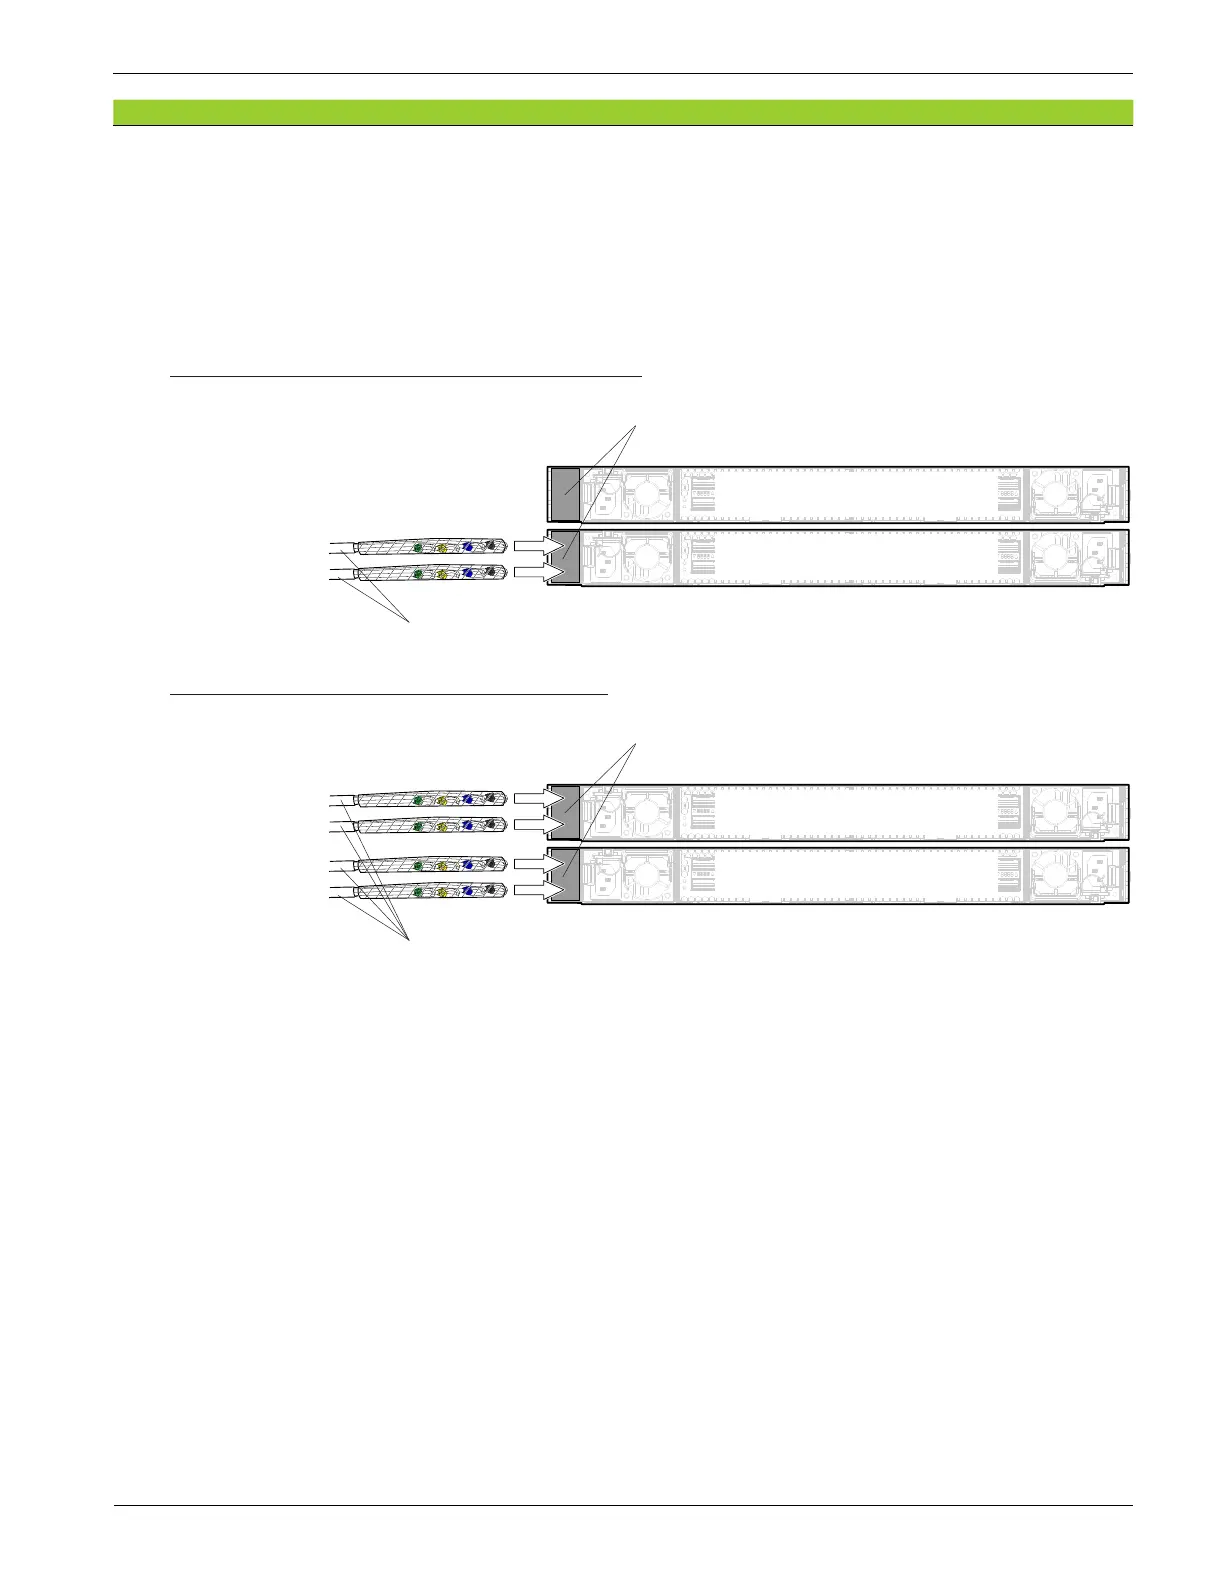
2. Install the LAN cable kits.
Insert the LAN cable kit for relay connection into the cable duct on the rear left side of HSNBX, and then
pull out the kit to the front side.
If there are multiple LAN cable kits, install all the kits in the same way. When inserting two LAN cable
kits in one HSNBX, pay attention to which kit connects to the upper ports U0 through U3 (or the lower
ports L0 through L3). In later steps, you will attach the labels to distinguish upper and lower ports.
VSP5500 and 5500H in which SSVP1 is not installed
HSNBX-0
HSNBX-1
Cable duct
LAN cable kit
Rear view
To ports U0-U3
To ports L0-L3
VSP5500 and 5500H in which SSVP1 is installed
HSNBX-0
HSNBX-1
Cable duct
LAN cable kit
Rear view
To ports U0-U3
To ports U0-U3
To ports L0-L3
To ports L0-L3
Rev.2
INST(IN)09-03-20