1-18
1.4.3 Installation procedure (PXR-P)
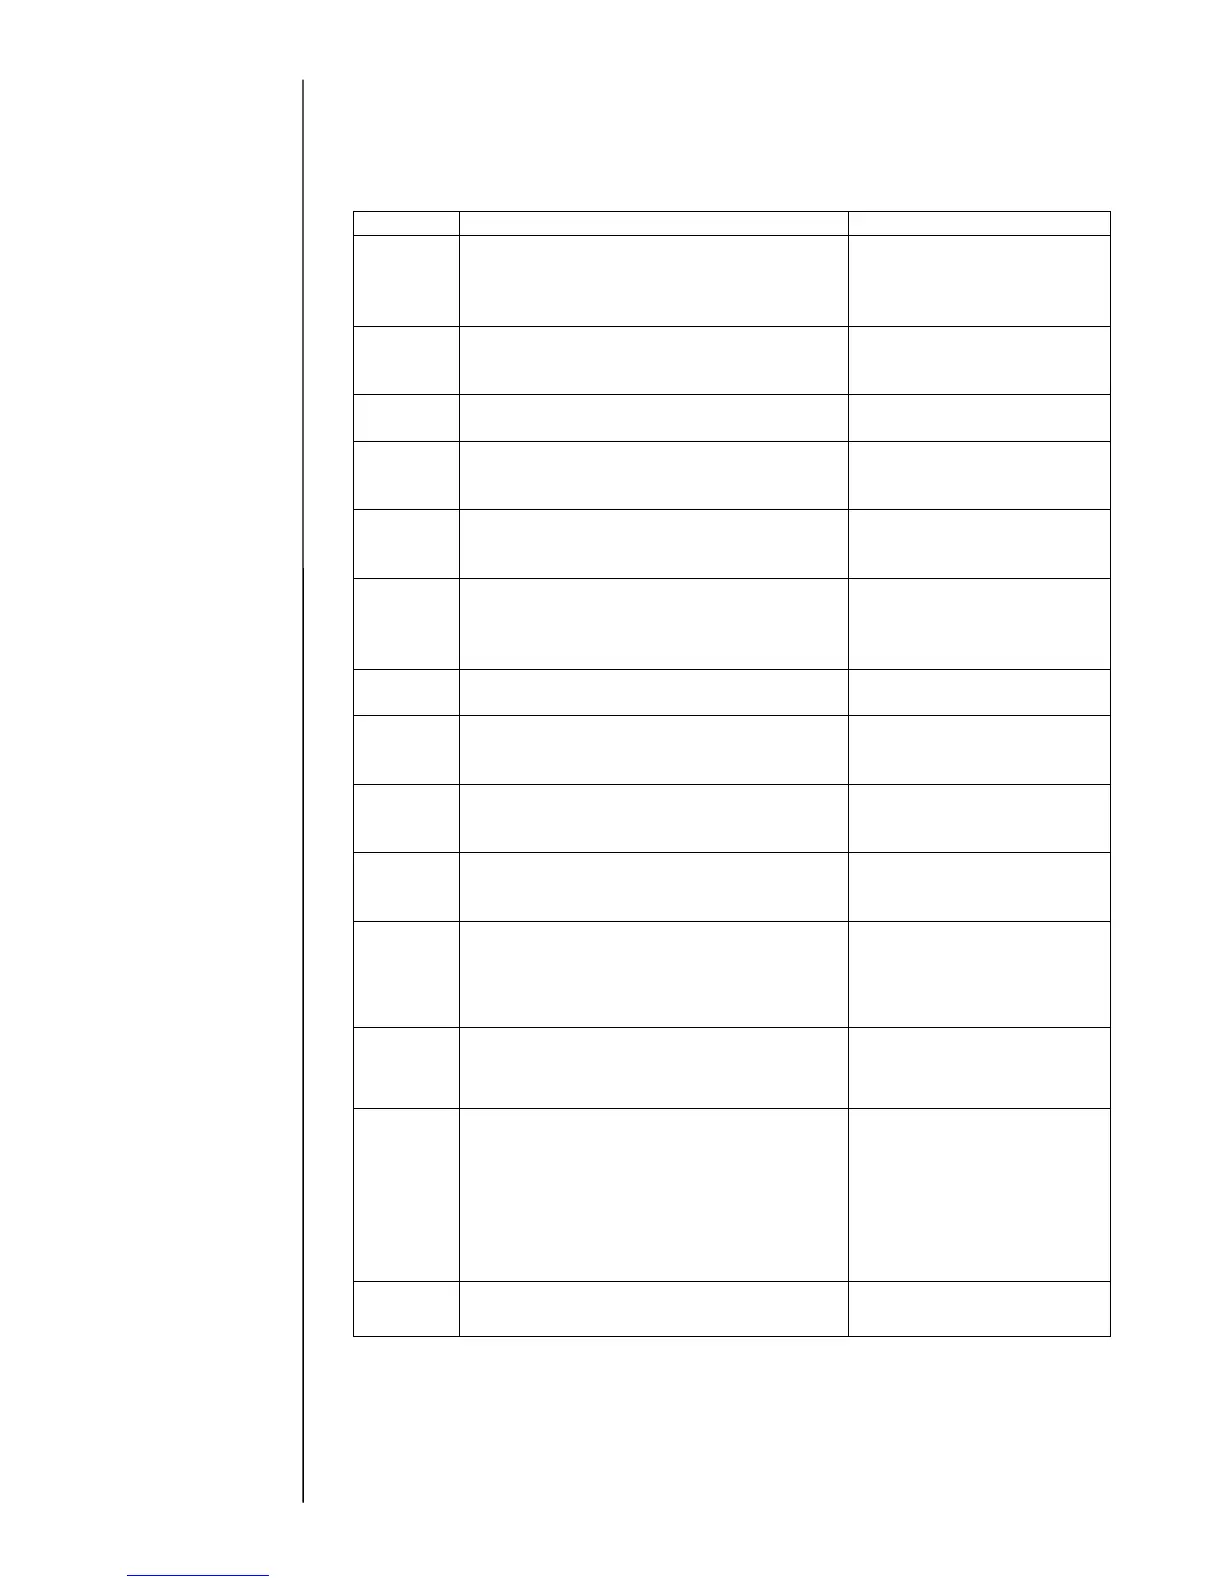
1.4.3-1 Installation procedure
After wiring of power supply is complete, perform the installation work following
the procedure shown below.
“ * ” shows the same procedure as PX-D type.
Step Work Related page
1 Air connection and air pressure
adjustment
(Setting rotor)
1.3.3-2 Confirming air
supply for stirrer and
operation (at the time of
installing)
2 Confirming rotation of stirrer Instruction manual
1.2.7 Confirming air supply
for stirrer and operation
3
*
Selection of ink type
(Touch panel operation)
2.2 System environment
setup
4
*
Makeup ink replenishment
Instruction manual
7.4 Makeup ink
replenishment
5
*
Ink stream alignment
(For filling makeup ink path and adjusting
ink stream position)
Instruction manual
7.7 Adjusting the Ink
stream position
6
Draining the makeup ink from main ink
tank
1.3.3-3 Disposition of
makeup ink inside main ink
tank (at the time of
installing)
7
Ink replenishment
(Stirring of bottle and filling)
1.3.3-4 Ink replenishment
(at the time of installing)
8
*
Pressure adjustment
(Set pressure to the standard value of
every ink)
Instruction manual
7.12 Pressure adjustment
9
*
Adjustment of excitation voltage
(Touch screen operation, automatic
acquisition)
2.3.1 Excitation adjustment
10
*
Adjustment of APH gain
(Touch screen operation, automatic
acquisition)
2.3.4 Auto phase gain
adjustment
11
*
Setting of excitation voltage
(Confirm the real printing state and the ink
drop mode and then, set the excitation
voltage)
Instruction manual
7.13 Excitation setting
adjustment
12
*
Readjustment of APH gain
(Touch screen operation, automatic
acquisition)
2.3.4
Auto phase gain
adjustment
13
*
Editing Print Data, etc.
(Print start delay, character height, etc.)
Instruction manual
3. Editing Print Data and
Printing
4. Setting the Operating
Environment
5. Auxiliary Function
6. Communication
14
*
Back up
(Service personnel maintenance mode)
2.9 Back up

 Loading...


