4-6
4.3 Pressure Relief Valve Replacement Procedure
1 Perform “Pressure relief”.
2 Perform “4.1.2 Approach to the parts on the front side of the equipment”.
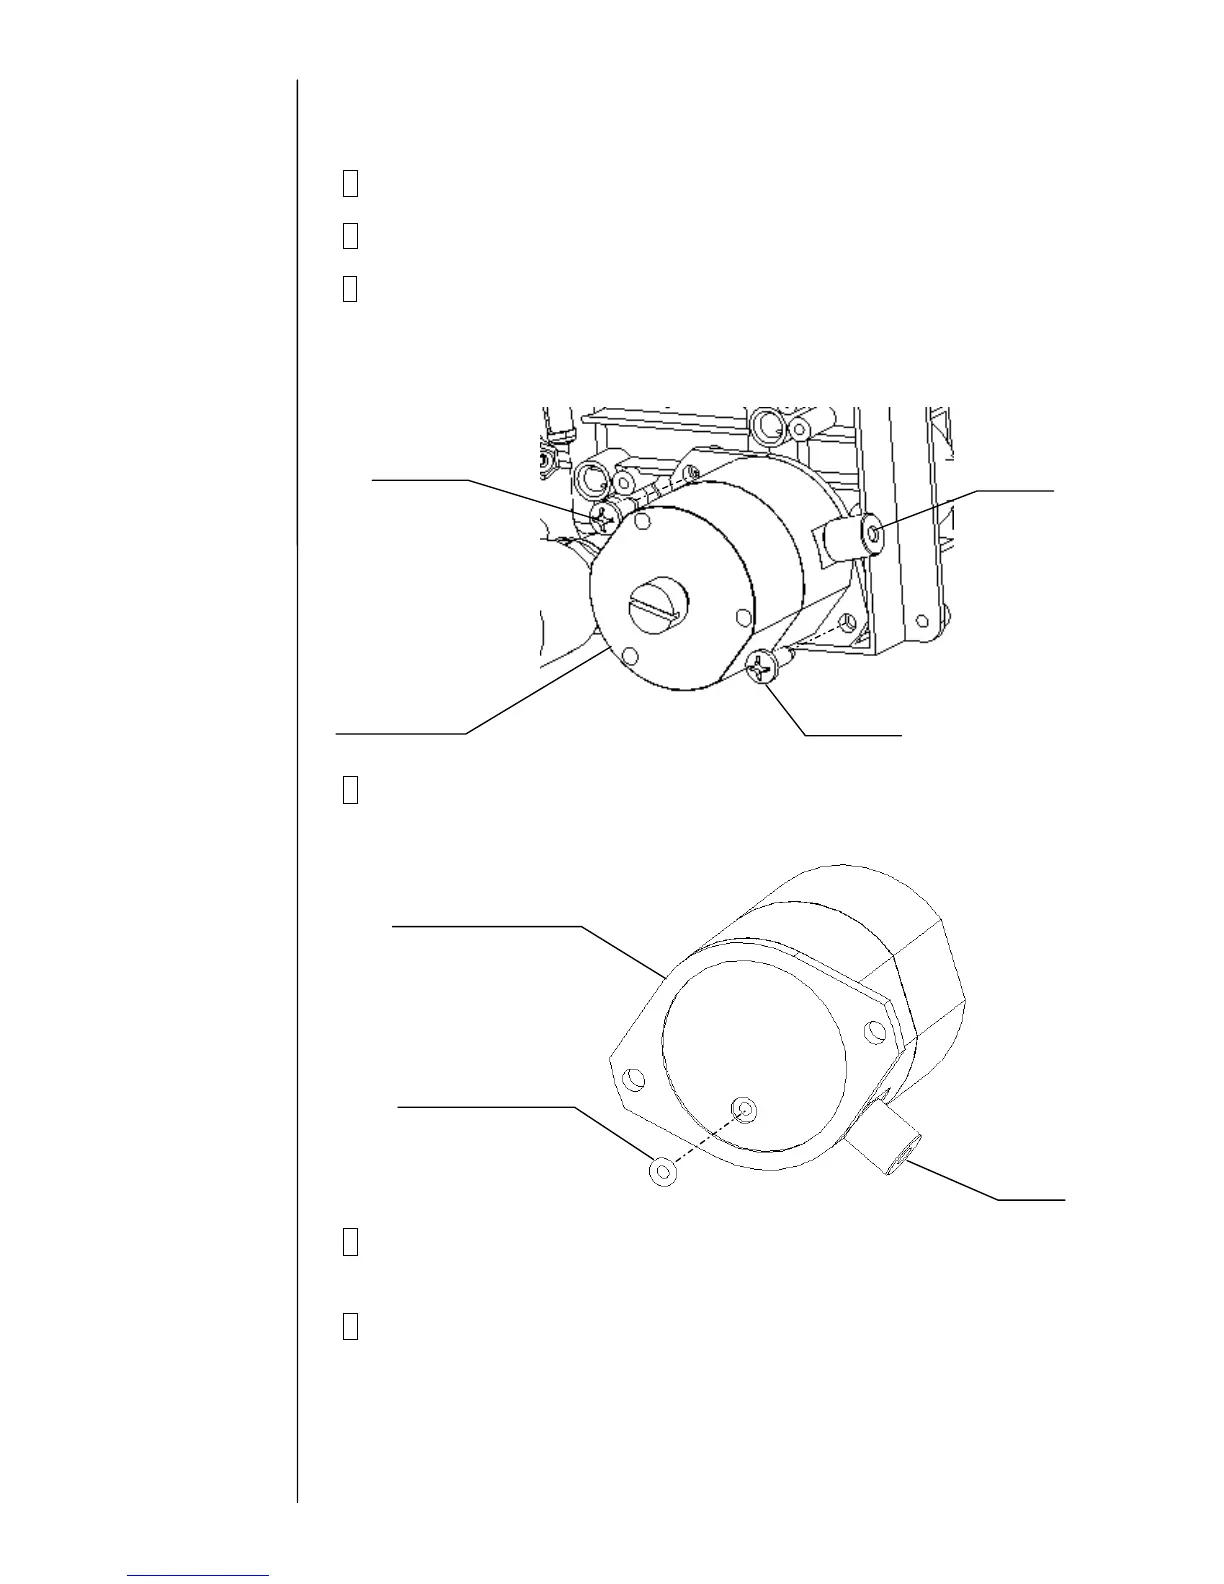
3 Remove the fixing screws (2 positions) of the pressure relief valve and the
tube joint. The pressure relief valve can be removed.
"Caution" : Put wiping paper under the pressure relief valve to provide
for an ink drip.
4 Replace the O-rings of the lower part of the pressure relief valve and
the joint with new ones.
5 Clean the portion stained with ink and install a new pressure relief valve
by reversing the above procedure.
6 Perform “Ink Replenishment” and adjust the pressure.
Make sure that there is no ink leak.
Fixing screw
Fixing screw
Pressure
relief valve
Tube joint
O-ring S3-EPT
Pressure reducing valve
Tube joint

 Loading...


