Operation - Editing Rotor Data MC10 HS
5 - 2
5.2 Editing Rotor Data
Access privileges may have to be activated by
the supervisor.
5.2.1 Selecting a Rotor
Perform required re-tooling work.
Refer to the machine's Operator's Manual for
further details.
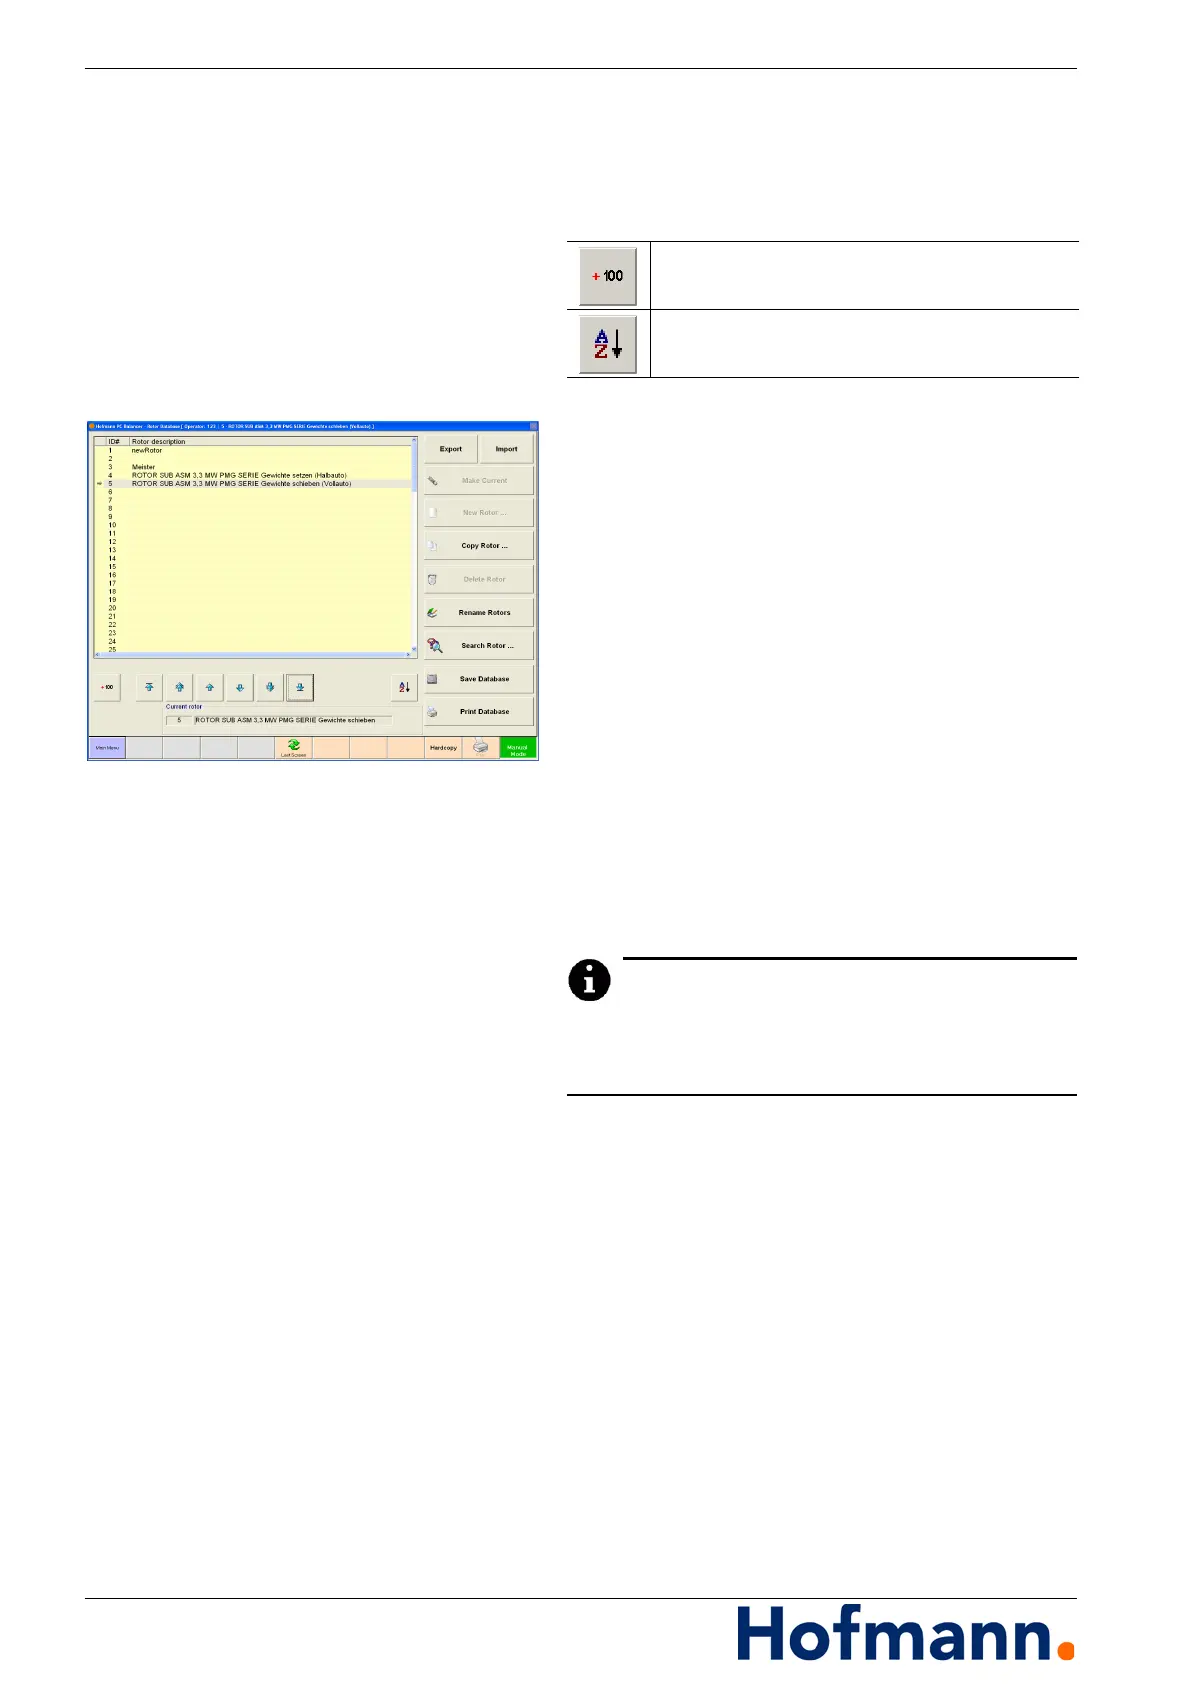
Main Menu \ Rotor Database.
Mark the desired rotor type.
Press the "Select Rotor" key.
Press the "Operation" key.
The measurement display appears.
5.2.2 Creating a New Rotor
Main Menu \ Rotor Database.
Select the non-assigned line.
Press the "New Rotor..." key.
Enter the name of the new rotor and confirm by
pressing "Ok".
To create a new rotor type, you may also copy and
edit a similar data record. The copied data record is
then saved under a new name.
5.2.3 Copying a Rotor
Main Menu \ Rotor Database.
Mark the rotor, you want to copy.
Press the "Copy Rotor..." key.
Select a free target data record number.
Enter the name of the new rotor and confirm by
pressing "Ok".
Press the "Close" key.
Expand list of rotors by 100 lines.
Sort list of rotors alphabetically.