Selenia User Guide
Chapter 6—The User Interface
102 MAN-03270 Revision 003
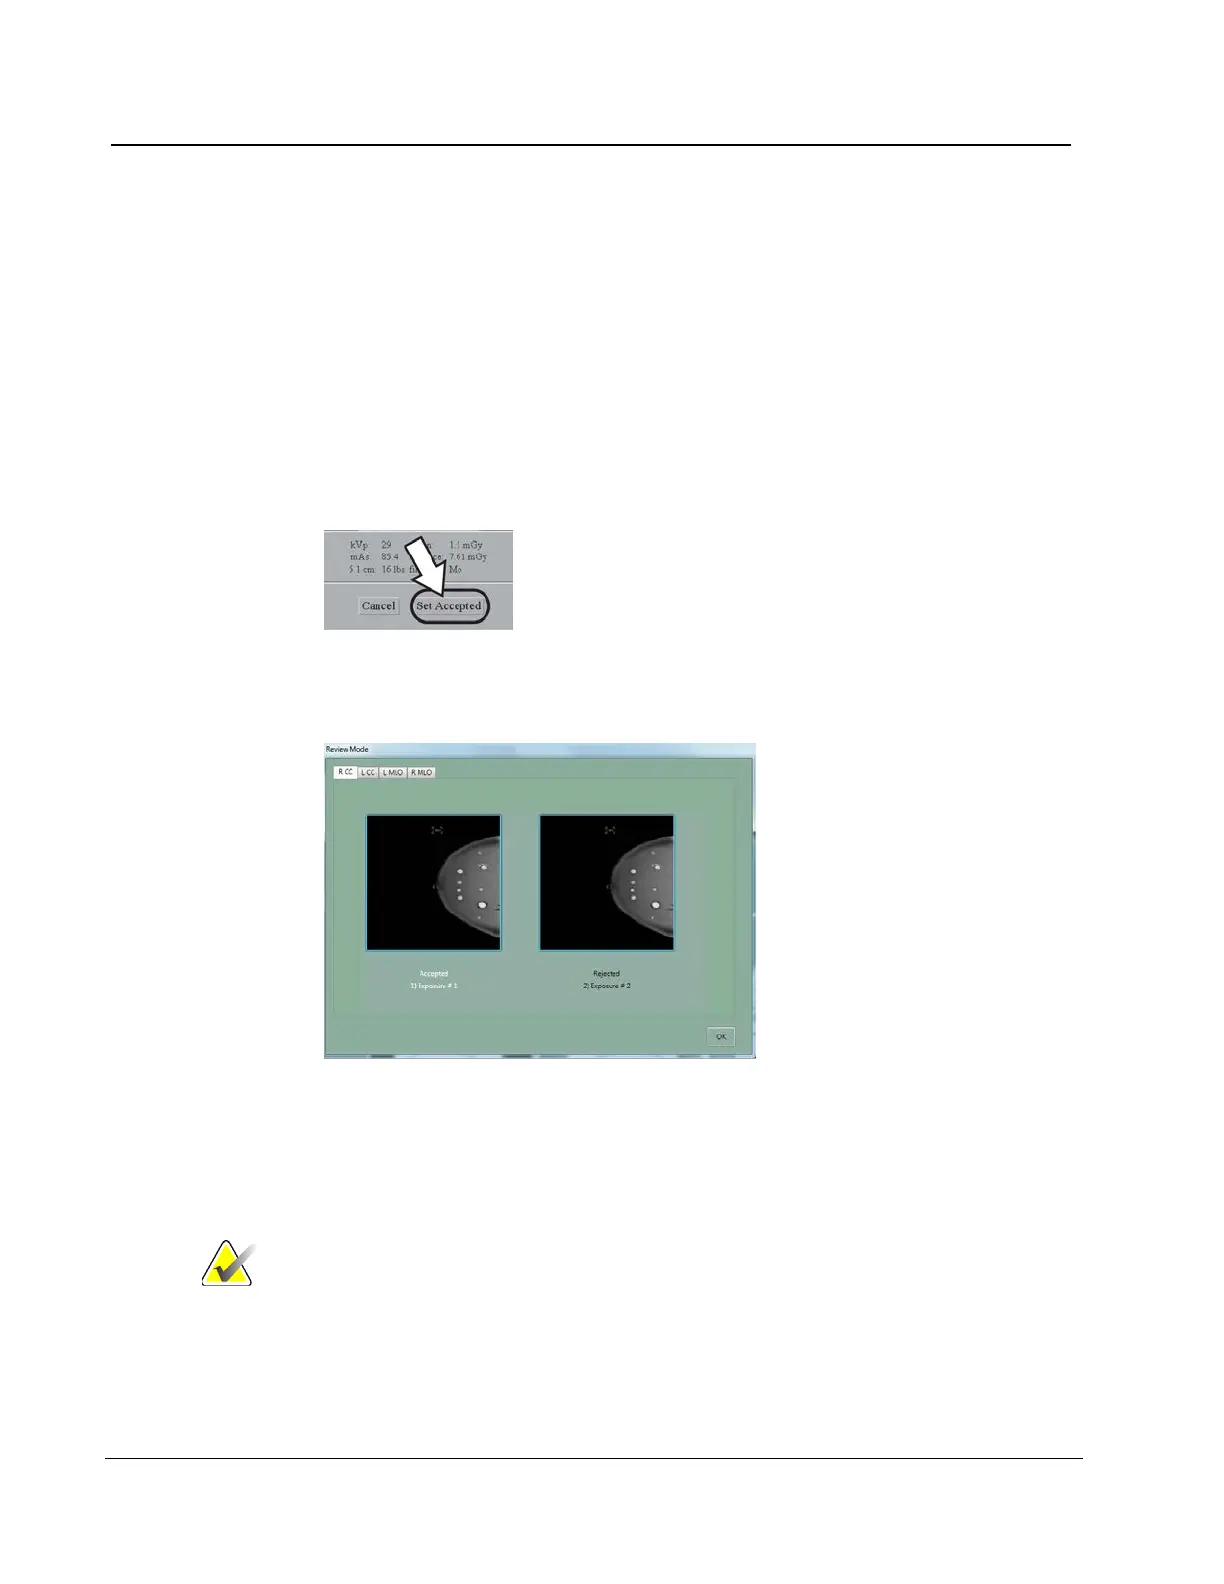
6.4.5.2 How to Accept a Rejected Image
To accept a rejected image:
1. Reject the image that was taken as the replacement for the rejected image.
2. In the Patient View screen, select the Review button (below the Output box).
3. In the Review dialog box, select the tab for the View.
4. Select the Rejected Image thumbnail image to accept.
5. Select the Comments button to add or delete comments.
6. Select the OK button to close the Comments dialog box.
7. Select the Set Accepted button.
Figure 78: Set Accepted Button on Review Screen
8. Select the OK button to close the Review dialog box.
Figure 79: Accept Rejected Image
When you accept a rejected image, the Send Image to Output dialog box displays. Select
Yes to send the images to the selected output group.
Note If you select the No button, you can resend the images with
the Image/Spool Management function.
 Loading...


