Installing components 25
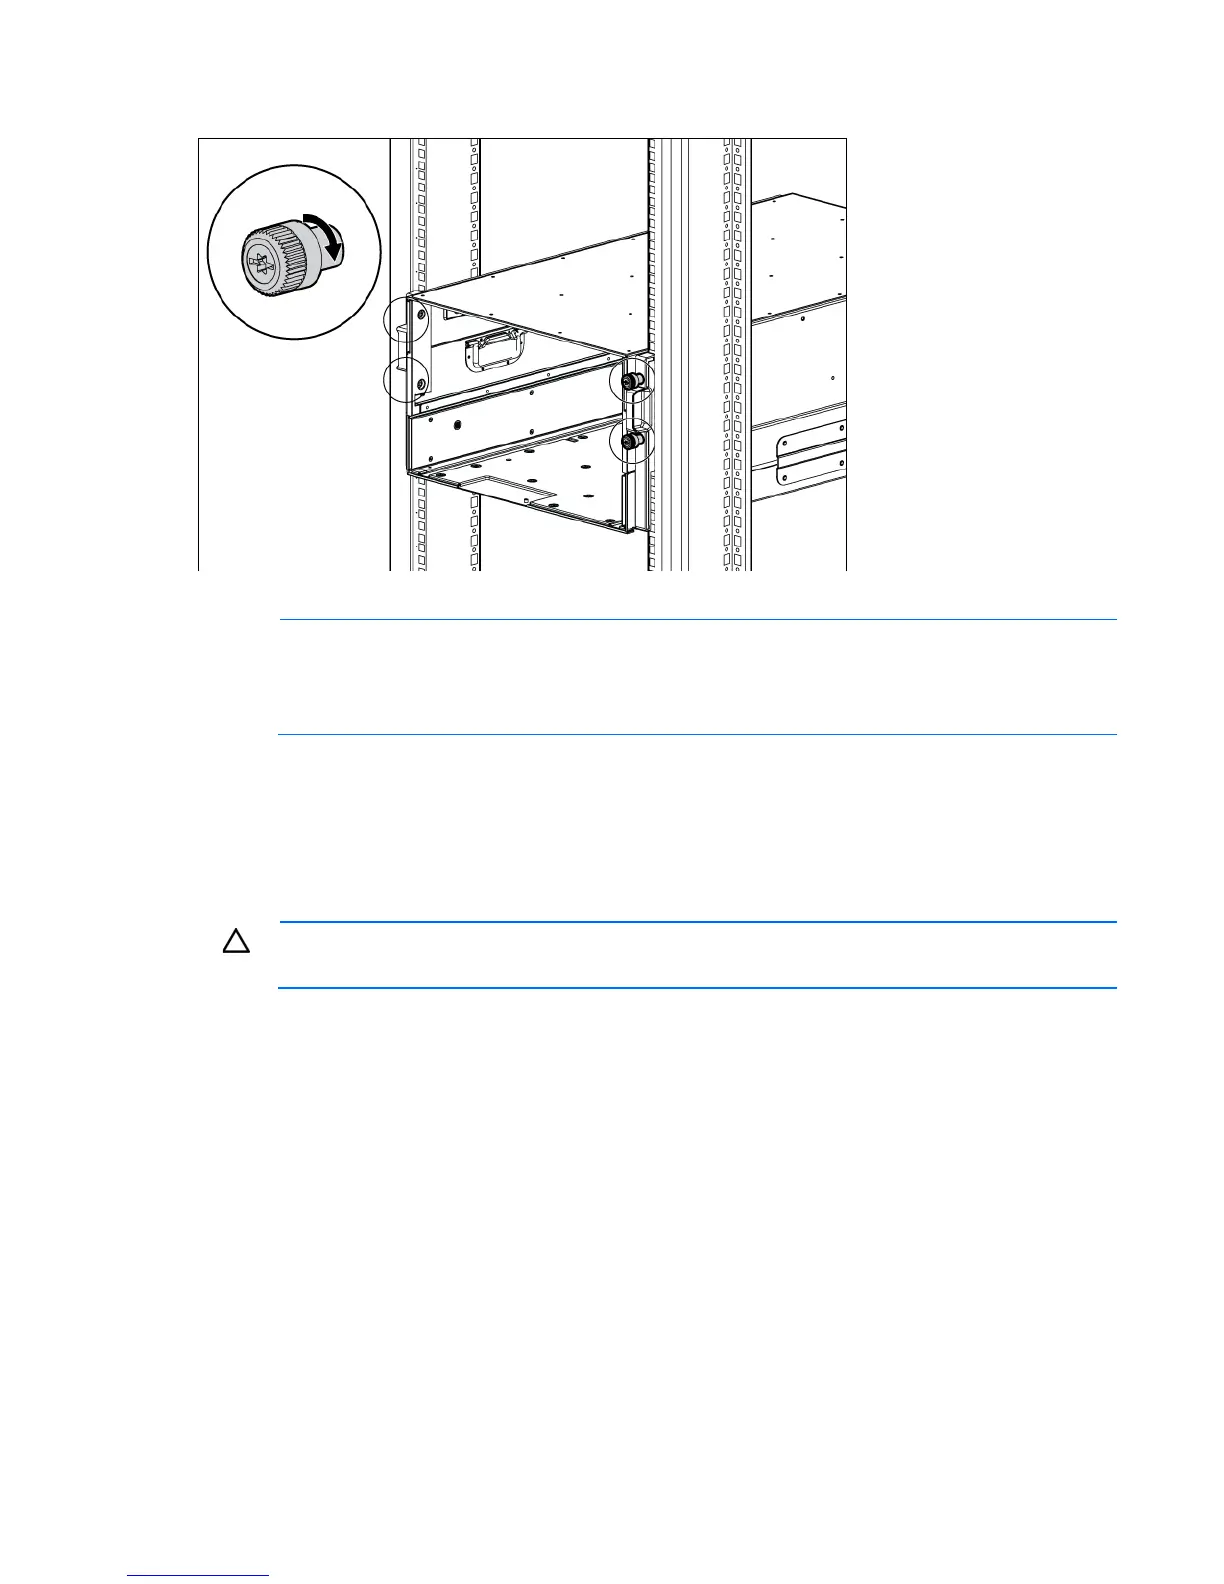
3.
Tighten the thumbscrews to secure the enclosure to the rack.
4. Repeat the procedure for the remaining enclosures.
NOTE:
You can install up to seven 6U enclosures in a 42U rack. If you are installing more than
one enclosure, install the first enclosure in the bottom of the rack, and then install additional
enclosures by moving up the rack to the next available opening. Plan rack installations carefully
because it is difficult to change the location of components after they are installed.
Installing the front cage into the enclosure
1. Position the front cage at the front of the enclosure, and align the front cage guiding fins with the
guiding groove in the rack rails.
2. Slide the front cage fully into the enclosure, then tighten the thumbscrews.
CAUTION: Do not touch or bump front cage connector pins when installing the front cage into
the enclosure.