Right cover
1. Remove the DIMM cover. See DIMM cover on page 20.
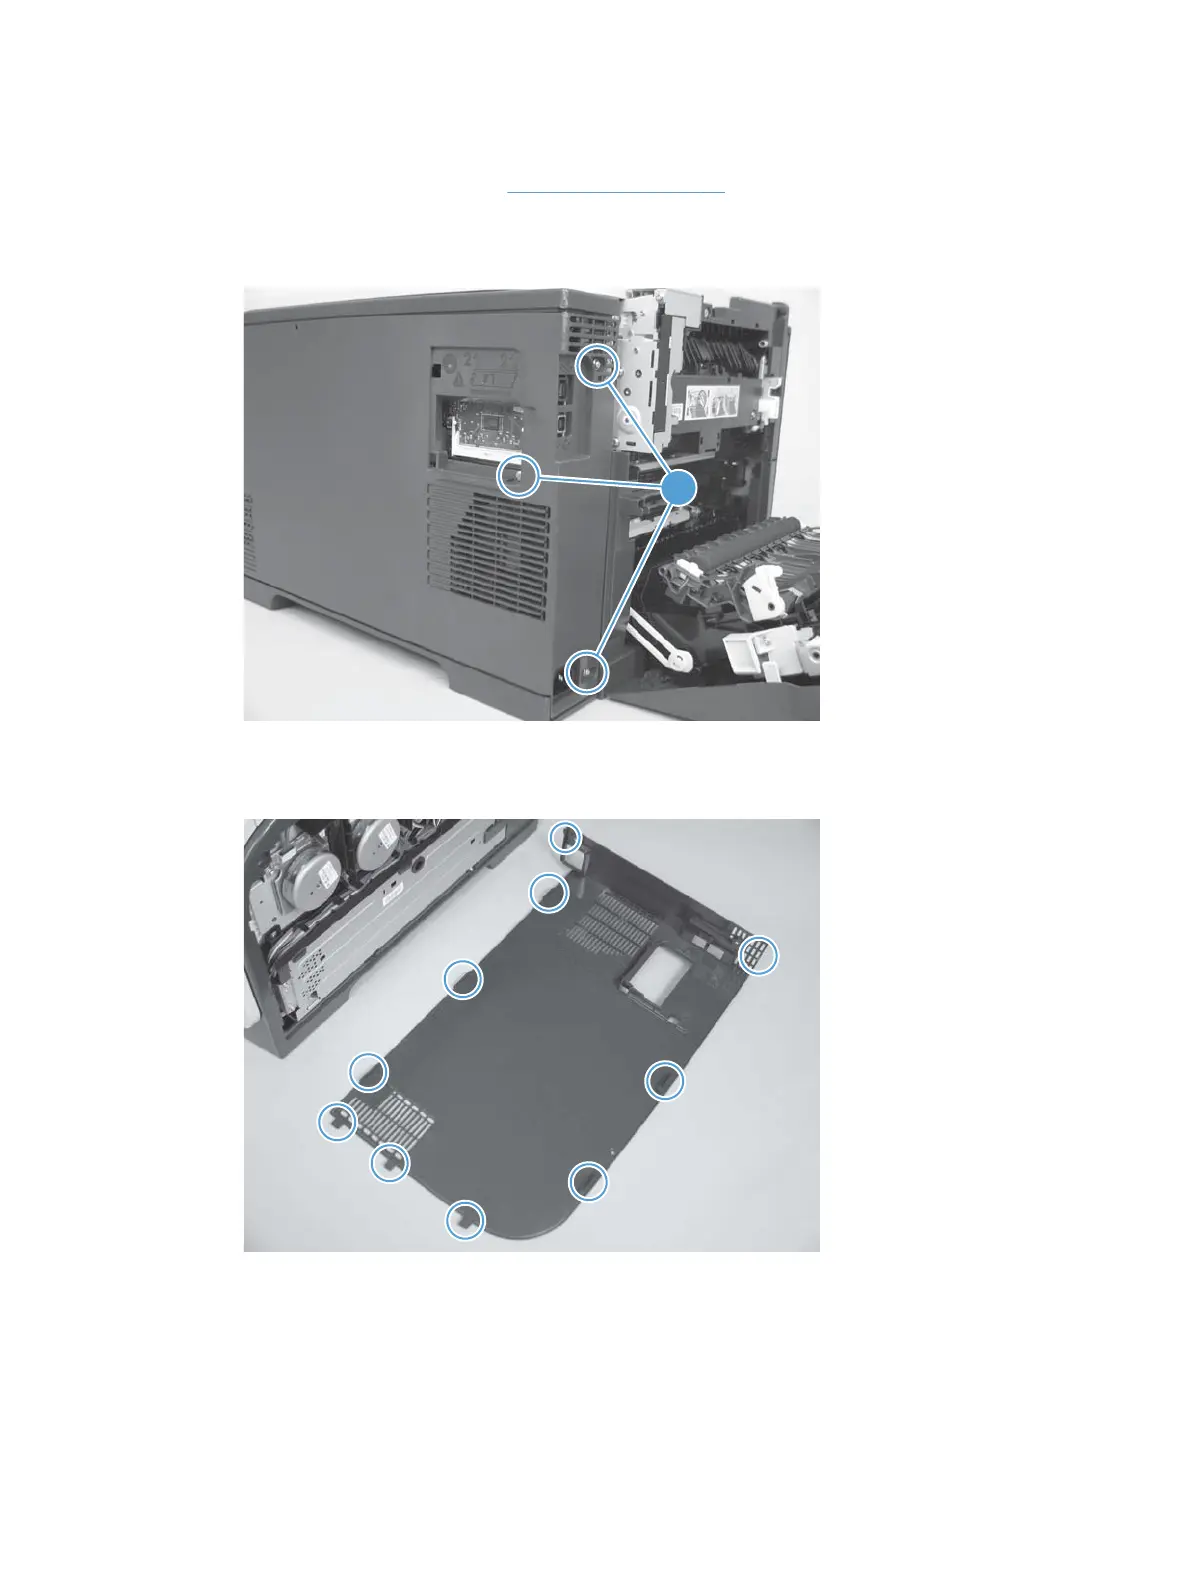
2. Open the rear cover, and then remove three screws (callout 1).
Figure 1-19 Remove the right cover (1 of 5)
1
3. Before you proceed, take note of the mounting tab locations on the back of the cover.
Figure 1-20 Remove the right cover (2 of 5)
ENWW
Removal and replacement procedures
21
For mor information on LaserJet Pro 300, Pro 400 go to www.printersupplies.com
 Loading...