Repalce the separation roller
CAUTION: Avoid touching the spongy roller surface unless you are going to replace the roller. Skin
oils on the roller can cause paper-pickup problems.
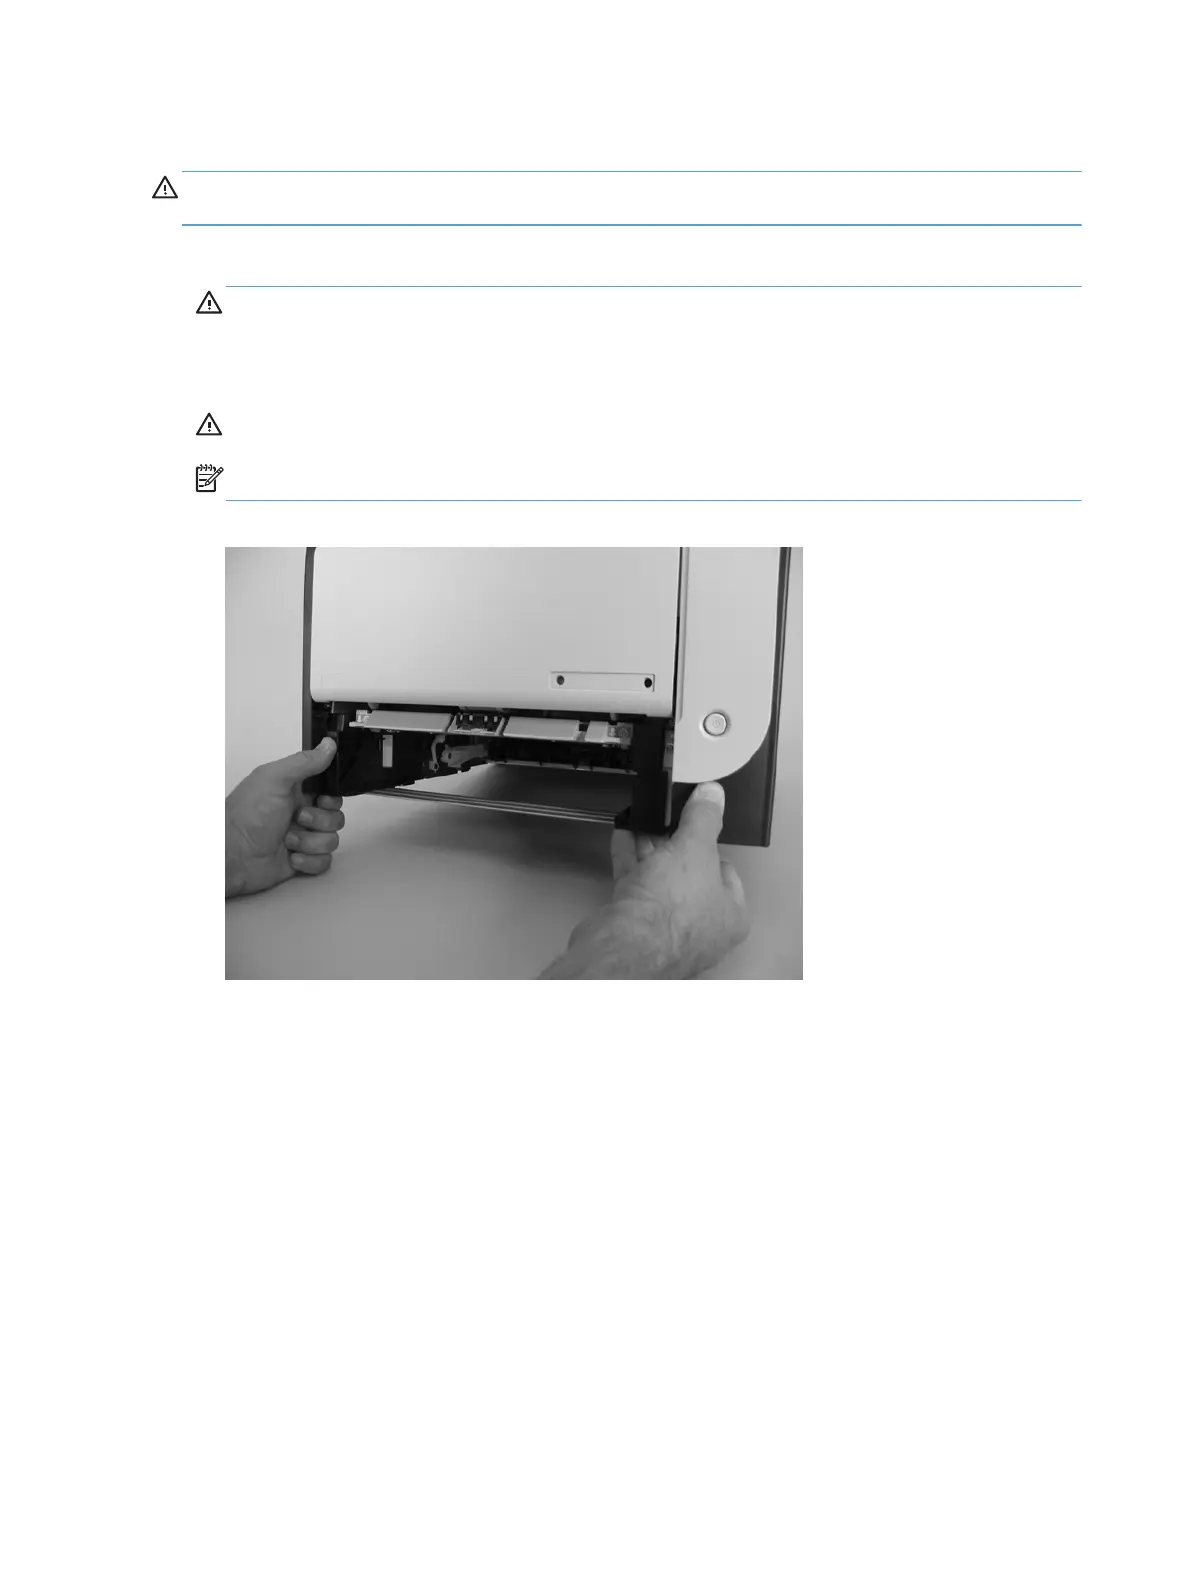
1. Remove Tray 2 (if installed), and then carefully raise the front of the product.
WARNING! Do not place the product face-up resting on the rear cover and rear door. Excess
toner might enter the laser/scanner assembly and contaminate the mirrors, causing print-quality
problems. The laser/scanner is not a FRU. If the laser/scanner mirrors are contaminated, the entire
product must be replaced.
CAUTION: Do not lift the product by grasping the front door and Tray 2 cavity.
NOTE: The roller is located inside the tray cavity.
Figure 1-7 Remove the separation roller (1 of 3)
12 Chapter 1 Removal and replacement ENWW
For mor information on LaserJet Pro 300, Pro 400 go to www.printersupplies.com
 Loading...