Removal and Replacement Procedures
PCI-X Hot Plug Board
To remove the PCI-X Hot Plugboard:
NOTE: HP recommends that you remove the server from the rack before removing the PCI-X Hot Plug
board.
1. Extend the server from the rack. Refer to “Extending the Rack from the Server” in this
chapter.
2. Power down the server. Refer to “Power ing Down the Server” in this chapter.
3. Open the rear access panel. Refer to “Op ening and Removing the Rear Access Panel” in
this chapter.
4. Remove all PCI-X expansion boards from the basket. Refer to “PCI and PCI-X Hot Plug
Expansion Boards” in this chapter.
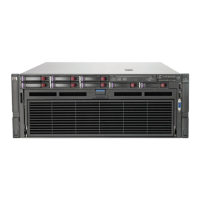
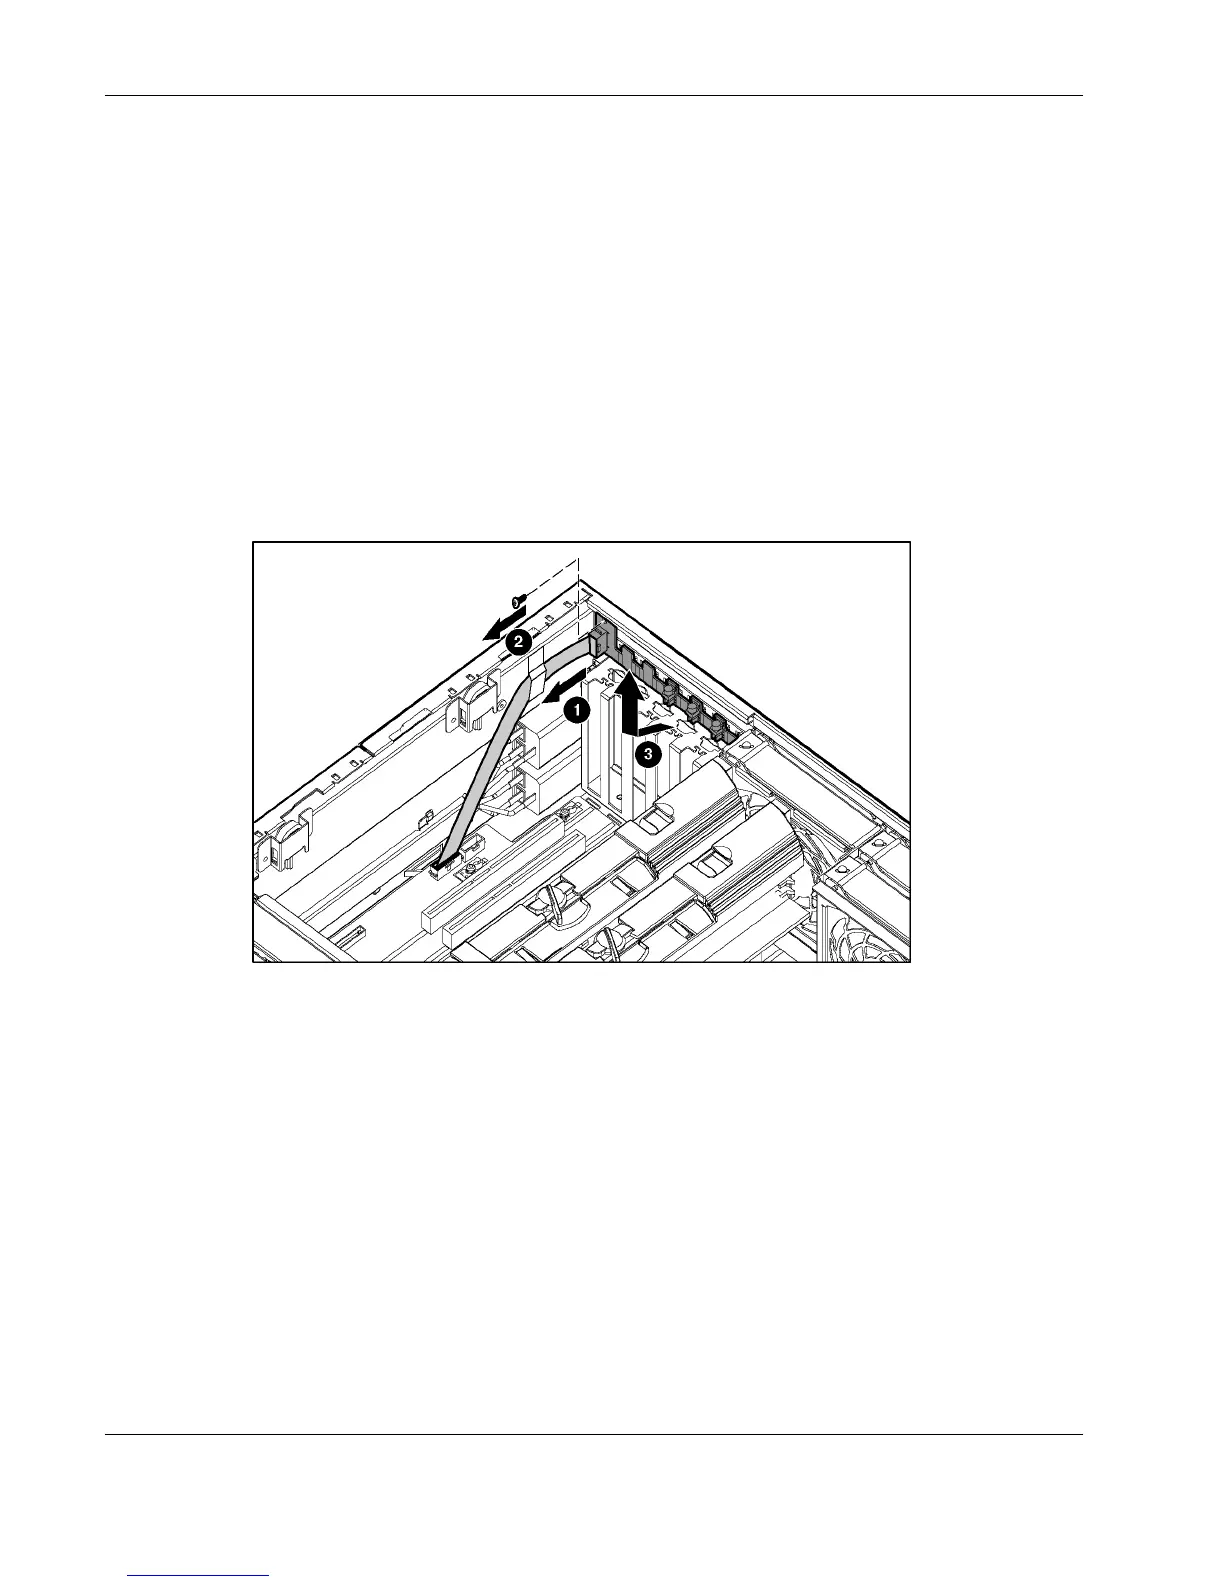
Figure 2-41: Removing the PCI-X Hot Plug board
5. Unplug the cable at the PCI-X hot-plug board connector on the system board. Refer to
“System Boar d” in Chapter 4.
6. Open the PCI-X latch and remove the PCI-X slot cover.
7. From the back of the server at the top of the PCI-X slot, press upward and then forward
with your finger to release the PCI-X latch. From inside the server, lift up on the latch
until it unhooks from the back wall of the server.
8. Repeat step 8 for the six PCI-X slots and the PCI-X Hot Plug board will be exposed.
9. Reverse steps 1 through 9 to replace the PCI-X Hot Plug board.
2-54 HP ProLiant DL580 Generation 2 Server Maintenance and Service Guide
 Loading...