Powermax30 XP Service Manual 808150 Revision 0 183
7 – Torch Component Replacement
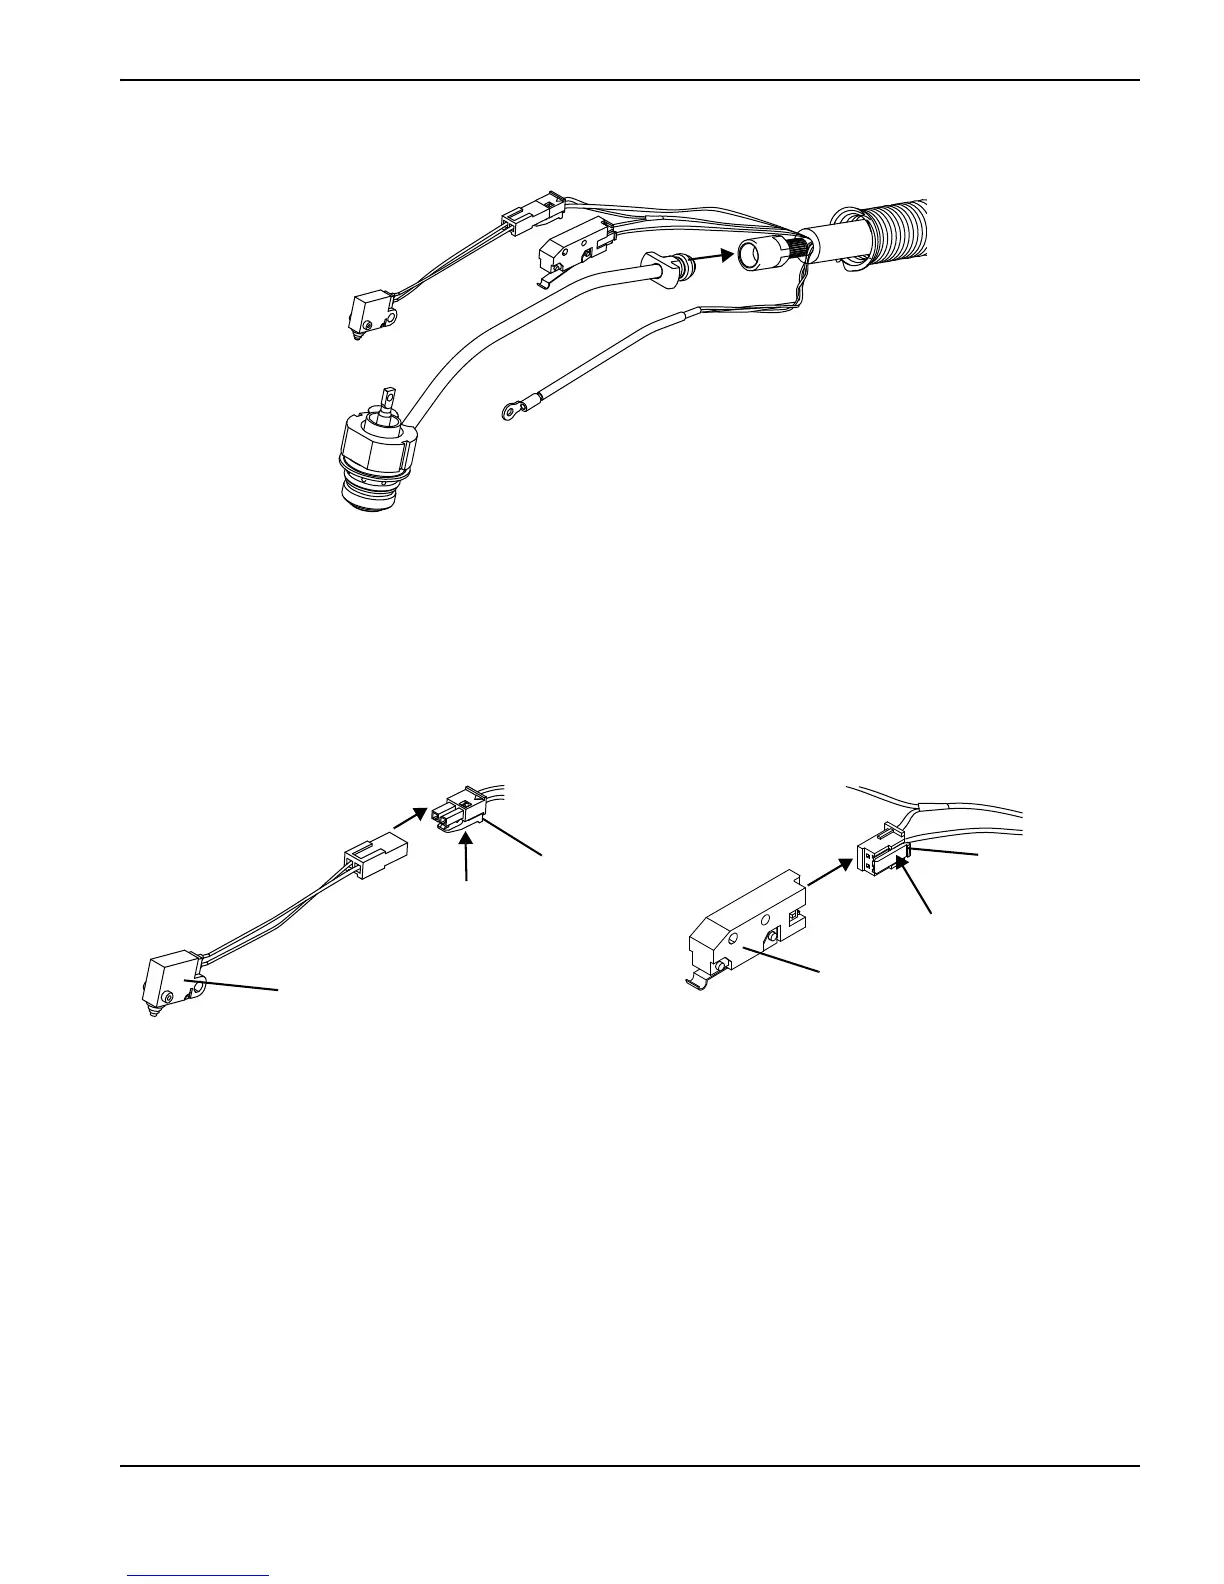
Figure 111
5. Thread the torch body into the new torch lead to finger tight plus 1/4 turn.
6. Tighten the screw that attaches the torch power wire to the torch body until the terminal is snug against the plunger.
(See Figure 108 on page 178 for the screw position.)
7. Connect the cap-sensor switch and start switch.
Figure 112
8. Complete the following procedures:
a. Install all of the torch components that you removed. See Install the handle on page 176.
b. Reconnect the gas supply and power cord, and set the power switch to ON (I).
Cap-sensor switch
Tab
Tab
Start switch